A lot of insect problems I see are not “bad luck.” They are design problems, or at least problems that smart design can reduce. The good news is that means they are often fixable. When you plan a garden with pest pressure (the regular level of pest activity in your area) in mind, you stop relying on constant sprays and start leaning on smarter spacing, strategic plant choices, and a layout that makes it harder for bugs to turn your beds into an all-you-can-eat buffet.
This is not about creating a sterile garden. A healthy garden will always have insects. The goal is to nudge the balance so pests have a harder time finding your favorite plants, reproducing quickly, and spreading.
Think like a pest
Before we talk plants, it helps to understand what most garden pests are looking for:
- Easy access: leaves touching, vines crossing paths, crowded beds that create bridges from plant to plant.
- Still, humid air: dense canopies and tight rows protect soft-bodied insects like aphids and encourage diseases that weaken plants and make pest problems worse.
- Large patches of the same crop: a big target that is easy to smell and find, especially for flying insects.
- Stressed plants: drought, poor soil, and nutrient imbalances can make plants less resilient and, ironically, more appealing to certain pests.
Pest-smart design is basically the opposite of that list: break up targets, keep air moving, block access, and keep plants healthy.
Layout that slows spread
1) Skip huge monoculture blocks
If you plant an entire bed of one crop, you are hosting a conference for its favorite pests. Instead, aim for smaller groupings repeated through the garden.
- Better: two short rows of brassicas in different beds, with flowers or herbs between.
- Not ideal: one long bed filled edge-to-edge with cabbage, kale, and broccoli.
This does not mean you cannot grow a lot of one thing. It just means you will often do better scattering it in a few pockets, especially if that crop is known for pest issues in your area or you have nearby gardens.
2) Build in inspection lanes
I love a lush garden, but I love being able to see my plants more. Give yourself room to walk and look closely. Pests spread fastest when we do not notice them until it is a full-blown situation.
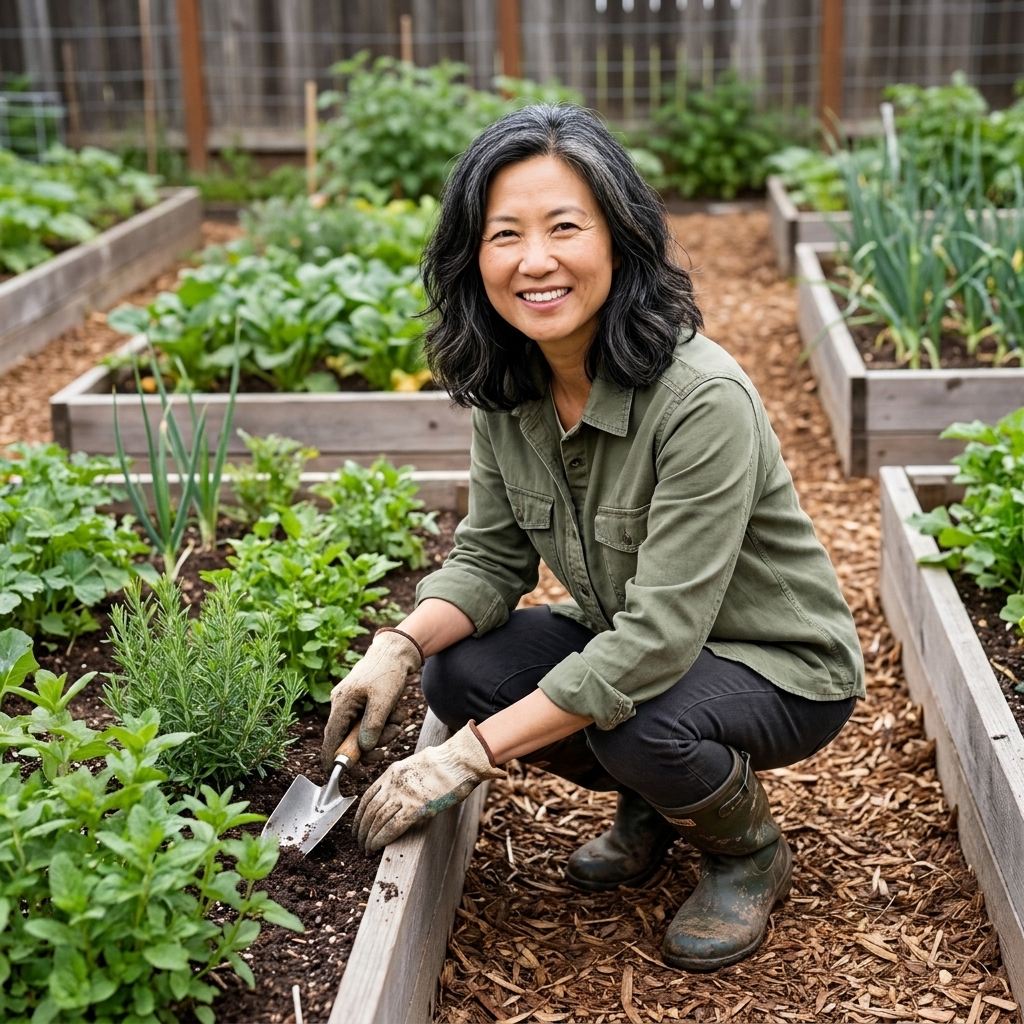
- Pathways: 18 to 24 inches wide for comfortable access (wider if you use a wheelbarrow).
- Bed reach: keep beds no wider than 4 feet so you can reach the center without stepping in the soil.
If you want a simple example layout, try two 4x8 beds with a 2-foot path between them and a 3-foot main aisle on one side. You will be shocked how much easier it is to spot eggs, chewed leaves, and the first cluster of aphids before they multiply.
Spacing and airflow
Airflow is one of the least glamorous garden topics, which is exactly why it gets ignored. But it matters. A crowded garden stays damp longer after watering or rain, and that cozy humidity helps pests hide and encourages disease pressure.
How to space without losing the plot
- Follow mature spacing, then adjust for your training method: if a tomato wants 24 to 36 inches, it generally wants that kind of room, but the exact number depends on whether you prune, cage, or single-stem on a trellis.
- Stagger plants in a zig-zag: you can often improve airflow and access without giving up much growing space, especially in wider beds.
- Use vertical supports: trellis cucumbers, pole beans, and indeterminate tomatoes to lift foliage off the soil and increase airflow.
- Prune for breathing space: remove the lowest tomato leaves once plants are established, and thin congested inner growth on bushy plants when needed.
If you are torn between planting one more seedling or leaving space, leave space. Future you, holding a hose and hunting hornworms, will be grateful.
Barrier plants
Barrier plants work in a few ways. They can interrupt pest movement, break up big visual blocks of one crop, and provide food and shelter for beneficial insects. They can also make it a little harder for some pests to lock onto a target plant, although results vary by pest and site.
Where barrier plants help
- Bed edges: slow crawling pests and create a transition zone.
- Between crop blocks: break up long lines of the same plant family.
- Along the garden perimeter: create a buffer before pests reach your main crops.
Reliable barrier plant picks
Pick plants that match your climate and sun exposure, but these are widely useful:
- Alliums (chives, garlic, green onions): great edging plants near carrots, lettuce, and brassicas.
- Herbs with strong aroma (rosemary, thyme, sage): helpful near beds you want to protect, and low-maintenance once established.
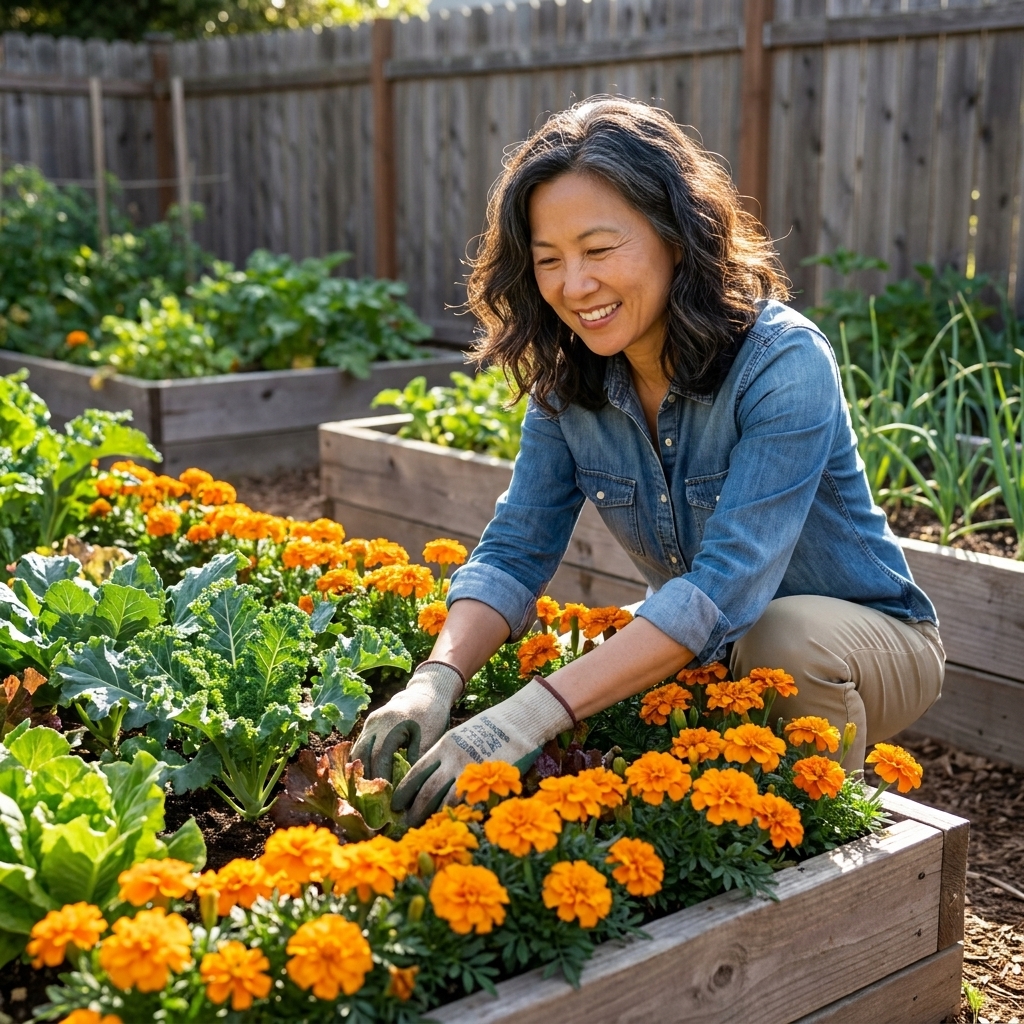
- Marigolds (Tagetes): useful as a general companion around vegetables and as a border plant that adds color and pollinator value.
- Nasturtiums: spill nicely at bed edges and can double as a trap crop for aphids and certain beetles.
A quick reality check from someone who has grown marigolds like it was her job: barrier plants are not magic force fields. Think of them as speed bumps and confusion tactics, not an impenetrable wall.
Physical barriers
If you have ever tried to drape row cover over a fully grown squash patch, you already know: barriers work best when the garden is designed for them.
Row cover zones
Lightweight insect netting or row cover can block cabbage moths, flea beetles, squash vine borer moths, and more. To make it easy:
- Designate one or two beds as cover-ready beds each season.
- Install simple hoops (PVC, metal conduit, or pre-made hoops) before planting or right after.
- Leave enough slack so plants can grow without pressing hard against the fabric.
- Plan access points so you can weed and harvest without tearing everything apart.
Two important notes for accuracy and sanity: row cover works best when it goes on before pests arrive, and it will also block pollinators. For crops that need insect pollination (like squash and many cucumbers), you will either remove the cover when flowers open, open it daily during bloom, or hand-pollinate. Covered beds are especially useful for brassicas and young seedlings, which are basically pest candy.
Copper tape and collars
- Slugs and snails: copper tape around raised bed rims can help, especially when paired with good sanitation and fewer hiding spots. It tends to work best when it is clean and not constantly bridged by wet debris, and heavy pressure can overwhelm it.
- Cutworms: use simple collars (a short ring of cardboard or similar) at transplant time to protect stems.
These are small interventions, but they work best when you plan for them at planting time.
Trap cropping
Trap cropping is exactly what it sounds like: you plant something pests like more than your main crop, then you manage pests on the trap plant instead of letting them spread through your whole garden.
This is not “let’s sacrifice a plant and hope for the best.” It is an active strategy. You need to check trap crops often and be willing to remove heavily infested leaves or even the entire trap planting when it has done its job. Trap crops can also backfire if you ignore them, because they can concentrate pests right next to your food crops.
Trap crop pairings to try
- Nasturtiums to draw aphids away from roses and some vegetables.
- Blue hubbard squash is often used as a trap for squash bugs, planted at the edge away from your main zucchini and pumpkins. Monitor closely, especially if vine borers are common where you live.
- Mustard greens can sometimes pull flea beetles away from young brassicas.
- Radishes can sometimes distract flea beetles from arugula and other tender greens.
Where to place trap crops
- On the perimeter when possible, where you can monitor them without trampling your main beds.
- Near bed corners and entrances where pests often arrive first.
- If you have a consistent prevailing wind, consider the upwind edge since some pests cue in on scent carried on airflow.
- Not mixed into the middle of the crop you are protecting, unless your goal is to concentrate pests in one easy-to-monitor pocket.
My rule: if you cannot commit to scouting the trap crop at least twice a week during peak pest season, skip trap cropping and focus on barriers and spacing instead.

Design for beneficials
A truly pest-resistant garden is not one with zero insects. It is one where predators and parasitoids can find food and shelter so they stick around.
Easy layout choices
- Include small-flowered plants: sweet alyssum, dill, fennel, cilantro allowed to bloom, yarrow, and calendula provide nectar for beneficials.
- Plant in repeated patches: scatter the same beneficial-attracting flowers near multiple beds so helpers do not have to travel far.
- Provide shallow water: a dish with pebbles and water in a shady spot helps tiny beneficial wasps and hoverflies.
- Leave a little wildness: a corner with native perennials or bunch grasses can be prime habitat for predatory insects.
If you have ever watched lady beetle larvae patrol a plant, you know it feels like hiring tiny security guards. The key is giving them a reason to stay.
Water and cleanup
This part is not glamorous, but it is one of the biggest “design” levers you have.
- Water at the soil line when you can: drip lines and soaker hoses reduce leaf wetness and make it harder for disease to get a foothold. Less disease usually means less stress, and stressed plants tend to spiral faster under pest pressure.
- Reduce hiding spots: keep weeds and tall grass trimmed at bed edges, and avoid letting boards, pots, and dense debris piles become slug and earwig hotels right next to tender seedlings.
- End-of-season cleanup: remove or hot-compost heavily infested crop debris so you are not overwintering next year’s problem in your own beds.
Design is not just where plants go. It is also what you make easy to maintain.
A simple blueprint
If your brain is asking for a starting point, here is a low-stress way to map your garden with pest deterrence built in:
- Draw your beds and paths to scale, even if it is a quick sketch.
- Mark cover-ready beds for crops that get hammered early (often brassicas and seedlings).
- Group crops by family for rotation, but avoid one huge block. Break them into smaller pockets.
- Add barrier edges using herbs or alliums around high-value beds.
- Place trap crops on the perimeter near the crops you want to protect, with room to remove them if needed.
- Reserve small patches for beneficial flowers near every major crop area.
- Plan your water lines so you are not forced into daily overhead spraying just to keep up.
If you are gardening in containers or on a balcony, you can still use this approach. Put your most vulnerable plant behind netting, use herbs as buffer pots, and separate similar crops instead of lining them up like a salad bar.
Common mistakes
“My plants are touching. Is that really a big deal?”
It can be. Touching foliage makes it easier for pests to move without exposure, and it reduces airflow. The fix is not to panic-prune everything. Start with thinning the most crowded areas and adding supports to lift vines and tall plants.
“I interplanted everything and now I cannot find the pests.”
Interplanting is great, but it needs structure. Add clear paths and keep plant groupings small and repeatable. You want diversity and visibility.
“I added flowers, but I still have pests.”
Flowers support long-term balance, but they will not stop an outbreak overnight. Pair them with barriers and scouting. Think of flowers as your garden’s immune system, not an emergency room.
“I did everything right and still got hit.”
Sometimes pest pressure is weather-driven or neighborhood-driven. Mild winters, heat spikes, and nearby infestations can overwhelm even a well-designed garden. That is not failure. It is just information. Next season, you may lean harder on earlier row cover, sturdier spacing, and faster scouting.
Quick checklist
- Paths wide enough for you to inspect plants without stepping into beds
- Crop blocks broken into smaller groupings instead of one big patch
- Spacing that matches mature plant size, adjusted for how you train plants
- Barrier plants along edges and between crop families
- At least one bed designed for row cover each season
- Row cover timed before pests arrive, with a pollination plan for flowering crops
- Trap crops on the perimeter, monitored often
- Beneficial insect flowers repeated near multiple beds
- Watering setup that avoids constant leaf wetness when possible
- Fewer hiding spots and cleaner bed edges
If you are feeling behind, start with two upgrades: increase spacing and add one physical barrier strategy (like netting on brassicas). Those two steps alone solve more problems than most people expect.
And if you do everything “right” and still find a few chewed leaves, welcome to gardening. The goal is not perfection. The goal is a garden that can take a nibble and keep growing anyway.