The first flower bed I ever “designed” was basically a hopeful pile of plants I liked, crammed into a too-small strip of dirt. It looked great for about two weeks, then the tall stuff bullied the short stuff, the thirsty plants sulked, and I learned a classic gardening truth: a little planning feels like magic later.
This guide walks you through a simple, repeatable process for planning and designing your first flower bed, from measuring the space to choosing the right plants for your sunlight and preparing soil that actually supports blooms. No perfection required. Just a bed that makes you smile when you step outside.
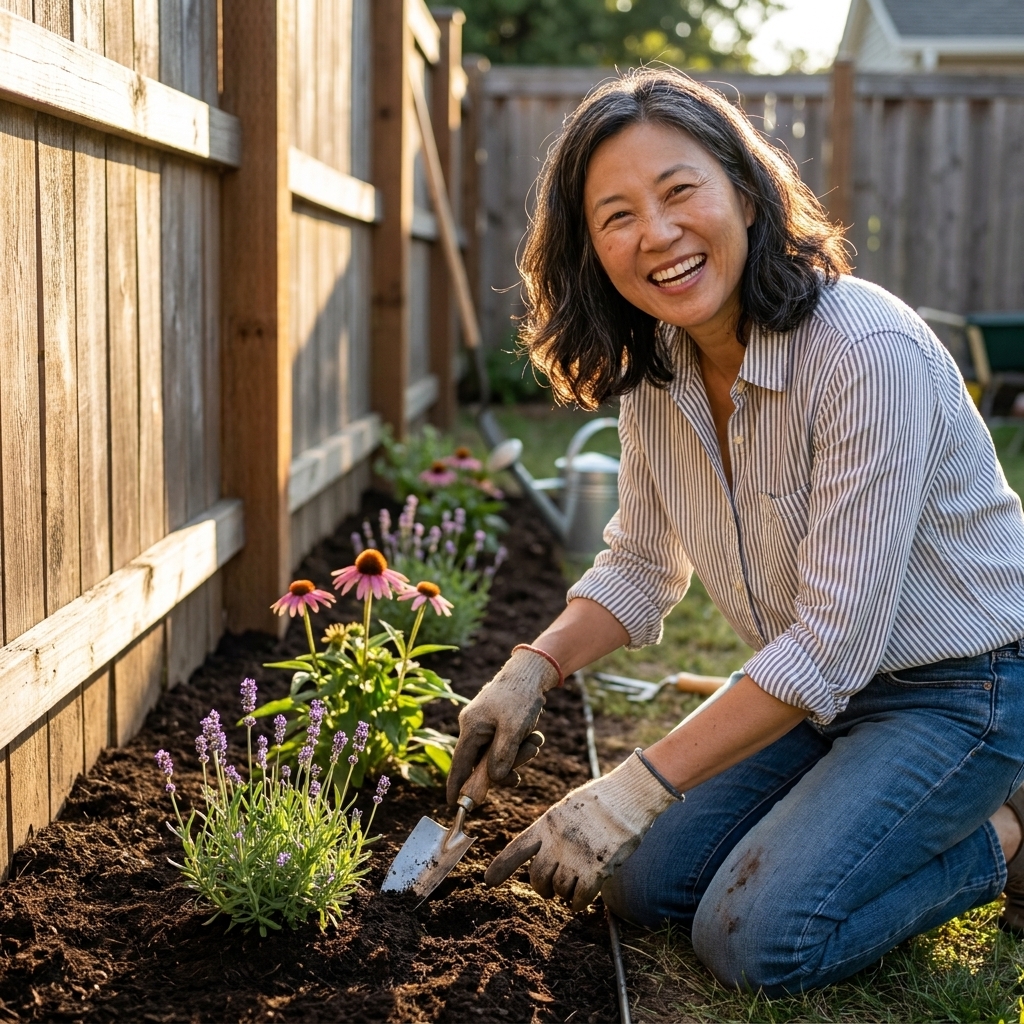
Step 1: Pick the right spot
Before you buy plants, take a slow lap around your yard or balcony and choose a spot that fits your real life. The prettiest bed in the world is not low-maintenance if it is far from the hose, bakes in reflected heat, or sits where you never see it.
A quick checklist
- Visibility: Can you see it from a window, patio, or path you use daily?
- Water access: Is it close enough to water without dragging a hose across the universe?
- Drainage: After a rain, does water puddle there for hours? If yes, plan to improve drainage or choose moisture-tolerant plants.
- Tree roots: Under big trees, expect dry soil and root competition. It is doable, just a different plant list.
- Foot traffic: Avoid spots where you will constantly step into the bed. Compacted soil is a bloom killer.
If you are torn between two locations, choose the one you will actually walk past. A flower bed you enjoy seeing is a flower bed you will maintain.
Step 2: Measure and map
You do not need fancy software. You need a tape measure, a scrap of paper, and about 10 quiet minutes.
Measure the shape
- Rectangles and squares: Measure length and width.
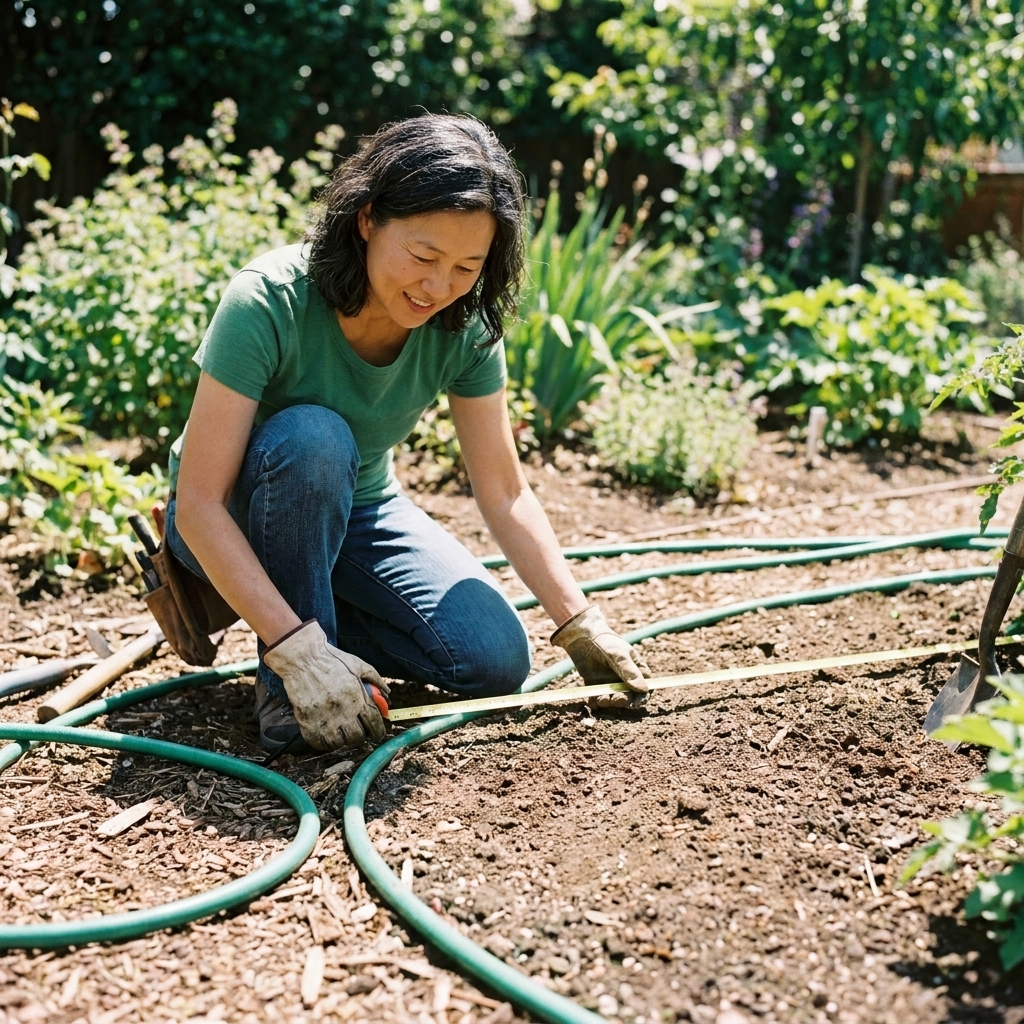
- Curves: Use a hose or rope to lay out the edge, then measure in segments (every 2 to 3 feet) and sketch it.
- Depth matters: A bed that is only 12 inches deep is hard to layer. If you can, 2 to 4 feet deep is ideal for a classic layered look, but even 18 to 24 inches can work if you keep the plant list simple and choose compact varieties.
Mark key features
On your sketch, note anything that affects plant choices:
- Downspouts and areas that stay wet
- Dry corners under eaves
- Where you want a path or stepping stones
- Existing plants you are keeping
Now you have a “base map.” This alone prevents a lot of crowded, chaotic planting later.
Step 3: Check sunlight
Sunlight is the gatekeeper. If you match plants to the light you have, your bed becomes dramatically easier to care for.
How to estimate exposure
On a clear day, check the bed three times: morning, midday, and late afternoon. Note when the area gets direct sun (not bright shade). You can do this in one day, or over a few days if your schedule is messy.
Sun categories (with a quick reality check)
Definitions vary a bit by region and plant tag, so treat these as practical guidelines:
- Full sun: 6+ hours of direct sun.
- Part sun or part shade: About 3 to 6 hours of direct sun. If most of that sun is in the morning, many people call it part shade. If most of it is in the afternoon, it behaves more like part sun.
- Shade: Less than 3 hours of direct sun.
Tip from my “why is everything crispy?” file: Hot afternoon sun is tougher than gentle morning sun. If your bed gets 4 hours but it is 1 pm to 5 pm blazing heat, treat it like a full-sun stress test.
Step 4: Pick a style
Design gets easier when you pick one guiding idea. This keeps your plant shopping from turning into a cart full of “pretty” that does not play nicely together.
Match your fuss tolerance
- Cottage-inspired: Abundant, mixed flowers, softer edges, lots of bloom. Can still be low-maintenance with the right plants, but looks best when a little wild is allowed.
- Clean and modern: Repeated shapes, fewer varieties, strong structure plants, tidy mulch lines.
- Pollinator-friendly: Long bloom season, lots of natives, minimal pesticides, seed heads left for birds.
Choose one clear goal
- “Color from spring through fall.”
- “Low water once established.”
- “A bed that looks good even when nothing is blooming.”
- “Cut flowers for the kitchen.”
Write your goal at the top of your sketch. It is your gentle shopping chaperone.
Step 5: Design the layout
This is the part that feels like arranging a living room. Start with structure, then add the fun layers.
Use the layers rule
- Back layer (or center, if viewable from all sides): Tall plants and structural anchors
- Middle layer: Medium-height bloomers and texture
- Front edge: Low growers, border plants, groundcovers
If your bed is against a fence or wall, keep the tallest plants at the back. If it is an island bed, put tall plants in the middle and step down toward the edges.
Repeat plants for calm
Instead of 18 different “one-of-each” plants, choose fewer types and repeat them. Repetition reads as intentional design and it is easier to maintain.
- Aim for 3 to 7 main plant varieties in a small bed.
- Plant in clumps of 3, 5, or 7 for visual impact.
Respect mature size
Those cute little nursery pots are lying to you in the nicest way. Check the plant tag for mature width and space accordingly. If a plant says “spreads 24 inches,” it wants a 2-foot circle of its own.
Rule of thumb: Space plants so their mature widths just touch, not overlap by half. A simple way to think about it: a 24-inch-wide plant usually wants about 24 inches center-to-center from its neighbor. You will have some bare soil at first, and that is okay. Mulch is your temporary filler.
Step 6: Choose plants
There are endless plant options. For a first bed, I like to start with reliable performers that look good, handle small mistakes, and do not demand daily babysitting.
One important filter before you fall in love: Check that any plant you buy is rated for your climate and hardiness zone (USDA zone in the U.S., similar systems elsewhere). The same plant can be a superstar in one region and a heartbreak in another.
Easy wins for full sun
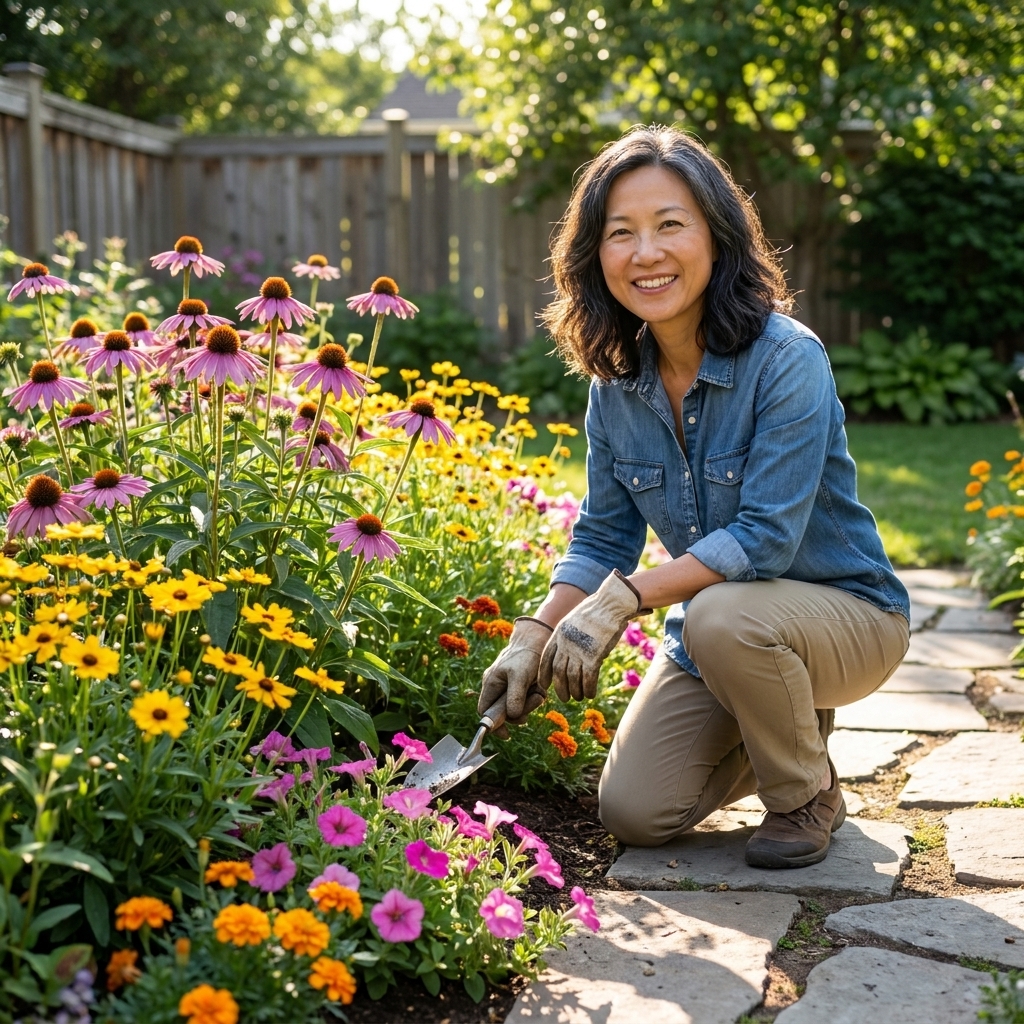
- Coneflower (Echinacea): Pollinator magnet, sturdy, long bloom.
- Black-eyed Susan (Rudbeckia): Cheerful and tough, great beginner plant.
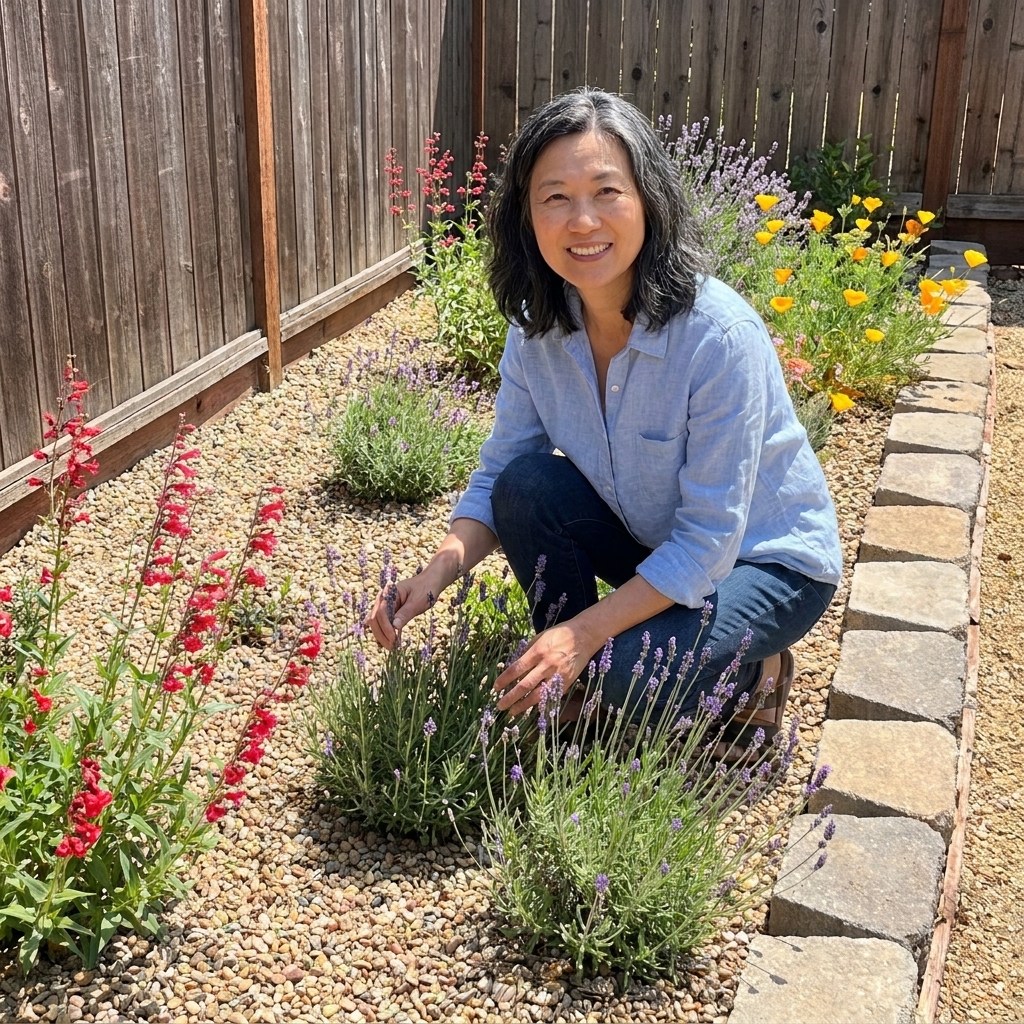
- Salvia: Long bloom, loved by bees, often drought-tolerant (varies by type).
- Catmint (Nepeta): Soft purple haze of flowers, forgiving and easy.
- Sedum (stonecrop): Excellent for hot, dry spots and fall interest.
Easy wins for part sun
- Bee balm (Monarda): Best bloom in sun, but in hot climates it often appreciates afternoon shade. Choose mildew-resistant varieties if possible.
- Coral bells (Heuchera): Gorgeous foliage, steady performer.
- Astilbe: Feathery flowers, likes consistent moisture.
- Hardy geranium (cranesbill): Long blooming, fills in nicely.
Easy wins for shade
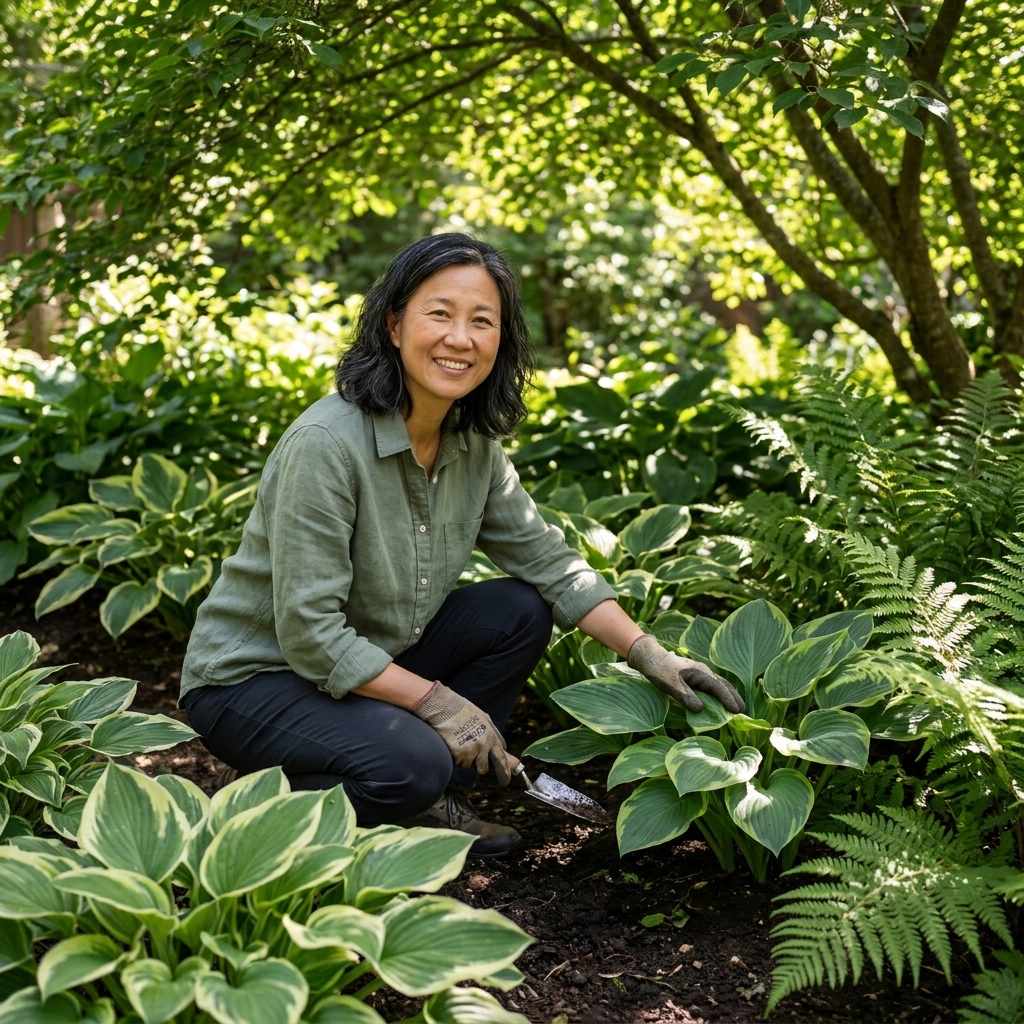
- Hosta: Reliable foliage, many sizes and colors.
- Ferns: Texture and movement, especially in moist shade.
- Hellebore: Early-season blooms, evergreen in many climates.
- Foamflower (Tiarella): Great groundcover with spring blooms.
About “low-maintenance”: Most perennials need regular water their first season while roots establish. Low-maintenance starts in year two.
Build bloom season on purpose
A bed looks best when something is always happening. Try to include:
- 1 early-season bloomer (spring)
- 2 to 3 summer bloomers
- 1 late-season bloomer (late summer to fall)
- 1 plant chosen for foliage or structure (looks good even out of bloom)
Step 7: Prep the soil
Pretty plants cannot outgrow bad soil forever. The good news is you do not have to create perfect soil. You just need workable, well-draining, organic-rich soil.
Start with a quick soil check
- Compaction: Can you push a trowel in easily? If not, plan to loosen the soil.
- Texture: Sandy soils drain fast and need more organic matter. Clay holds water and needs organic matter to improve structure.
- pH and nutrients: A basic soil test helps, especially if plants repeatedly struggle. Many cooperative extensions offer affordable tests.
Remove grass and weeds
For a new bed in lawn, you have two beginner-friendly options:
- Cut and lift: Use a sharp spade to slice under sod and remove it. Fast, physical, satisfying.
- Smother: Lay plain cardboard (no glossy coating) over grass, overlap seams, wet it, then top with compost and mulch. You can cut planting holes and plant right away, but expect the cardboard to break down on its own timeline. Depending on thickness, moisture, and season, that can be several weeks to a few months.
Amend with compost
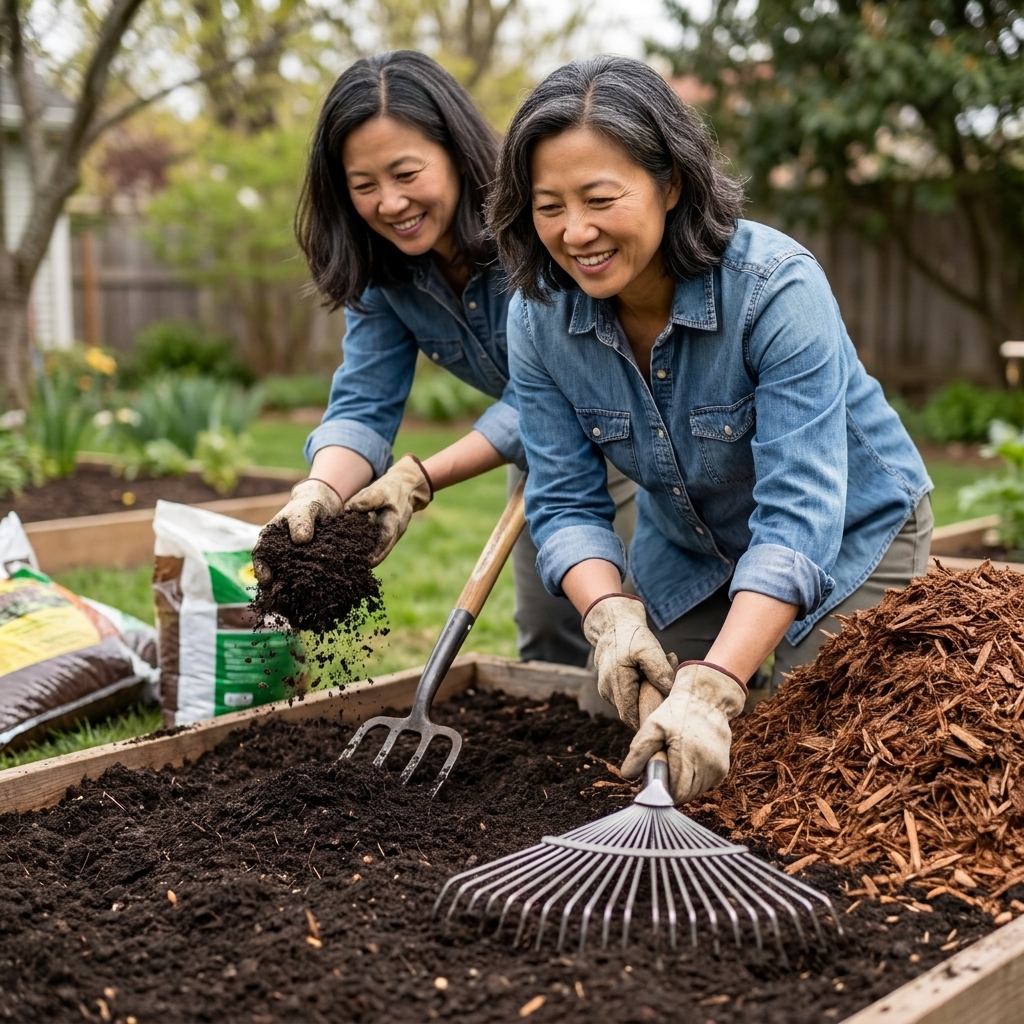
Spread 2 to 3 inches of compost over the bed and mix it into the top 6 to 8 inches of soil if you can. If your soil is heavy clay or digging feels like wrestling a brick, do what you can now and then plan on adding compost as a topdressing each year. Slow improvements still count.
Mulch like you mean it
Mulch is not just for looks. It keeps moisture in, reduces weeds, and protects soil structure.
- Apply 2 to 3 inches of mulch after planting.
- Keep mulch a few inches away from plant crowns to prevent rot.
- Shredded bark, leaf mulch, or pine fines are great choices for flower beds.
Step 8: Planting day
Take a breath. Planting is the fun part, and it goes smoother with a little rhythm.
Before you dig
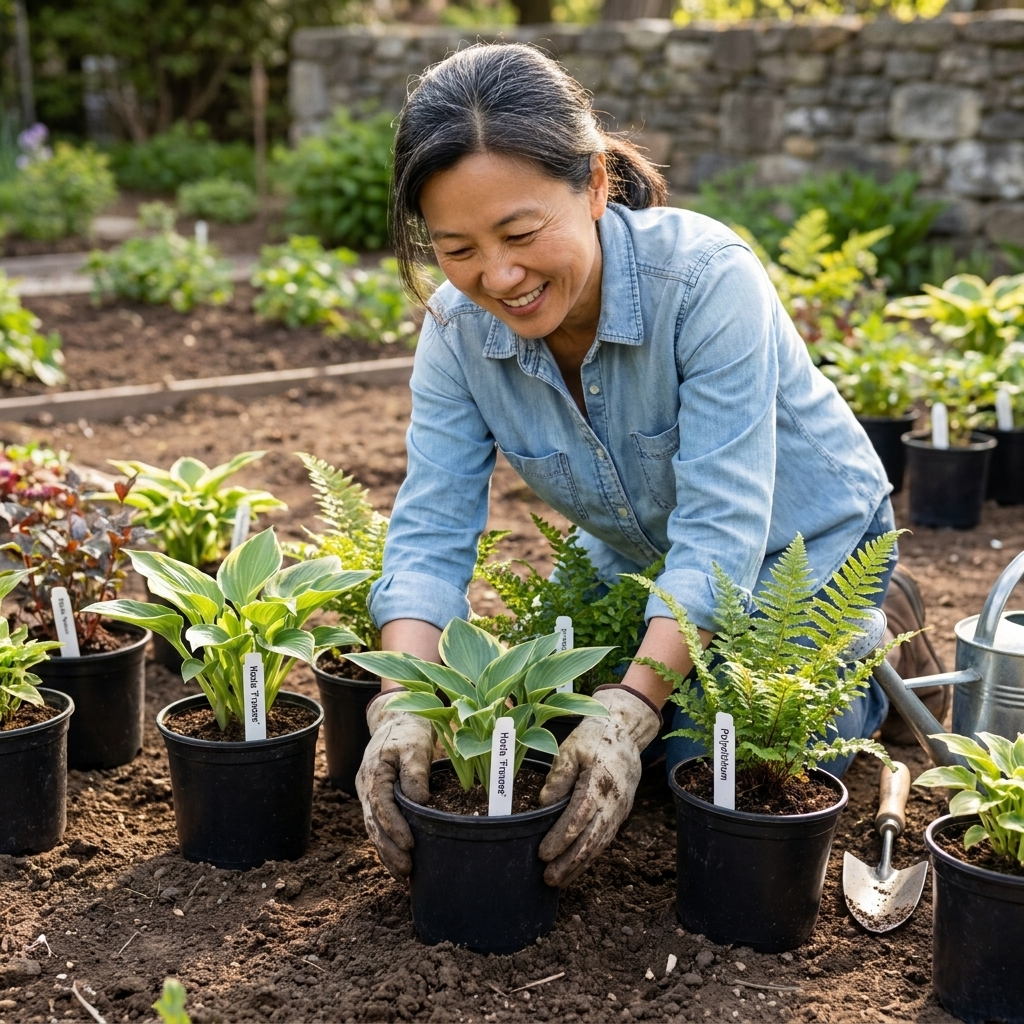
- Set pots on top of the soil according to your plan.
- Step back and look from where you will usually view the bed.
- Adjust spacing now, while it is easy.
How to plant (quick and correct)
- Dig a hole about as deep as the pot and a bit wider.
- Gently loosen circling roots.
- Plant so the top of the root ball sits level with the surrounding soil.
- Backfill, press lightly, and water deeply.
Watering tip: A slow soak is better than a daily sprinkle. You are encouraging roots to grow down, not hover at the surface.
Step 9: Easy maintenance
The first season is establishment season. Your job is to help plants root in, keep weeds from taking over, and avoid over-fertilizing.
Your first-year routine
- Water: For the first 2 to 4 weeks, check moisture often. Many new plantings need water every few days in hot or windy weather, especially in sandy soil. After that, aim for deep watering about 1 to 2 times per week depending on heat and rainfall.
- Weed: A quick 10 minutes once a week beats an exhausting weeding marathon later.
- Mulch check: Top up mulch if bare soil shows through.
- Deadhead selectively: Snip spent flowers on repeat bloomers if you want more blooms. Leave seed heads on some plants in fall for birds and winter interest.
Skip heavy feeding
Compost plus mulch usually covers most beds. Too much fertilizer can make plants flop and invite pests. If something looks pale or stalled, check sunlight and watering first. Those are the usual culprits.
A sample plan
If you want a straightforward starting point, here is a simple approach for a bed about 3 feet deep and 8 feet long in full sun:
- Back layer: 3 coneflowers spaced 18 to 24 inches apart
- Middle layer: 3 salvias + 3 black-eyed Susans in two repeating clumps
- Front edge: 5 catmints or low sedums to soften the border
This gives you repeated color, pollinator activity, and a long bloom window without being high-strung.
Troubleshooting
“My bed looks sparse.”
That is normal in year one. Perennials sleep, creep, then leap. Use mulch to cover bare soil, and consider a few annuals as temporary fillers.
“Everything is flopping over.”
Common causes: too much shade, too much fertilizer, or plants spaced too tightly. Also, some plants just need support. Try staking early, or choose sturdier varieties next time.
“I have weeds everywhere.”
Add mulch to a consistent 2 to 3 inches, weed when the soil is moist, and do not let weeds go to seed. If weeds are persistent, check if mulch is too thin or breaking down and mixing with soil.
“Leaves are getting holes.”
First identify the culprit. Slugs, beetles, and caterpillars leave different signatures. For organic management, start with hand-picking at dusk, use barriers where appropriate, and focus on plant health. Stressed plants get hit harder.
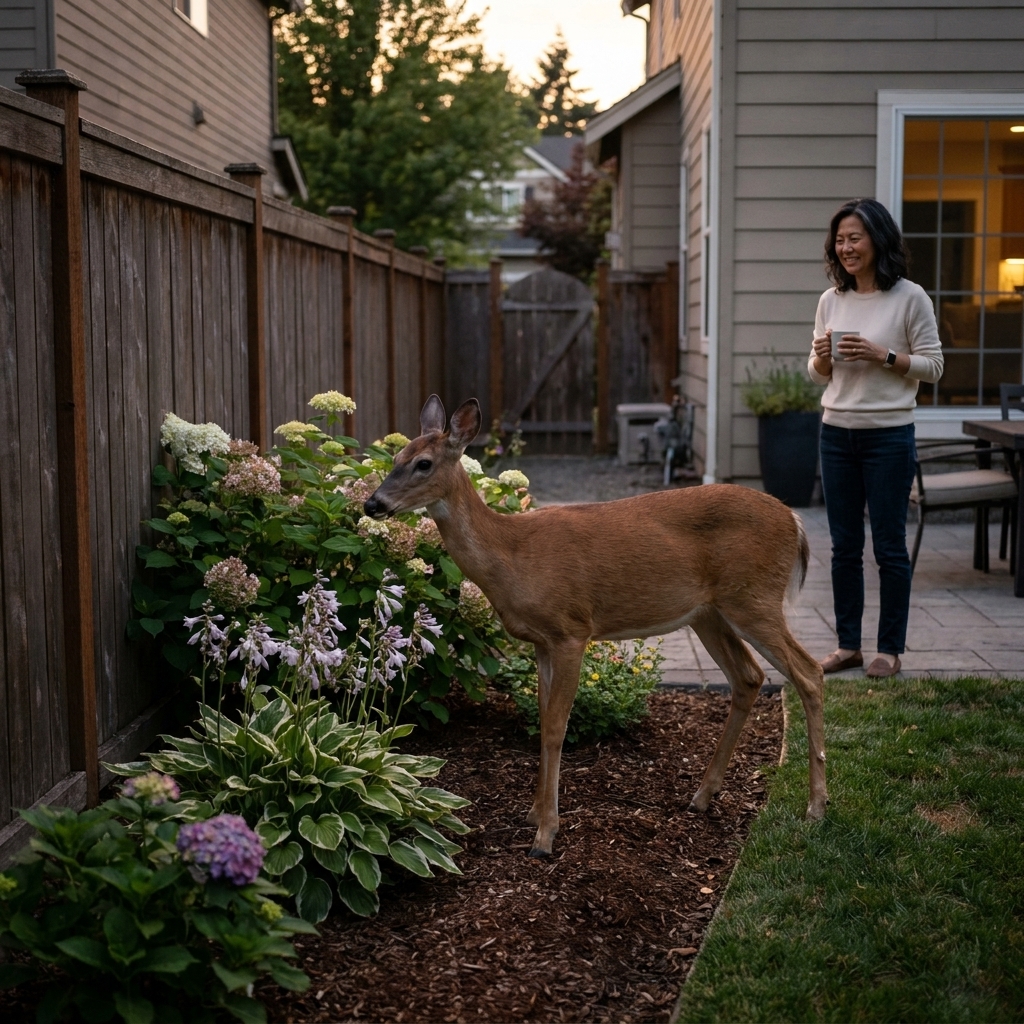
“Something keeps eating everything.”
If plants look neatly clipped or stripped overnight, you may be dealing with deer or rabbits. Your best first moves are simple: pick plants labeled deer-resistant in your area, use temporary fencing or netting while plants establish, and consider repellents as backup.
Shopping list
- Tape measure
- Garden hose or rope (for outlining curves)
- Spade or edging tool
- Compost (enough for 2 to 3 inches over your bed)
- Mulch (enough for 2 to 3 inches)
- Hand trowel and gloves
- Watering can or hose with a gentle spray
- Plant markers if you are prone to forgetting what you planted where (I am)
FAQ
How wide should a beginner flower bed be?
If you have the space, 3 to 5 feet deep is beginner-friendly because it lets you layer plants (tall, medium, short) without crowding. A 1-foot strip is harder to make look full and balanced. If a narrow strip is what you have, lean into compact plants and repetition.
Should I start with perennials or annuals?
For a low-maintenance bed, start with perennials as your “bones,” then add a few annuals for quick color the first year. That way the bed looks lively while the perennials establish.
Do I need landscape fabric under mulch?
Usually, no. Fabric often becomes a long-term frustration because mulch breaks down into soil on top of it, and weeds can root in that layer anyway. It can also make it harder for organic matter to naturally work into the soil. A thick mulch layer plus quick, regular weeding is typically more effective.
When is the best time to plant a new flower bed?
Spring and early fall are easiest in many climates. Fall planting is wonderfully underrated because soil is still warm, weeds slow down, and roots can establish before summer heat.
If you take nothing else from this guide, take this: match plants to your sunlight, give them room to grow, and build your bed on compost and mulch. That combination covers an impressive number of beginner mistakes, and it turns “stubborn dirt” into a place that feels alive.
And if you end up moving a plant or two next season, welcome to gardening. Your compost bin is already saving you a seat.