A good garden pathway does three jobs at once: it protects your soil structure, it keeps your shoes (mostly) clean, and it quietly guides the eye through your landscape like a friendly tour guide. A bad pathway does the opposite, turning into a muddy rut or that mysterious strip where weeds throw a block party.
The good news is that you do not need a landscape architecture degree to get this right. You just need a little planning, the right base prep, and a material that matches how you actually use your yard.
Start with how you move
Before you choose gravel versus stepping stones, watch your own feet. The most functional garden paths follow desire lines, meaning where people naturally walk. If you fight that, your lawn and beds will show you who wins.
Quick planning questions
- Who uses it? Kids sprinting, a wheelbarrow, an older dog with stiff hips, a guest in sandals.
- What are you carrying? Compost buckets, watering cans, harvest baskets, a hose that loves to snag.
- When do you use it? Early morning dew, rainy season, winter freeze-thaw, summer barefoot shortcuts.
- Where does water go? Your path should shed water, not become a mini creek.
Path width basics
- Single-person bed access: 24 to 30 inches
- Comfortable two-person pass: 36 to 42 inches
- Wheelbarrow, cart, or stroller friendly: 36 inches minimum, 42 inches is bliss
If space is tight, keep narrow paths for light foot traffic and make at least one main route wide and smooth enough for hauling mulch. Your future shoulders will thank you.
Pick the right material
I love a gorgeous stone walkway as much as the next garden nerd, but your best pathway material is the one you will maintain without resentment. Here are the most garden-friendly options, with honest pros and cons.
Mulch paths
Best for: informal cottage gardens, veggie beds, soft woodland looks, beginners who want quick results.
- Pros: inexpensive, easy to install, gentle on joints, and it can add organic matter over time, especially if you refresh in place or let fines work into the edges.
- Cons: needs topping up, can migrate in heavy rain, can harbor weeds if installed thinly.
My go-to: arborist wood chips or shredded bark installed 3 to 4 inches deep. In most gardens, chips directly on soil are simplest. If you are dealing with aggressive weeds or very soft soil, a permeable fabric can help, but know the trade-off: chips break down into a layer of composty fines on top of the fabric, and that can become its own seedbed over time.
Gravel
Best for: main garden routes, modern or Mediterranean designs, areas that need reliable drainage.
- Pros: drains well, long-lasting, easy to refresh, great crunch-underfoot vibe.
- Cons: needs edging, small gravel can travel, and loose gravel can be challenging for wheelchairs or narrow stroller wheels unless it is compacted and graded well.
My rule: if you want stability, use angular gravel (like crushed stone) for the base and consider a finer topping that compacts well. Round pea gravel rolls underfoot and is better for low-traffic decorative zones. If accessibility is a priority, look at decomposed granite (DG) with fines compacted tightly, or DG with a stabilizer for a firmer surface.
Stepping stones
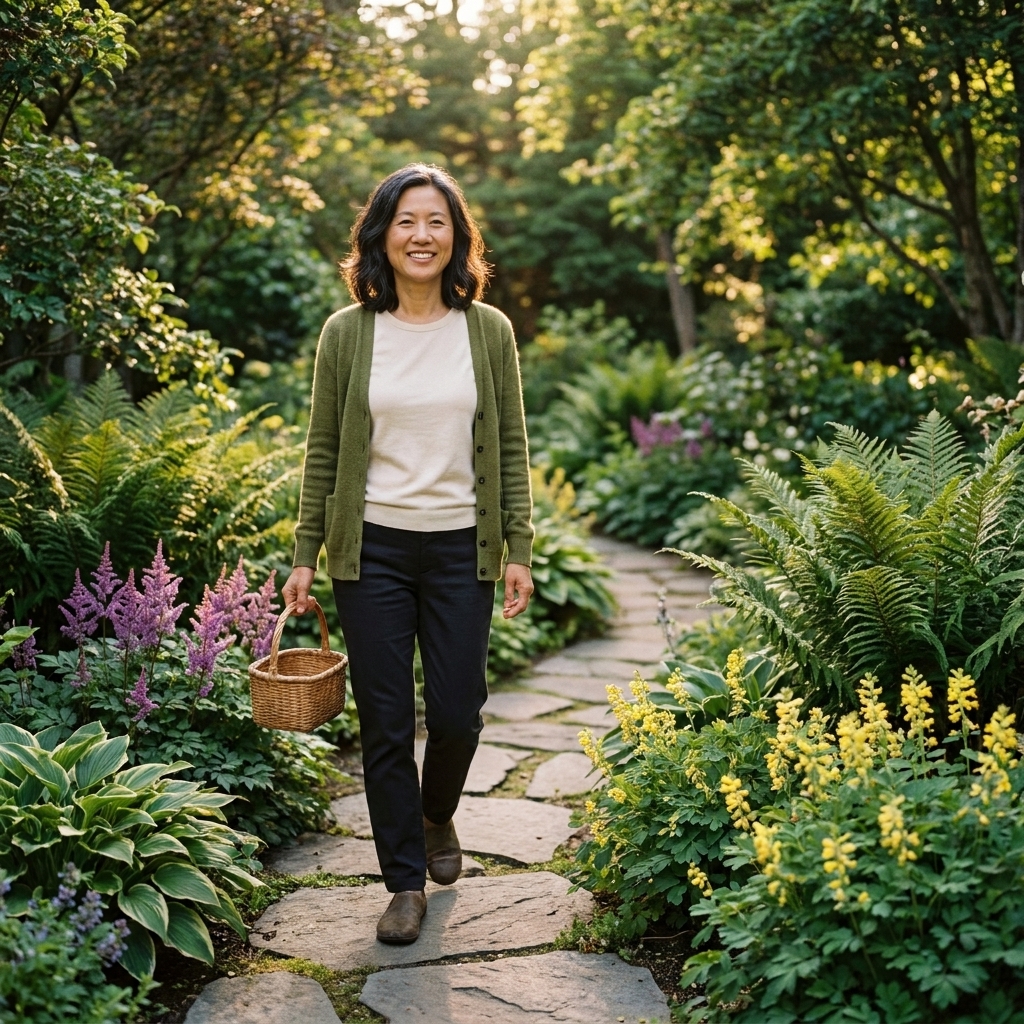
Best for: connecting points across lawn, weaving through beds, “slow down and look” garden strolls.
- Pros: charming, flexible layout, lets plants soften edges, can be installed as a weekend project.
- Cons: can get wobbly without proper bedding, mowing around them can be annoying, spacing matters for safe walking.
Comfort tip: start with stones about 18 to 24 inches apart center-to-center, then adjust by taking a natural walk and marking where your feet actually land. Stride length varies a lot, so let your body be the measuring tape.
Pavers and brick
Best for: high-traffic routes, patios-to-garden transitions, clean lines, long-term durability.
- Pros: stable, accessible, easy to sweep, looks polished.
- Cons: more excavation and base prep, higher cost, weeds can appear in joints without proper joint material.
Flagstone
Best for: naturalistic gardens, dry creek areas, and spaces where you want that “it has always been here” feel.
- Pros: beautiful, each piece is unique, can be set with groundcovers between stones.
- Cons: can be pricey, heavy to move, needs careful leveling.
Details that look intentional
Even a simple mulch trail can look professionally done if you borrow a few design tricks.
Choose a shape
- Straight paths: feel formal, efficient, and modern. Great for direct access to compost bins, sheds, and veggie beds.
- Gentle curves: feel relaxed and natural. Use curves to reveal the garden in sections and slow down foot traffic.
Avoid tight squiggles. If the curve is too sharp, people will cut the corner and you will grow a new desire line overnight.
Edge it
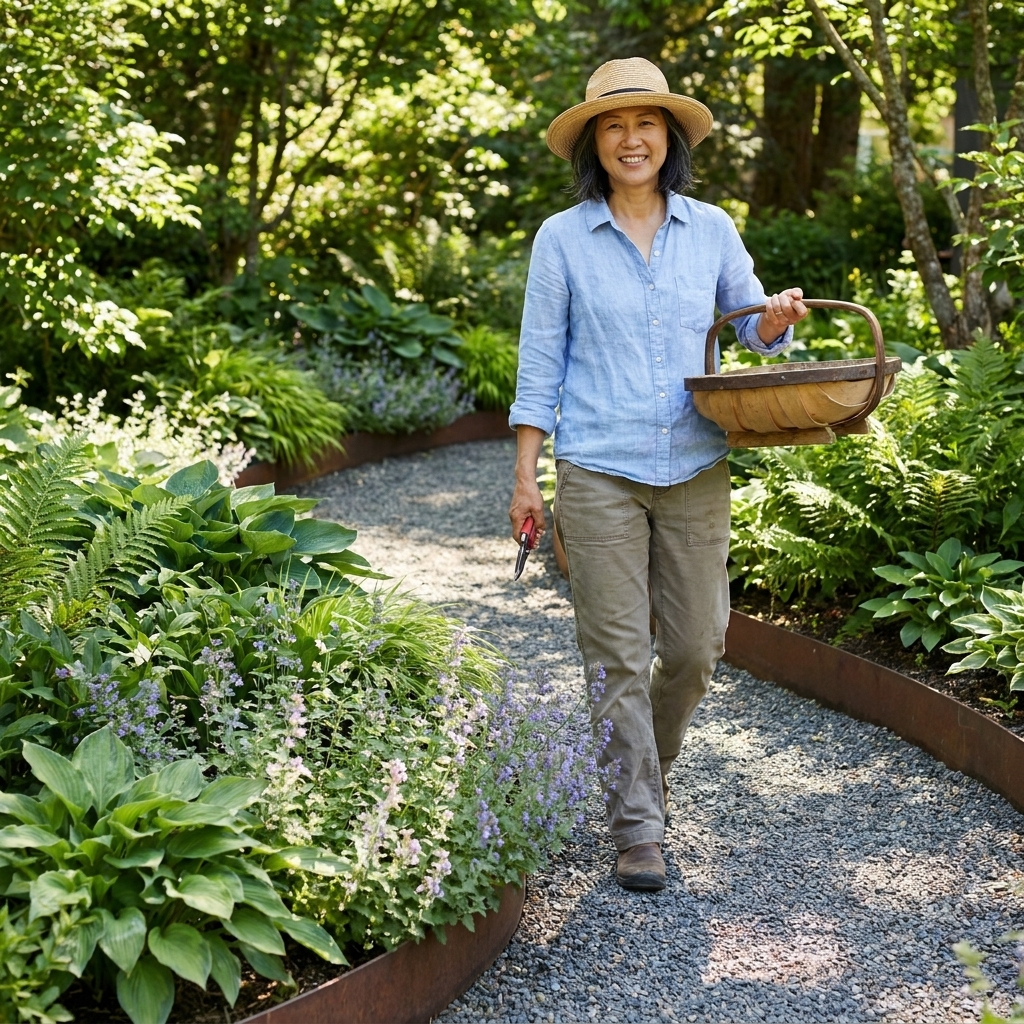
Edging is the difference between “nice garden path” and “why is there gravel in my lawn.” Options include steel edging, aluminum edging, brick set on edge, stone, or rot-resistant wood. I lean toward steel because it disappears visually and keeps lines crisp.
Leave shoulder room
Give your path a little breathing room. Plants will lean. Self-seeding annuals will pop up. Your golden retriever will choose the exact edge to trot along. If you build your path exactly the width you think you need, it will feel narrow by midsummer.
Match transitions
If your garden path connects to a patio or driveway, echo at least one element: similar stone color, matching edging metal, or repeating gravel tone. It makes the whole landscape feel cohesive without being matchy-matchy.
Base prep matters
If you take only one thing from this article, let it be this: the base matters more than the top layer. Many path failures are really base prep failures wearing a disguise.
General rules
- Excavate so your finished path sits slightly above surrounding soil, not below it.
- Create a slight crown or slope so water drains off. A subtle 1 to 2 percent slope is plenty.
- Compact as you go. Loose layers settle unevenly.
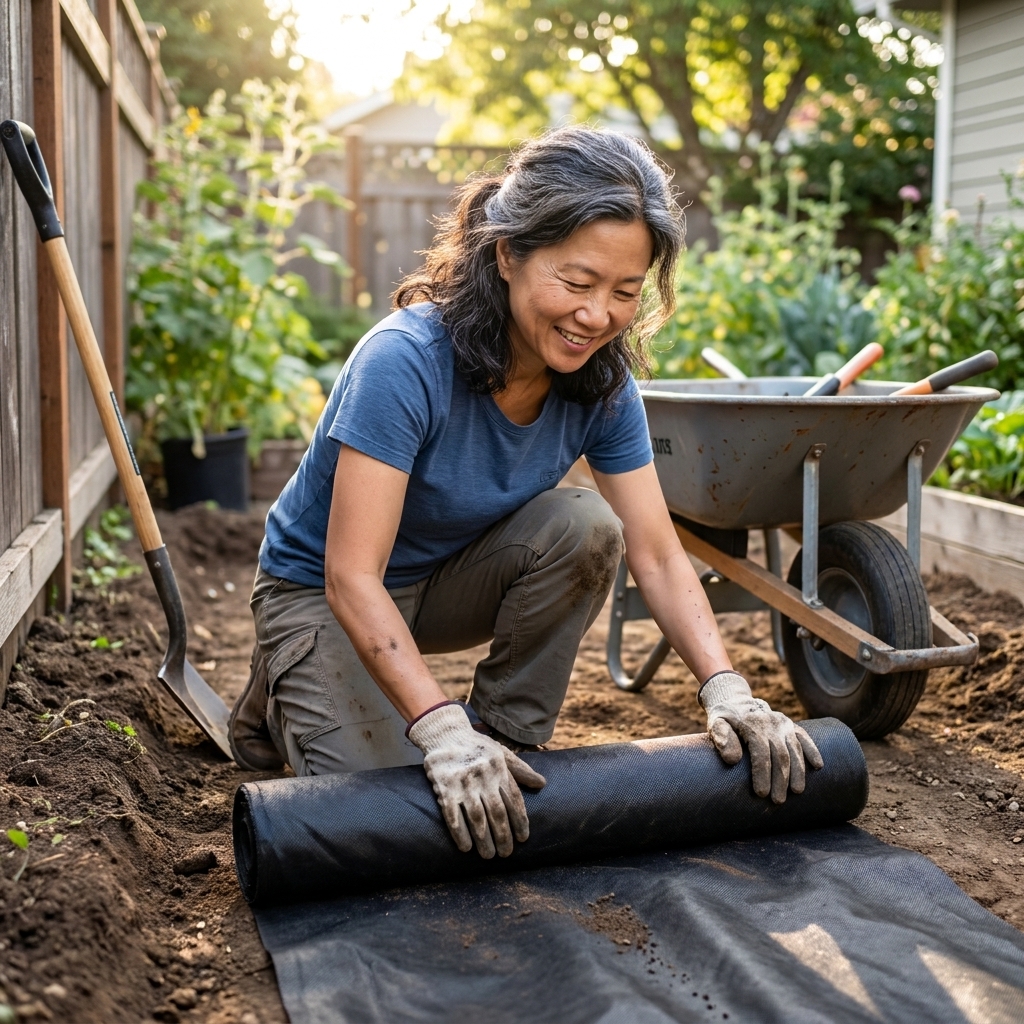
- Separate soil from your path material with a permeable fabric or a compacted aggregate layer, depending on path type.
What goes underneath
Landscape fabric: Helpful under gravel to reduce sinking and mixing. Under mulch, it is more of an optional, situation-specific tool. If you use it, plan on occasional maintenance when fines build up on top.
Geotextile and a proper base: For gravel and pavers, a compacted base of crushed stone is what keeps the path from sinking and rippling.
Skip plastic sheeting: It blocks infiltration and can trap water where you do not want it, creating waterlogging and slick spots.
Safety first
Before you dig, do two quick reality checks: what is underground, and what does your area require.
- Mark utilities: Use your local call-before-you-dig service before any real excavation. Also note sprinklers, drip lines, landscape lighting cable, and invisible-fence wire.
- Check local requirements: Some communities have rules for front-yard hardscape, drainage changes, or walkway work near sidewalks and easements.
- Plan for slopes: On steep grades, loose gravel wants to travel. Consider shallow steps, landings, or a more contained surface like pavers with good drainage.
Install a mulch path
Materials
- Mulch or wood chips (enough for 3 to 4 inches depth)
- Edging (optional but strongly recommended)
- Permeable landscape fabric and stakes (optional)
- Shovel, rake
Steps
- Mark the path with a hose or string so you can adjust curves before digging.
- Remove grass and weeds and excavate 2 to 4 inches.
- Install edging if using.
- Lay fabric only if it truly helps your situation (aggressive weeds, very soft soil, or you want extra separation). Otherwise, skip it.
- Add mulch to a 3 to 4 inch depth, then rake smooth.
- Top up as it settles. Most mulch paths need a refresh once or twice a year depending on climate and traffic.
Small truth from my own yard: if you skimp and only do 1 inch of mulch, weeds will treat it like a welcome mat.
Install a gravel path
Materials
- Crushed stone base (often called road base or 3/4-inch minus, varies by region)
- Top gravel layer (decomposed granite, 3/8-inch crushed stone, or similar)
- Permeable geotextile fabric
- Edging
- Plate compactor (rental) or hand tamper for small paths
Steps
- Excavate about 4 to 8 inches, depending on soil, climate, and traffic. Freeze-thaw regions, expansive clay, and heavy use often need a deeper, better-compacted base. When in doubt, check local hardscape specs or ask your gravel supplier what holds up in your area.
- Grade for drainage with a slight slope away from structures.
- Lay geotextile fabric to keep gravel from sinking into soil.
- Add base material in 2 to 3 inch lifts, compacting each layer.
- Install edging before the final top layer so gravel stays put.
- Add the top gravel 1 to 2 inches, rake level, then compact lightly.
Thickness guide
- Light foot traffic: about 3 to 4 inches base + 1 inch top
- Wheelbarrows and frequent use: about 4 to 6 inches base + 1 to 2 inches top
Weed reality check: Gravel paths can still get weeds, usually from windblown seeds settling into dust and organic bits. A quick spring rake and spot-pulling while the surface is damp keeps it manageable.
Install stepping stones
Materials
- Stepping stones or cut flagstone pieces
- Sand or stone dust for leveling
- Crushed stone for base in soft soils
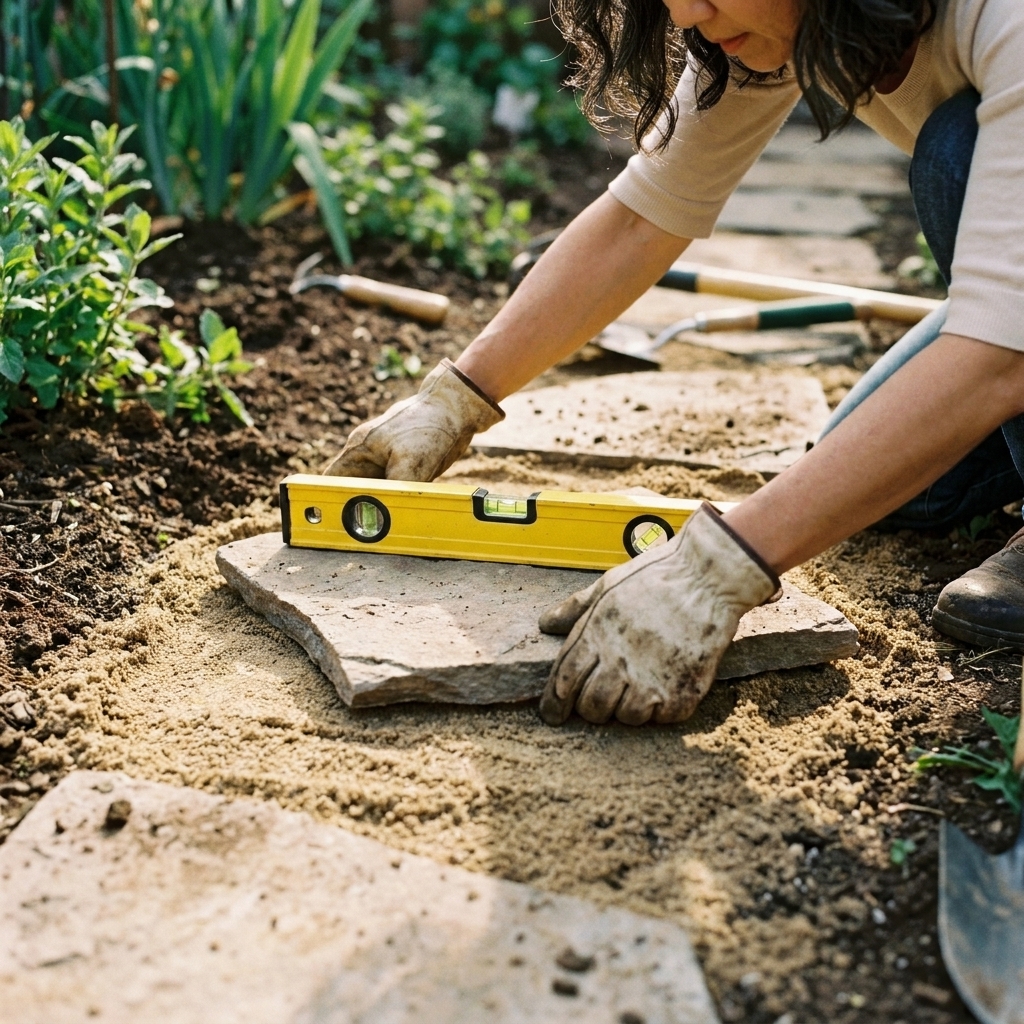
- Shovel, level, rubber mallet
Steps
- Lay out stones first and walk the path. Adjust spacing until it feels natural.
- Trace each stone onto the ground.
- Excavate each spot so the stone will sit flush with or slightly above the surrounding grade. Flush is best if the path crosses lawn you mow.
- Add a base of compacted crushed stone if your soil is soft or poorly drained.
- Add leveling sand, set the stone, and tap with a rubber mallet.
- Check level side-to-side so it does not rock.
- Backfill edges with soil, gravel, or low groundcover plants.
Accessibility and comfort
If someone in your household uses a mobility aid, or you just want a path that is easy on ankles and wheels, choose firmness first and charm second. You can have both, but firmness is the foundation.
- Favor stable surfaces: pavers, brick, or well-compacted DG tend to be easier than loose pea gravel.
- Keep cross slope gentle: a small slope helps drainage, but big side-to-side tilt feels sketchy fast.
- Go wider on main routes: 42 inches is a comfortable target when you can manage it.
Keep paths kind to gardens
Pathways are hardscape, but they still affect the living parts of your yard. A few small choices can keep your beds healthier and your garden more welcoming.
- Let water infiltrate: Choose permeable materials like gravel, mulch, or spaced flagstone rather than long runs of solid concrete through the whole garden.
- Avoid chemical weed killers: They drift, they run off, and they can harm soil biology. Physical removal and good edging are safer tools for most home gardens.
- Use heat carefully: Flame weeding or boiling water can reduce chemical use, but both can burn you, damage nearby plants, and pose fire risks in dry weather. Use only where appropriate, and follow local fire guidance.
- Use soft edges: Tuck creeping thyme, low sedum, or dwarf mondo grass along sunny edges if you want a planted border that stays low.
- Protect tree roots: Avoid deep excavation over major roots. In root zones, a mulch path is often kinder than pavers.
If you are placing a path through beds, aim to step where you already compact soil. Your worms and mycorrhizae prefer you keep the rest of the bed fluffy and breathable.
Common problems
Puddles and soggy spots
- Cause: low spots, clay soil, path set below grade.
- Fix: regrade to a slight slope, add base material, and raise the path slightly above surrounding soil. In chronic wet areas, switch to gravel or add drainage nearby.
Gravel in beds
- Cause: no edging or edging installed too shallow.
- Fix: add sturdy edging and keep the top gravel layer thinner. Rake gravel back in place after storms.
Weeds everywhere
- Cause: thin material layer, dirt mixing into path, windblown seeds.
- Fix: top up depth, refresh mulch or gravel, rake out organic debris, and spot-weed while small.
Wobbly stones
- Cause: insufficient base, settling, or uneven bedding sand.
- Fix: pull the offender, rebuild the base in that spot, compact, and reset level.
My calm-gardener reminder: pathways are not tattoos. You can revise them. In fact, most gardens improve when you let the path evolve alongside the plants.
Lighting basics
A path that feels safe at night gets used more, and it is easier on ankles, toes, and anyone carrying a basket of tomatoes.
- Solar stakes: fast and easy, but brightness and longevity vary by brand and winter sun.
- Low-voltage lighting: more reliable, cleaner look, and easier to aim where you actually step.
- Place lights with intent: focus on entrances, steps, and any grade change, not a runway down the whole path.
Mini path recipes
Veggie garden loop
- 36-inch main gravel path from gate to beds
- 24-inch mulch side paths between raised beds
- Steel edging on gravel sections for clean lines
Cottage garden wander
- Stepping stones through beds, set flush with soil
- Wood chip secondary paths that can shift as plants expand
- Low thyme planted along sunny edges
Tidy front-yard stroll
- Pavers or brick for the main approach
- Short gravel spur paths to side gates or bins
- Matching edging material for cohesion
FAQ
Do I need fabric under gravel?
Often, yes. If your soil is soft, clay-heavy, or you want a long-lasting path, a permeable geotextile fabric is usually worth it. It reduces sinking and slows the soil-gravel mixing that turns paths into weedy dust. In very rocky native soils, you may be able to skip it, but most DIY gravel paths perform better with separation.
What is the most low-maintenance path?
A properly installed paver path on a compacted base is low maintenance, but it is more work upfront. For many home gardens, a gravel path with edging hits the sweet spot between durability and install effort.
How do I make a path look natural in perennials?
Use gentle curves, choose materials with earthy tones, and soften edges with plants that drape slightly, like lady’s mantle, creeping phlox, or hardy geraniums. Keep the path line clean with edging so it reads as intentional, not accidental.
Can I put a path right next to plant stems?
Try to leave a little buffer so you are not constantly brushing plants with your legs or crushing new growth. A few inches of breathing room also improves airflow, which helps reduce mildew and leaf spot.
Decide today
If you are stuck between options, here is my neighborly shortcut:
- Need something fast and flexible? Mulch.
- Need something durable and drain-friendly? Gravel with edging.
- Want a charming stroll-through-the-beds feel? Stepping stones set properly.
- Want the most stable, polished main route? Pavers or brick.
Pick the path that matches your life, not your fantasy garden magazine spread. Your garden will meet you where you are, and then, season by season, it will surprise you with how quickly “just a path” turns into the backbone of a landscape you love.