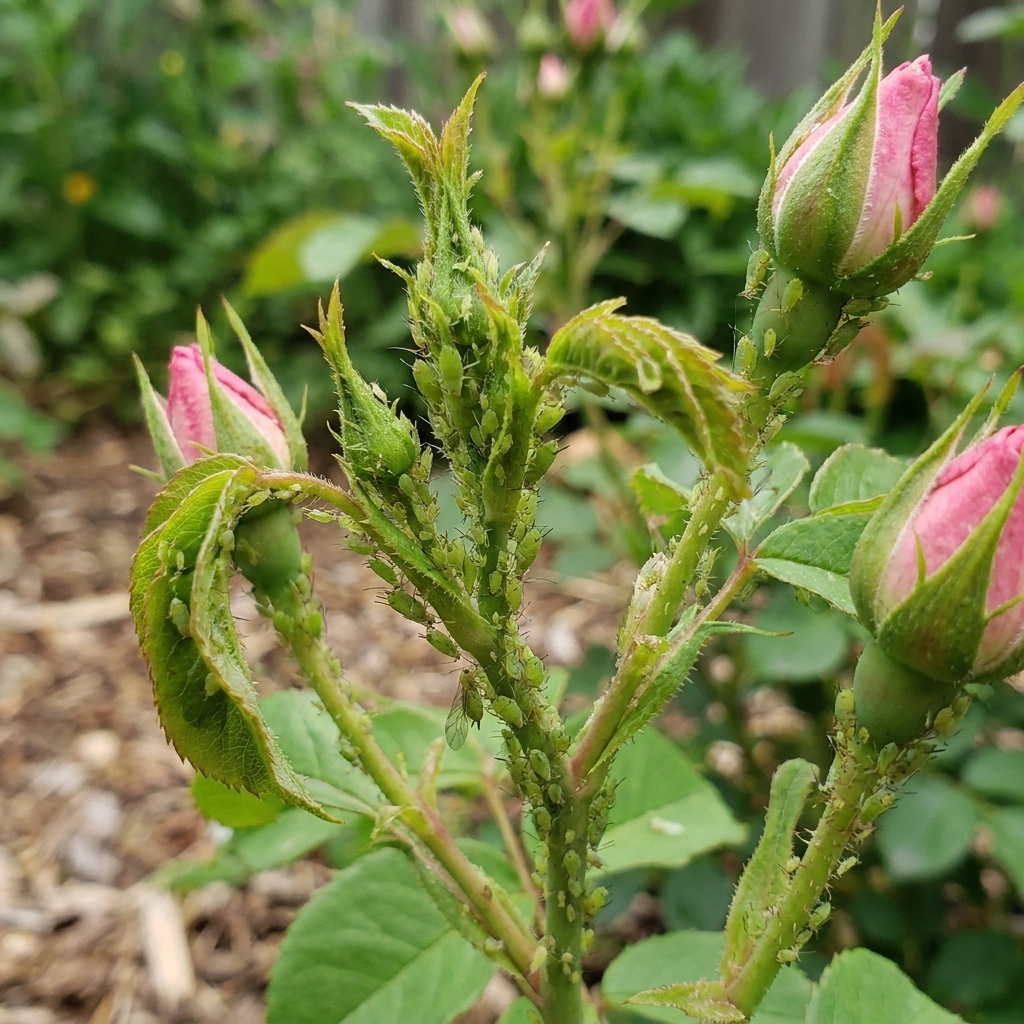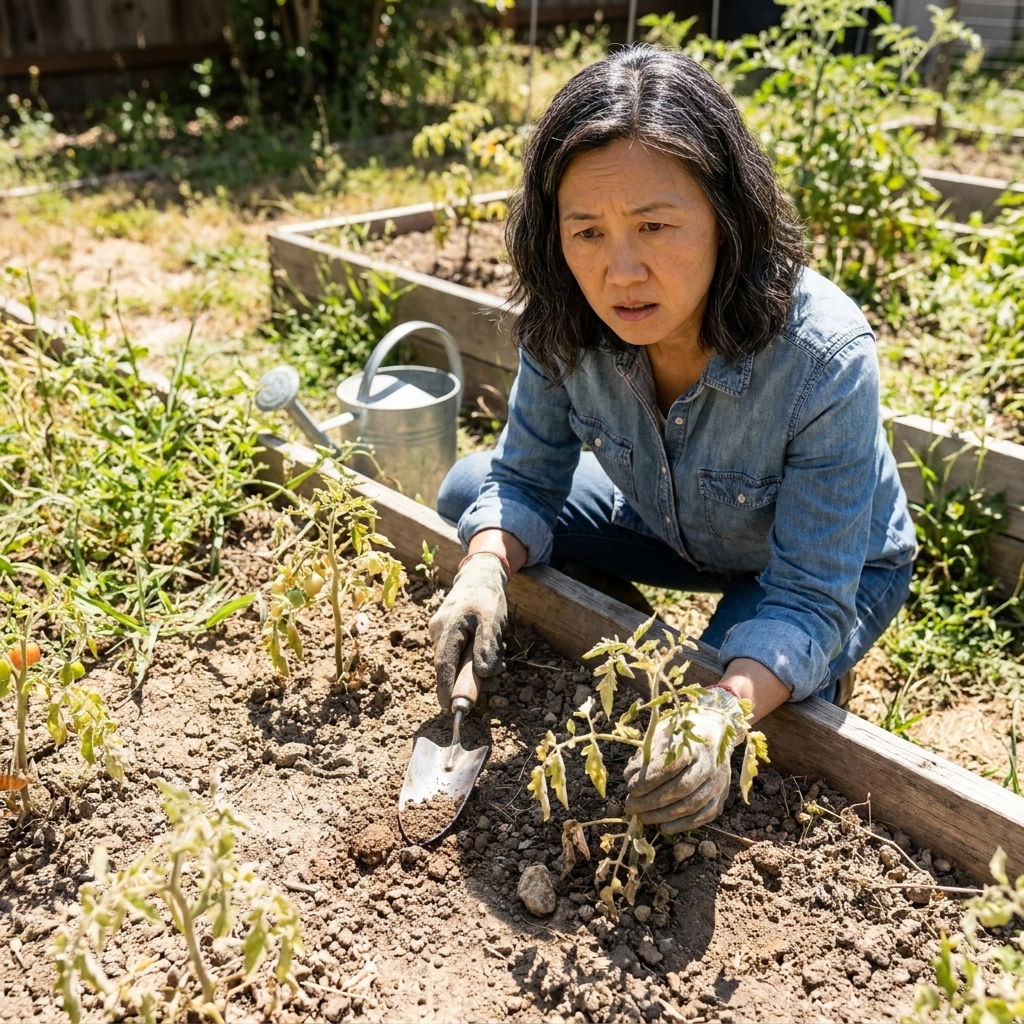
Every spring, I watch gardeners sprint into the season like it is a relay race. Seeds! Starts! Mulch! And then midsummer hits and the garden turns into an all-you-can-eat buffet for aphids, slugs, caterpillars, and every plant-munching neighbor who overwintered nearby.
The good news is that many “summer pests” are really “spring opportunities.” A little early prep disrupts pest life cycles, supports beneficial insects, and helps your plants grow sturdy enough to shrug off minor damage. Here are five steps I use in my own yard, usually with Barnaby supervising from a sunny patch of lawn.
Step 1: Do a targeted cleanup
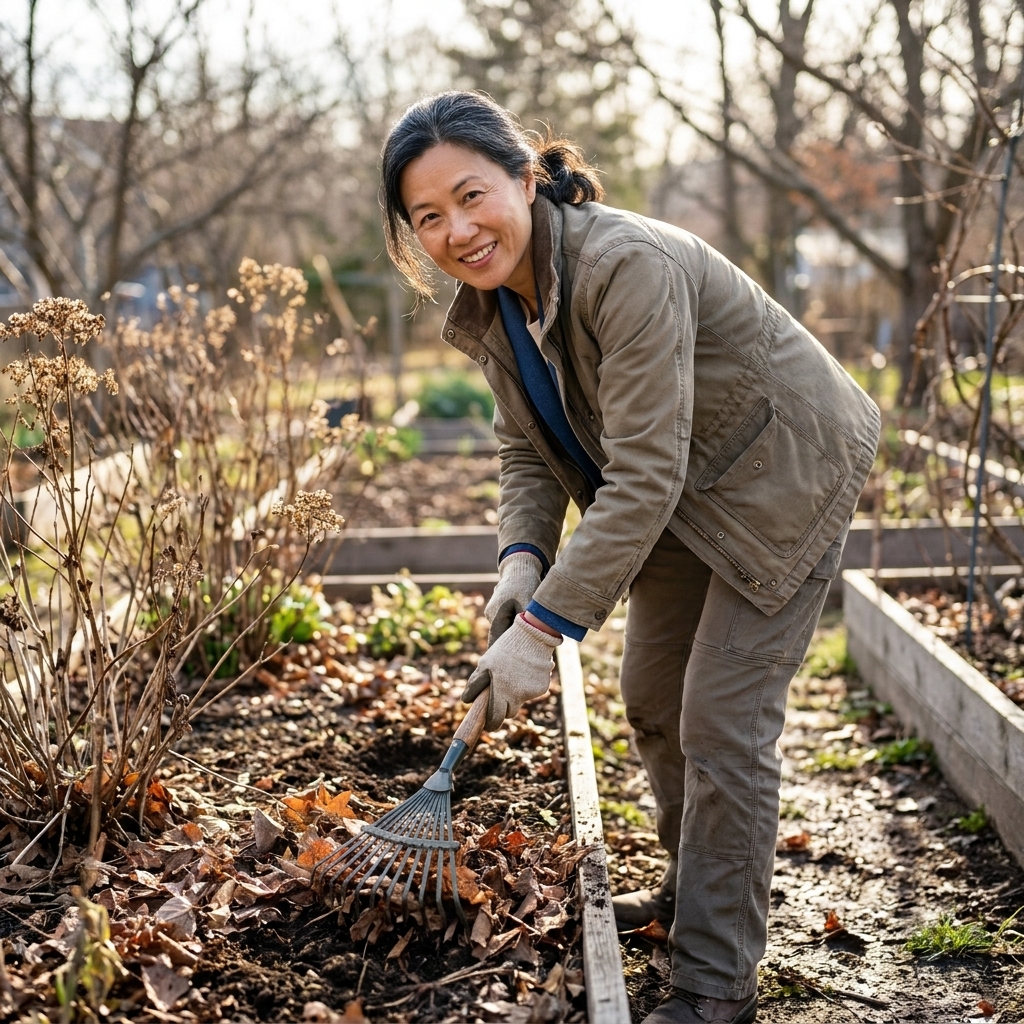
Spring cleanup is pest prevention, but only when it is selective. Many common pests overwinter in plant debris, while many beneficial insects do too. Your goal is to remove the stuff that shelters problems without wiping out the helpers.
What to remove now
- Diseased leaves and stems from last year (especially anything spotted, mildewed, or blighted). Bag or trash it, do not compost unless your pile gets truly hot.
- Rotting fruit under trees or in beds, which can harbor pests and disease spores.
- Old annual vegetable vines and spent plants that hosted issues last year (tomatoes, squash, brassicas with caterpillar damage).
- Weeds and weed seedlings, especially around bed edges and fence lines. Weeds are pest hotels and a launchpad for aphids.
- Hidden slug hangouts like boards, flat stones, and damp pots sitting on soil. If you love the look, at least lift them and let things dry out underneath.
What to leave a bit longer
- Some hollow stems from perennials (cut them back later, after consistent warm weather) to protect overwintering native bees and other beneficials.
- Leaf litter under shrubs in ornamental areas if it is not matted and moldy. If it is thick, loosen it so it dries faster.
My rule of thumb: clean vegetable beds more thoroughly than pollinator borders. Veggies are the high-risk zone for fast-reproducing pests and diseases.
Step 2: Inspect the usual suspects
Early spring is the time for detective work. Many pests telegraph where they will strike later, and catching them now is wildly easier than reacting in July.
Quick checks that matter
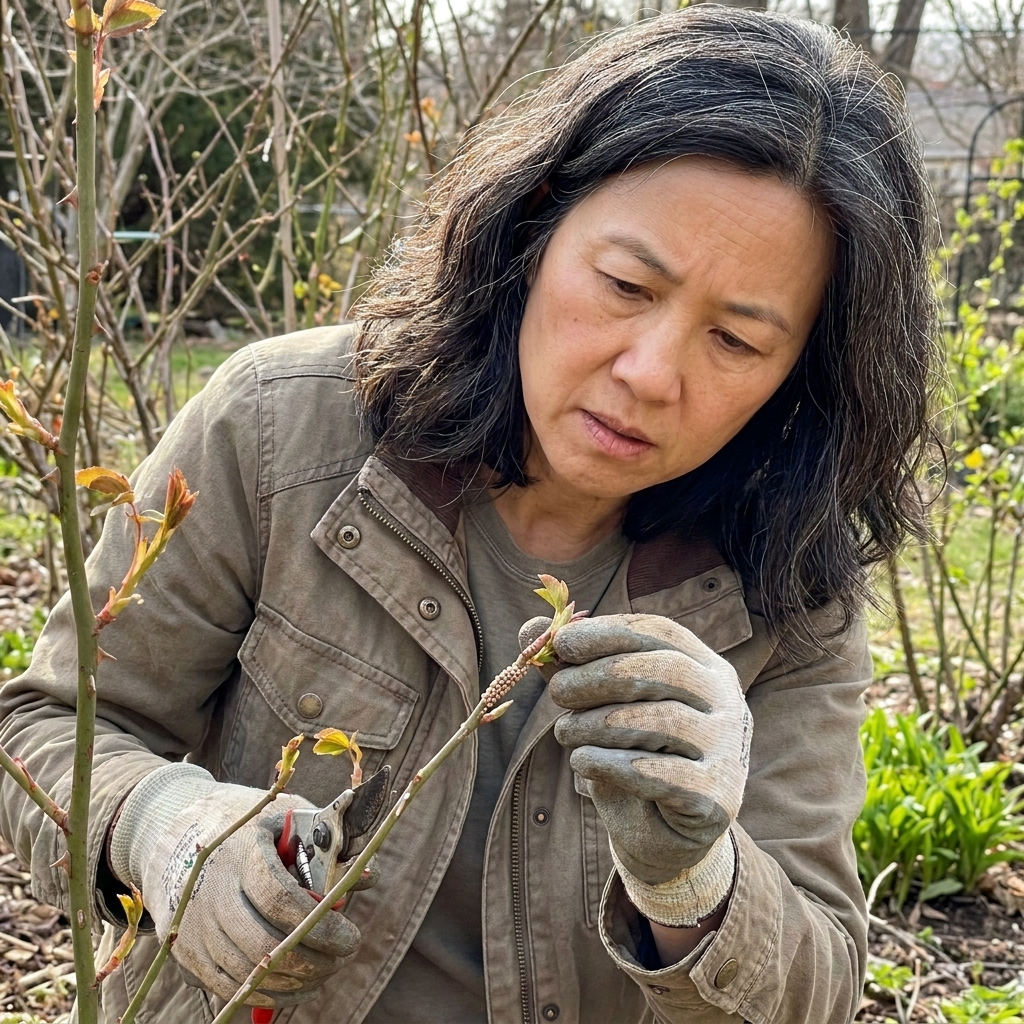
- Fruit trees and roses: Look for clusters of tiny eggs on twigs, rough patches of scale insects, and any shriveled “mummies” of old fruit still hanging.
- Perennial crowns: Check the base of plants like mums and asters for aphids or other sap-suckers (often attended by ants).
- Raised bed edges and mulch lines: Slugs and pill bugs hide where it is moist and protected.
- Cold frames and greenhouse corners: If you use them, give them a once-over. Warm little nooks are great for seedlings and for hitchhikers.
Small actions with big payoff
- Prune out problem wood (dead, crossing, diseased branches) to improve airflow and reduce disease pressure and plant stress, which can worsen pest issues.
- Hand-remove egg masses you can see. A gloved thumb and a small bucket of soapy water are very satisfying tools.
- Wash pots and trellises that had issues last season. Warm water with a little mild soap, a good scrub, and a thorough rinse knocks back eggs and spores. If you power-wash, wear eye protection and aim away from your face.
If you dealt with one pest last year, assume it is still in the neighborhood. Most of them never really leave, they just wait.
Step 3: Build soil for resilience
I know “build soil” sounds like the advice equivalent of “drink water,” but it is pest management in disguise. Plants grown in compacted, nutrient-poor soil tend to be stressed, and stressed plants are often more prone to sap-suckers like aphids and more vulnerable to chewing damage.
Early spring soil moves
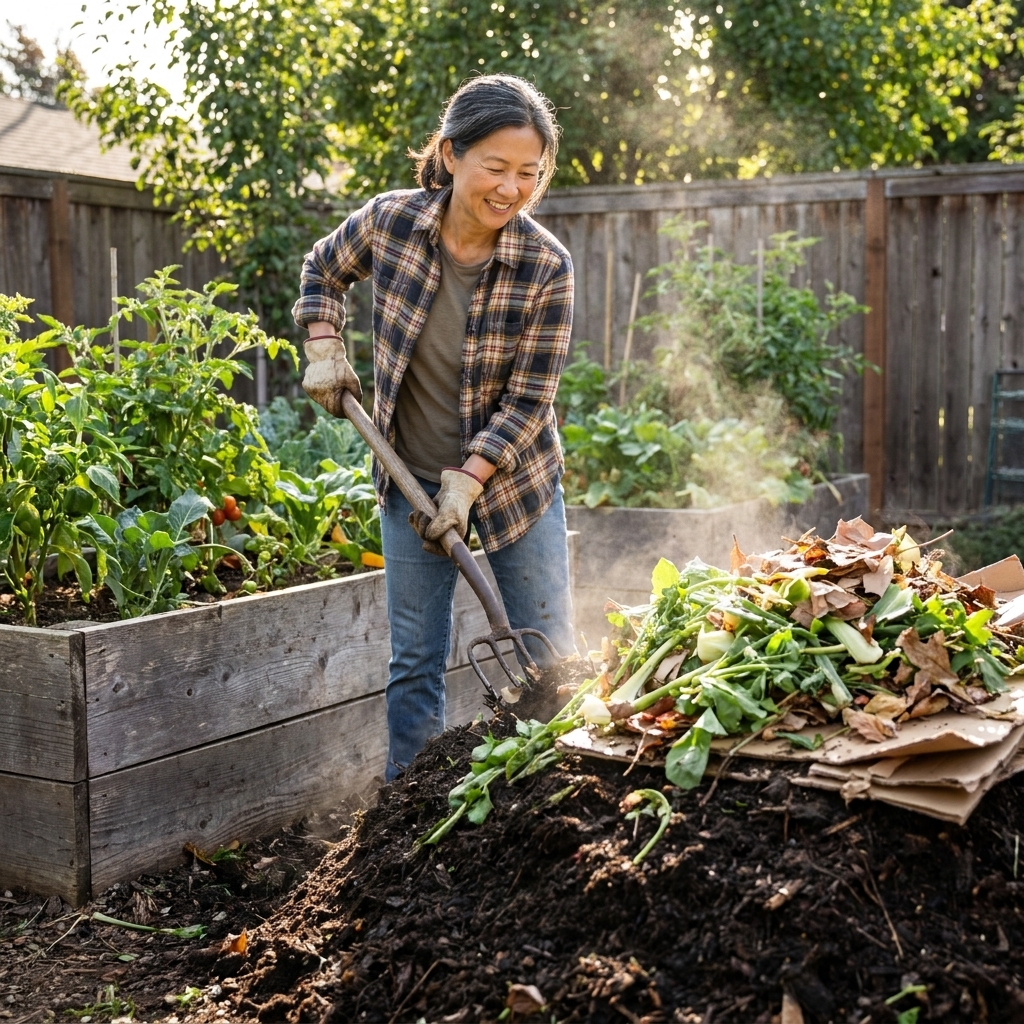
- Top-dress with compost: Add 1 to 2 inches of finished compost and gently rake it in. Compost supports beneficial microbes that improve nutrient uptake and overall vigor.
- Loosen, do not churn: Use a garden fork to aerate compacted beds. Think “lift and wiggle” rather than flipping layers like a cake.
- Test if you can: A basic soil test (even every few years) prevents over-fertilizing, which can cause tender, sappy growth that pests adore.
Go easy on early nitrogen
It is tempting to push growth fast, but excessive nitrogen can create a soft, lush buffet. If you fertilize early, go gentle and prioritize balanced, slow-release sources. Let compost do most of the heavy lifting.
Step 4: Use barriers and timing
Barriers are not glamorous, but they are one of the most organic, low-stress ways to prevent problems. The trick is putting them in place before pests find your plants.
Simple barriers that help
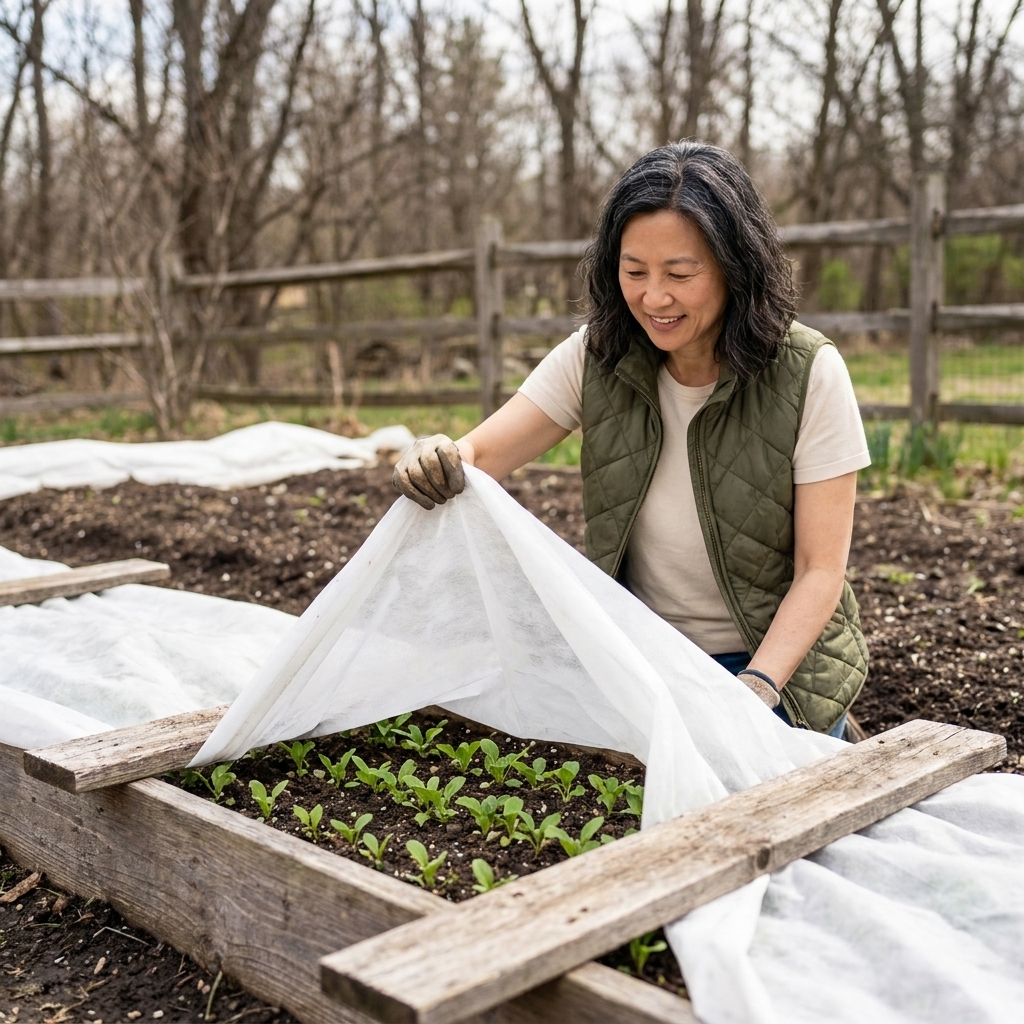
- Floating row cover: Great for brassicas (cabbage, kale, broccoli) to block cabbage moths and reduce flea beetle damage. It works best when installed immediately at planting and sealed well, and it is most effective if pests are not already emerging inside that bed.
- Copper tape or bands: Can help deter slugs and snails around raised beds or pots, especially in damp springs. It works best when kept clean and unbridged by soil, mulch, or leaves.
- Cardboard collars: Around seedlings to reduce cutworm damage. Press the collar 1 to 2 inches into the soil, and leave 2 to 3 inches above the soil line.
Timing tricks
- Match planting to crop needs: Warm-season crops like tomatoes, beans, squash, and cucumbers do better when soil is truly warm and they can grow fast. Cool-season crops like peas and many brassicas can handle cooler soil, but they still benefit from steady growth and protection.
- Stagger plantings: If one batch gets hit, you have backups. Also, pests peak in waves, and not every planting catches the worst of it.
- Remember pollination: Row covers are fantastic early, but remove them when crops need bees, especially squash and cucumbers once flowers appear.
If you have ever lost a whole set of seedlings and felt personally offended by nature, barriers will feel like a warm blanket.
Step 5: Plant for beneficials
This is the part where garden planning stops being a chore and starts feeling like strategy. You are not just growing tomatoes, you are building a tiny neighborhood. Invite the good bugs early, and they will help keep the bad ones in check when summer ramps up.
Early flowers that earn their keep
Beneficial predators and parasitoid wasps need nectar and pollen, especially early in the season when prey is scarce.
- Sweet alyssum: Low, fast, and beloved by hoverflies (aphid predators).
- Cilantro and dill: Let some bolt and bloom. Their umbrella flowers feed tiny beneficials that hunt caterpillars and aphids.
- Calendula: Easy, cheerful, and a reliable early nectar source.
- Native spring bloomers: If you have space, add local natives that flower in spring to support your region’s beneficial insect community.
Companion planting, but practical
- Interplant: Tuck alyssum or calendula between veggies instead of isolating flowers in a separate bed.
- Use sacrificial greens carefully: A small patch of mustard or nasturtium can draw aphids and act like an early warning system, but only if you monitor it. If it gets loaded, pull and dispose of the infested plant instead of letting it become an aphid nursery.
- Keep some herbs near the action: Basil, chives, and thyme add diversity and can confuse pests that hunt by scent.
Perfection is not required here. Even a few clumps of flowers near your vegetables can change the whole summer dynamic.

If pests still show up
They will. A garden is not a sterile lab, and that is part of its charm. The goal is fewer outbreaks, not zero insects.
- Start with the gentlest fix: A strong spray of water for aphids, hand-picking caterpillars, and resetting slug traps often solves the problem early.
- Spot-treat, do not carpet-bomb: Broad spraying can knock back beneficials and create bigger problems later.
- Consider targeted slug tools: In a heavy slug year, iron phosphate bait can be a useful, lower-risk option when used as directed. Some gardeners also use beneficial nematodes for slugs in specific situations.
- Keep notes: If squash bugs or cabbage worms hit hard, write it down. Next spring, you will know exactly where to focus cleanup and barriers.
My neighbor-fence reminder: If your garden looks a little chewed but your plants are still growing, you are doing fine. Many crops can handle modest damage without affecting harvest.
Spring pest-prep checklist
- Remove diseased debris and old vegetable matter
- Inspect perennials, fruit trees, bed edges, and damp hiding spots for eggs and pests
- Top-dress beds with 1 to 2 inches of compost
- Set barriers at planting time (row cover, collars, copper)
- Interplant early flowers and herbs to support beneficial insects
Do these five steps, and summer you will thank spring you. Possibly with fewer frantic late-night internet searches and a lot more tomatoes.