There is a particular kind of gardening frustration that feels personal. You water. You fertilize. You whisper encouraging words at your tomatoes. And your plants still look like they are sulking.
Often, the problem is not your effort. It is your soil. Depleted soil is like an exhausted pantry. Even the best cook cannot make a great meal if the shelves are empty.
That said, soil is not the only suspect. Before you blame your dirt, take five minutes to rule out the usual garden troublemakers:
- Sunlight: Most vegetables need 6 to 8+ hours.
- Watering: Too frequent and shallow can stunt roots, too irregular can stress plants.
- Pests and disease: Check leaf undersides, stems, and new growth.
- Herbicide drift or lawn products: Curling, twisted growth, and sudden decline can point here.
- Variety mismatch: Some cultivars simply do not love your heat, humidity, or short season.
If those look fine, the odds swing back to soil. Below are five reliable signs your garden soil is running on fumes, followed by a step-by-step plan to restore it with organic, beginner-friendly steps. No perfection required. Just steady, kind rebuilding.
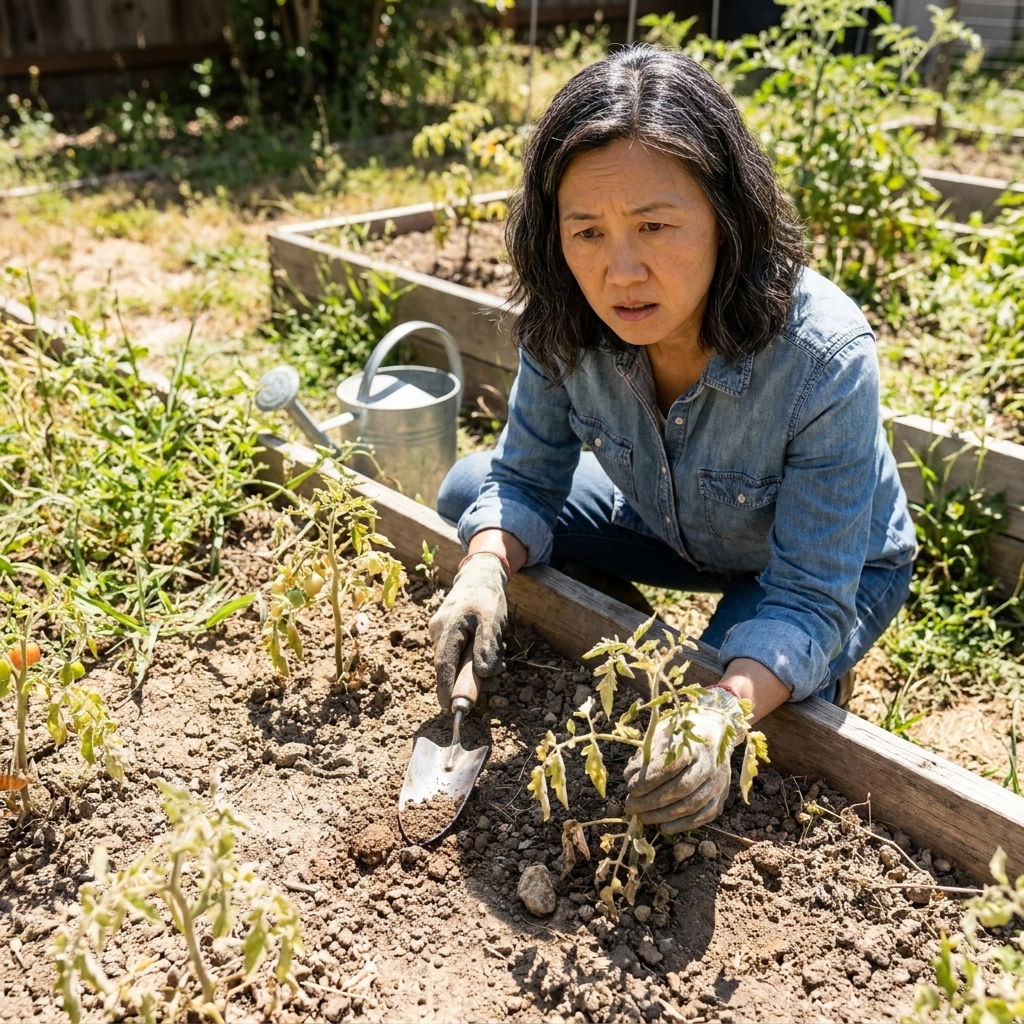
Sign #1: Your plants are stunted or slow, even in good weather
If seedlings just sit there, leaves stay small, and growth seems stalled for weeks, depleted soil is a strong suspect. When soil lacks organic matter and balanced nutrients, plants have trouble building roots, leaves, and fruit, even if temperatures and sunlight are ideal.
Quick checks
- Compare growth within the same bed. If one corner always lags, that area may be compacted or nutrient-poor.
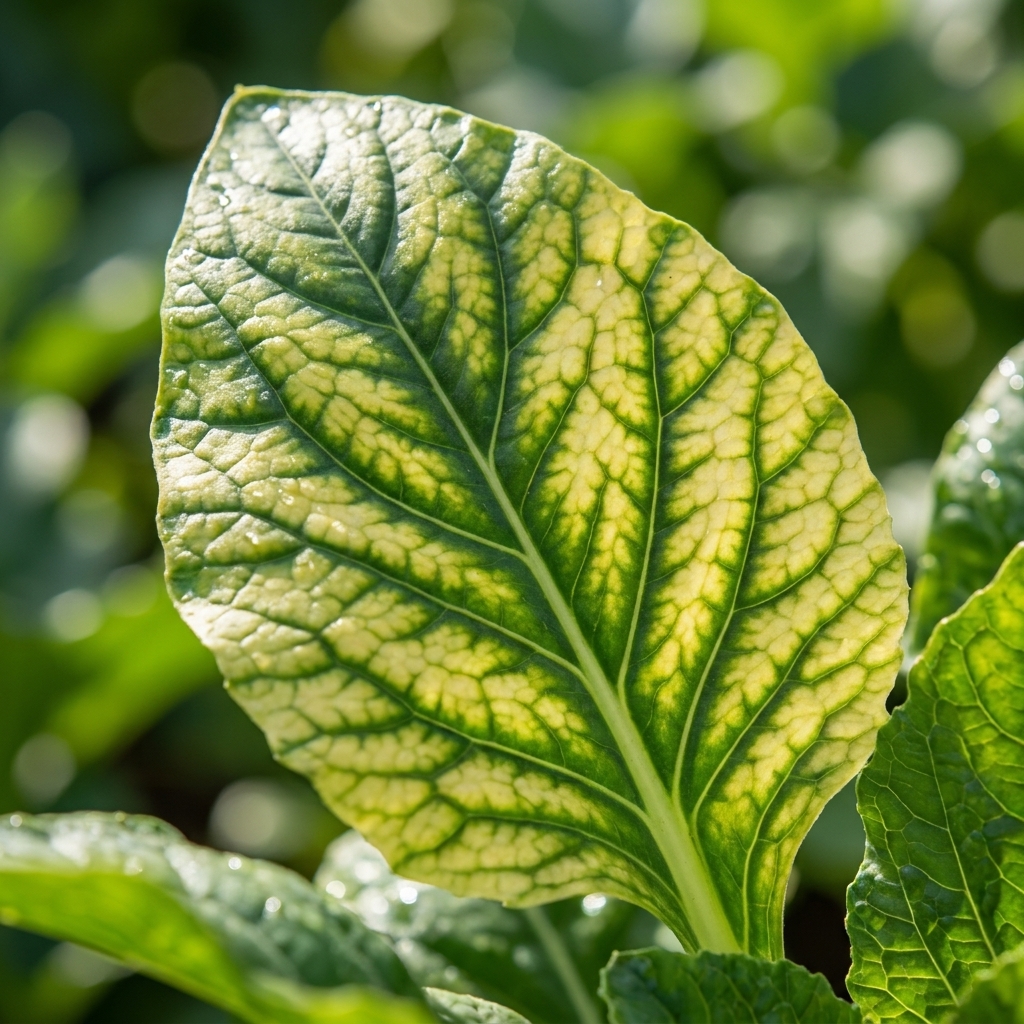
- Look at leaf color. Pale green or yellowing can signal nitrogen issues, but stunting is often broader than one nutrient.
- Check root development. Gently lift one plant. If roots are thin and shallow, the soil is not supporting them.
What to do first
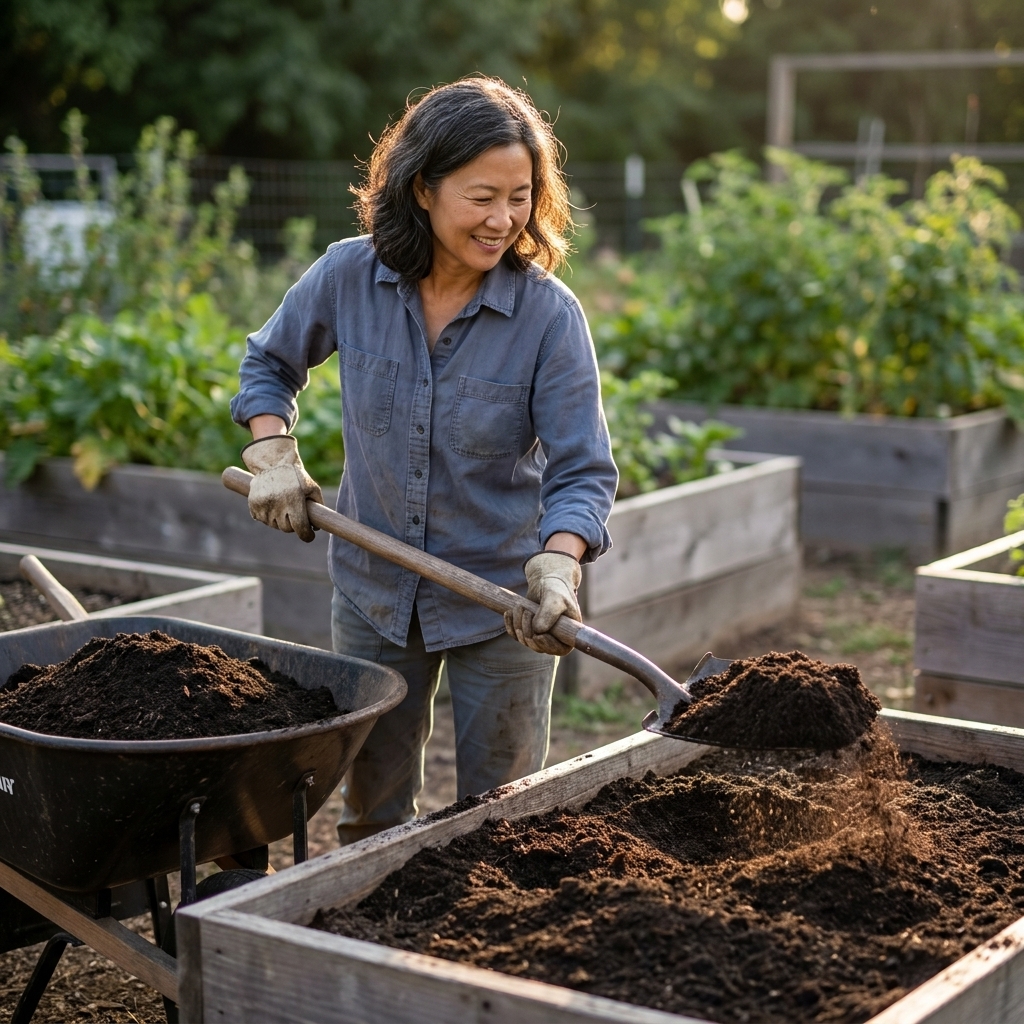
Skip the urge to hit everything with high-nitrogen fertilizer. Start with organic matter. Add 1 to 2 inches of finished compost as a top-dress around plants (keep it off stems), then water it in. Compost improves nutrient availability and helps soil biology do the feeding for you.
Sign #2: Water beads up, runs off, or drains too fast
Healthy soil acts like a good sponge. It absorbs water, holds it long enough for roots to drink, then drains the excess. When soil structure is struggling, you may see the opposite: water runs off, puddles, or seems to vanish.
A quick note on what is happening: water beading on the surface can come from hydrophobic soil, which is common after prolonged dryness, in peat-heavy mixes, or in some wildfire-affected soils. Water that drains extremely fast can also be plain old sandy soil, even if it is not “depleted” in the usual sense. Either way, the fix still starts with better structure and consistent moisture.
Quick checks
- The 10-minute soak test: Water a spot slowly for a minute. Come back in 10 minutes and check 1 to 2 inches down. If the surface is hard and shiny and the soil below is still dry, infiltration is poor. If the surface looks damp but the soil below is already dry again, you likely have fast drainage (often sandy soil) and need more organic matter and mulch.
- Look for crusting: A hard surface “cap” after rain or irrigation often shows up when organic matter is low and structure is weak. It is also common in silty soils, and can be worse when sodium is high, so do not take it as a one-cause clue.
What to do first
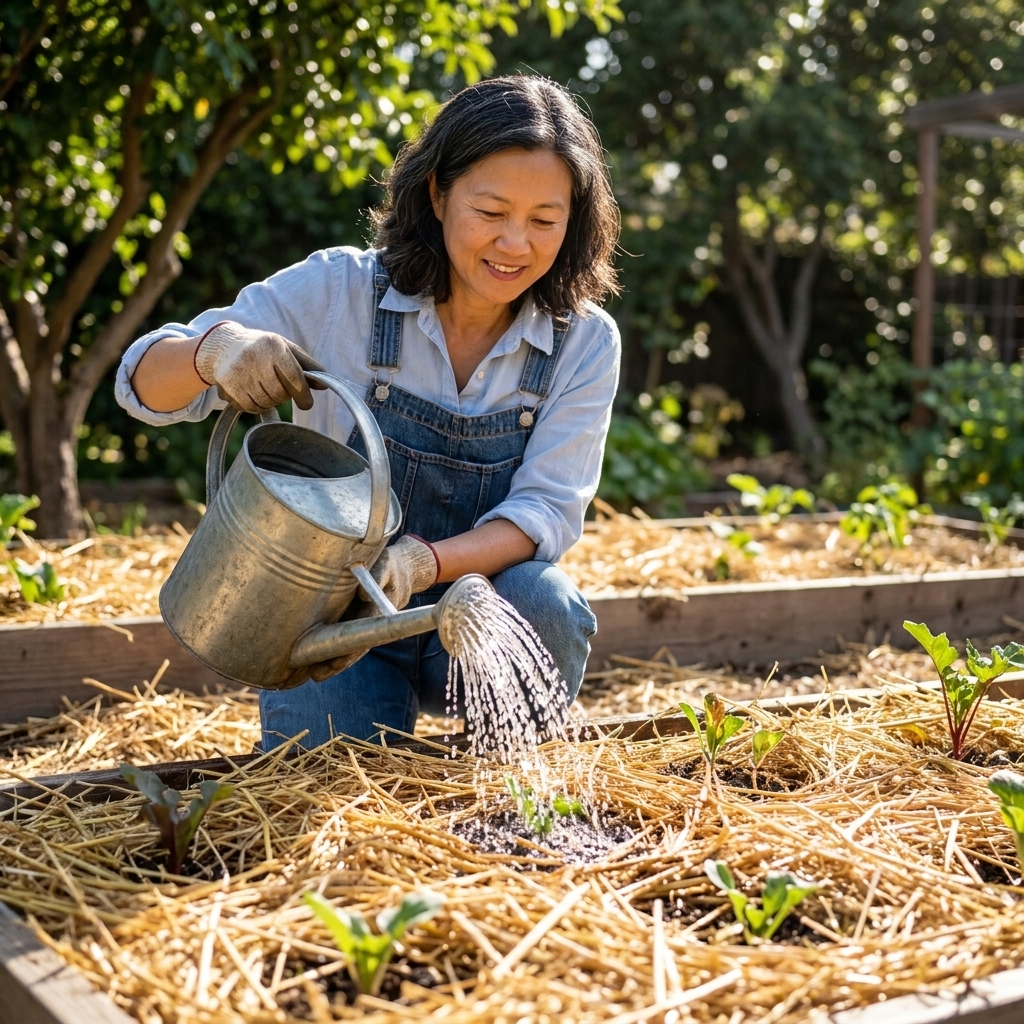
Mulch immediately. A 2 to 3 inch layer of shredded leaves, straw (seed-free), or bark fines reduces evaporation and softens water impact so your soil structure can recover.
If runoff is severe, add compost and avoid digging when soil is wet. Working wet soil can create clods that take seasons to undo.
Sign #3: The soil is hard, cloddy, or you hit a brick layer
Compaction and depletion often travel together. When organic matter is low and soil life is struggling, soil particles do not form stable aggregates. The result can be heavy clumps, poor aeration, and a frustrating resistance when you try to plant.
Quick checks
- Screwdriver test: Push a long screwdriver into moist soil. If it barely goes in, compaction is likely.
- Root shape: Carrots fork, beets stay small, and transplants circle their roots because they cannot penetrate.
What to do first
Instead of deep tilling, try a gentler reset:
- Broadfork or garden fork loosen: Insert the tines and rock back slightly to lift and crack soil without flipping layers.
- Top-dress compost: 1 to 2 inches, then cover with mulch.
- Plant roots that do the work: Use daikon radish, annual rye, oats, or clover as cover crops in open areas.
Think of it as physical therapy for your bed, not a demolition project.
Sign #4: You keep feeding, but plants still look hungry
If you fertilize regularly and still see weak growth, blossoms dropping, or disappointing harvests, your soil may not be able to hold and cycle nutrients. Depleted soil often lacks the organic matter and microbial life that make nutrients available over time.
Clues it is a soil system problem
- Symptoms swing wildly after feeding, then crash again a week or two later.
- Lots of lush leaves, few flowers after nitrogen-heavy products.
- Blossom end rot on tomatoes or peppers even when you add calcium, often tied to uneven moisture and stressed roots rather than a true lack of calcium in the soil. In many gardens, the calcium is there, but the plant cannot take it up consistently.
What to do first
Switch from “feeding the plant” to “feeding the soil”:
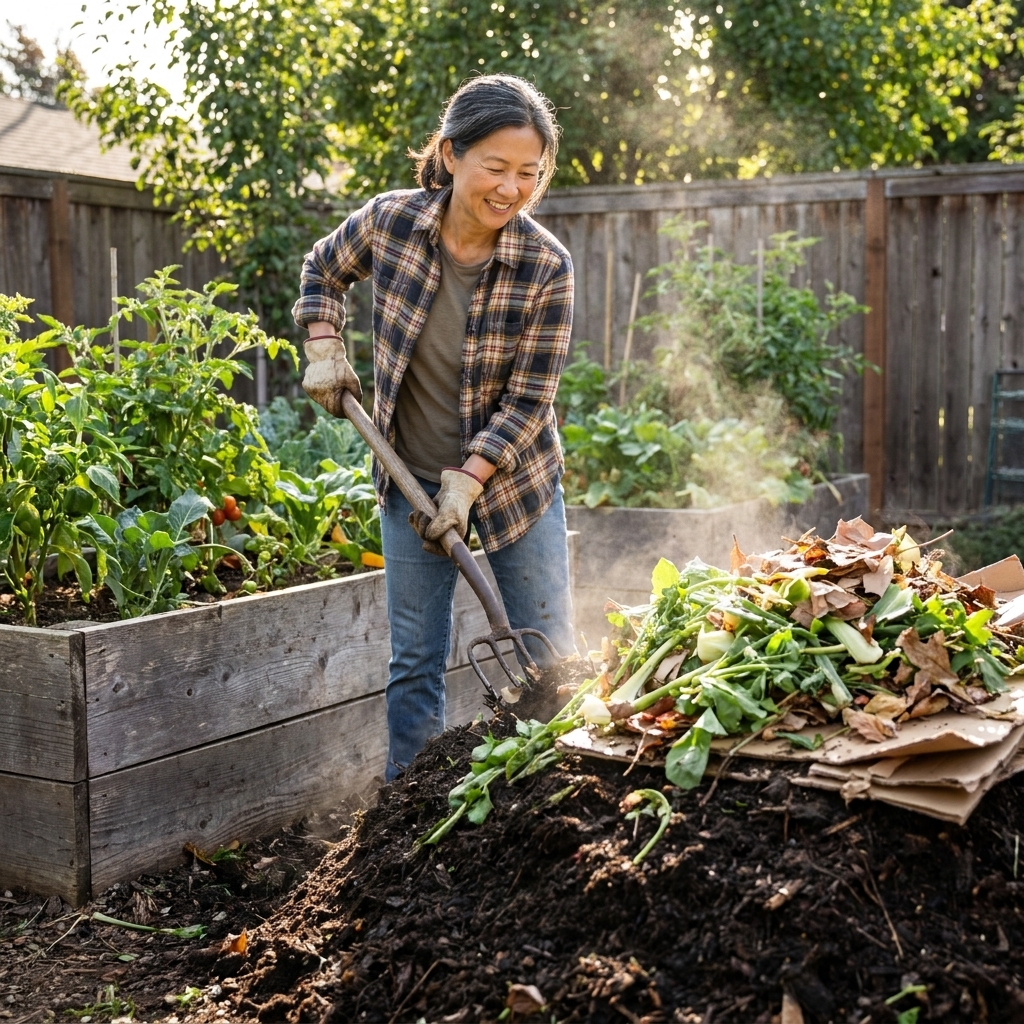
- Use compost as your base (consistent, gentle nutrition).
- Add slow, balanced amendments only where needed, like kelp meal for micronutrients or alfalfa meal for a mild nitrogen boost.
- Stabilize moisture with mulch and deep watering so roots can actually access nutrients.
Sign #5: Fewer earthworms and a flat smell
Healthy soil smells earthy and alive. Depleted soil often smells dusty, sour, or like not much at all. A noticeable drop in earthworms, pill bugs, and other decomposers is another big flag.
To be clear: not every garden has tons of worms, especially in very sandy soils or arid climates. But if you used to see them and now you do not, something shifted.
Quick checks
- Lift mulch or a board: In a thriving bed, you will usually find some small life underneath.
- Dig a small test hole: In moist soil, you should see crumbly texture and at least a few fine roots and organisms.
What to do first
Stop leaving soil bare. Bare soil bakes, erodes, and starves soil biology. Cover it with mulch, living plants, or both. Then add compost to provide food for the underground workforce you want to rebuild.

How to restore depleted soil
This is my go-to approach when a bed feels tired, stubborn, or generally unimpressed with my efforts. Adjust the timing to your season, but keep the order. It works because it rebuilds structure first, then fertility, then resilience.
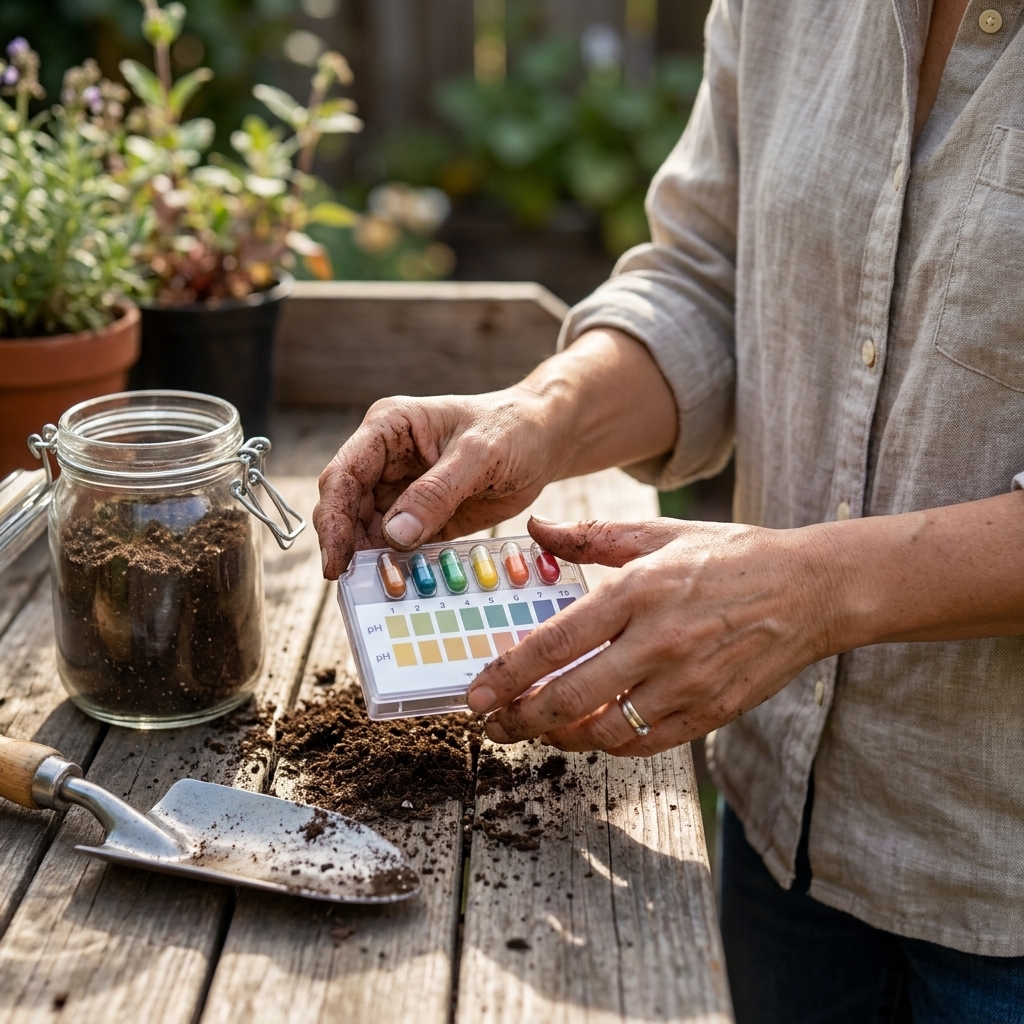
Step 1: Do a simple soil assessment (30 minutes)
- Texture: Rub moist soil between your fingers. Gritty suggests sand, slick suggests clay, silky suggests silt. Most soil is a mix.
- Drainage: Dig a small hole about 8 inches deep, fill with water, and let it drain. Then refill and time how long it takes to drain the second time. This is a rough percolation check, not a diagnosis, but it can reveal compaction or heavy clay.
- pH and basics: If you can, get a soil test through your local extension service. It is the fastest way to avoid guessing, especially with phosphorus and pH.
If you only do one “extra” thing, make it a soil test. It prevents the well-meaning cycle of adding the wrong thing repeatedly, including piling on phosphorus year after year through manure and compost-based fertilizers.
Step 2: Add compost, the right way
Compost is not just fertilizer. It is structure, moisture management, and slow-release nutrition all in one. High-quality compost can also introduce beneficial microbes, but results vary with the compost you have.
- For existing beds with plants: Top-dress 1 inch of finished compost around plants, then mulch.
- For empty beds: Spread 2 inches of compost and lightly incorporate the top 2 to 3 inches if the soil is very compacted. Otherwise, leave it on top and let worms and weather pull it down.
A caution worth repeating: more is not always better. Overdoing manure-heavy composts can push phosphorus too high and add salts in some climates. Aim for steady, moderate applications.
Avoid adding thick layers of unfinished compost directly where you are planting seeds. It can tie up nitrogen temporarily.
Step 3: Mulch like you mean it
Mulch is the quiet hero of soil restoration. It protects soil life from temperature swings, reduces compaction from heavy rain, and keeps moisture consistent.
- Depth: 2 to 3 inches for most organic mulches.
- Keep it off stems: Leave a small breathing ring around plant crowns to reduce rot and pests.
- Best beginner options: Shredded leaves, straw, pine needles (fine for many plants), and untreated grass clippings in thin layers.
Step 4: Loosen compaction without flipping your soil
If you have that brick layer, focus on aeration instead of turning the whole bed upside down.
- Broadfork or garden fork lift: Work in rows, rocking back gently to create air channels.
- Add organic matter afterward: Compost plus mulch is what keeps it from compacting again.
Step 5: Use cover crops or living roots
Living roots feed soil microbes through root exudates. That is one of the fastest ways to bring depleted soil back to life.
- Cool season options: Oats, peas, crimson clover (climate-dependent), winter rye.
- Warm season options: Buckwheat, cowpeas, sunn hemp (where appropriate).
- Quick fix between plantings: Even a short buckwheat run can help suppress weeds and add biomass.
Cut cover crops at the base and leave roots in place. Top with compost and mulch. Soil loves a no-drama breakup.
Step 6: Amend strategically, not emotionally
When you are worried about your garden, it is easy to throw products at the problem. Instead:
- If pH is off: Use lime (to raise) or elemental sulfur (to lower) based on soil test guidance. These changes take time.
- If nitrogen is low: Use compost, well-aged manure, alfalfa meal, or feather meal.
- If potassium is low: Sulfate of potash is a common, more immediately available option. Greensand is slow-release and better as a long-term soil-building input than a quick correction.
- For micronutrients: Kelp meal is a gentle, broad-spectrum option.
More is not better with amendments. Balanced soil beats “supercharged” soil every time.
Step 7: Water to support recovery
- Water deeply, less often: Encourage deeper roots and better drought resilience.
- Water in the morning: Less disease pressure and more efficient uptake.
- Use a soaker hose or drip line if you can: Consistent moisture helps nutrient uptake and reduces stress.
How long will it take?
You can see improvements surprisingly quickly:
- Within 2 to 4 weeks: Better moisture retention after mulching, steadier plant growth after compost top-dressing.
- Within 1 season: Improved tilth, fewer crusting issues, stronger root systems.
- Within 1 to 3 years: Major gains in structure, fertility, and pest resilience as organic matter builds and soil life stabilizes.
Soil restoration is one of the rare garden tasks where small, repeated actions beat big, dramatic ones.
Soil reboot checklist
- Top-dress 1 to 2 inches of finished compost
- Add 2 to 3 inches of organic mulch
- Loosen compaction with a fork or broadfork (no flipping)
- Keep living roots in the ground when possible (cover crops, succession planting)
- Water deeply and consistently
- Get a soil test before adding strong amendments
If you do those six things, you are not just fixing this season’s problems. You are building the kind of soil that quietly gets easier to garden in every year, which is my favorite kind of magic.