There is a special kind of gardening joy that comes from making new plants without spending a dime. Dividing perennials is basically the grown-up version of “sharing,” except your reward is healthier plants, fewer sad bare centers, and a garden that looks like you planned it all along.
One quick note before we grab the spade: this guide is mainly about clump-forming, herbaceous perennials (the ones that swell into a mound and slowly get bigger each year). Taprooted plants, woody subshrubs, and runners that sprint across the bed play by different rules. If you have a clump that keeps getting wider, floppier, or weirdly hollow in the middle, it is probably ready.
Grab a spade, a bucket of water, and whatever patience you have left after dealing with squirrels, and let’s split some plants.
Why dividing works
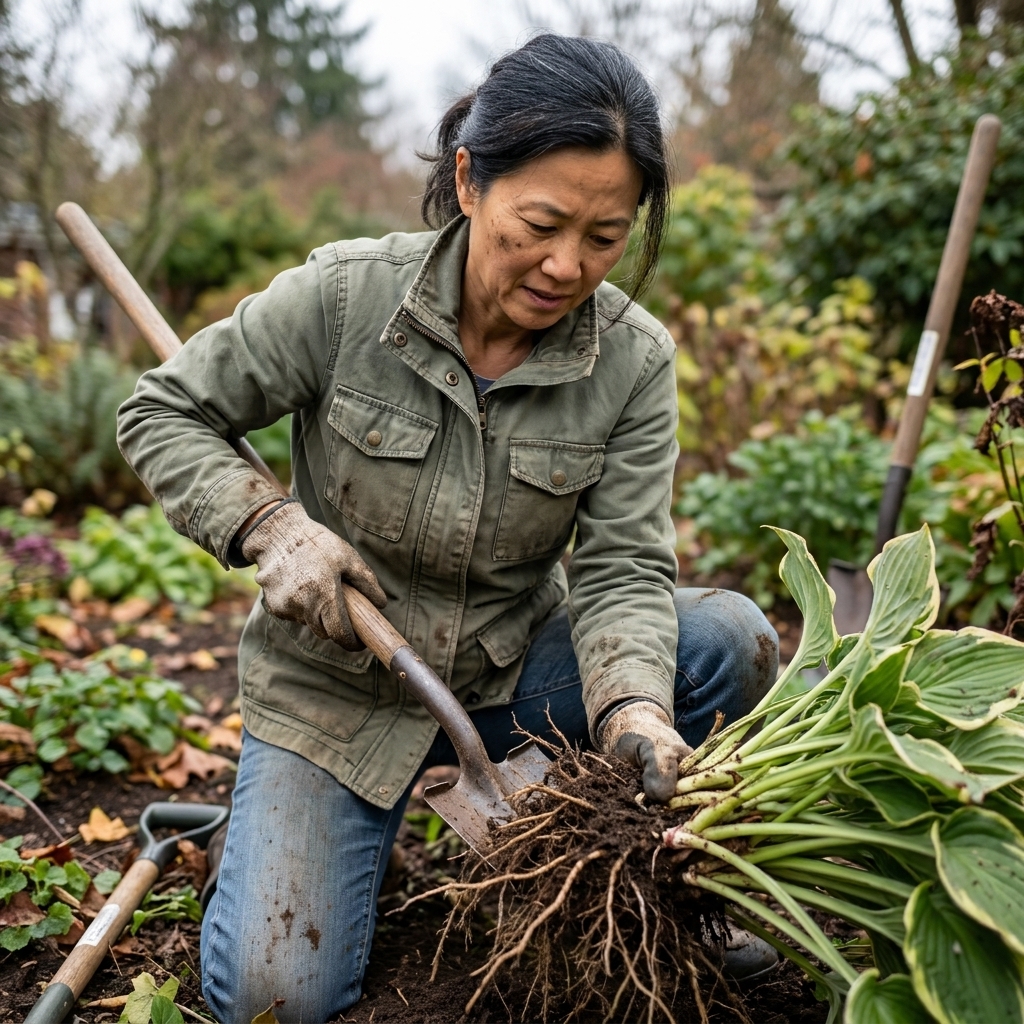
Many common garden perennials grow outward from the center, forming larger clumps each year. Over time, the center can get woody or exhausted while the outer ring keeps charging ahead. Division fixes that by resetting the plant to smaller, vigorous pieces with fresh roots and room to grow.
- Healthier plants: better airflow, less disease pressure, fewer weak stems.
- More blooms: many perennials flower better when not overcrowded.
- Free plants: fill bare spots, expand beds, or share with neighbors.
- Better layout control: keep enthusiastic spreaders from swallowing their neighbors.
When to divide perennials
The best rule I learned (right behind “do not compost weeds that have gone to seed”) is this: divide when the plant is not working its hardest. Often, that means dividing opposite its bloom season so it can focus on roots, but there are plenty of exceptions and your climate matters.
Best seasons
- Early spring: ideal for many summer and fall bloomers. You will see fresh growth starting, but the weather is still cool and forgiving.
- Early fall: ideal for many spring bloomers. Warm soil helps root growth, and cooler air reduces stress.
A quick bloom-time shortcut
- Spring bloomers (often): divide in early fall.
- Summer bloomers (often): divide in spring or early fall. In many gardens, dividing right after flowering in late summer can also work well.
- Fall bloomers (often): divide in spring.
Climate matters
In hot-summer climates, fall division often works best a little later, once the worst heat breaks. In cold climates, aim to divide early enough that the plant gets several weeks to root in before the ground freezes.
Weather matters more than the calendar
Aim for a stretch of mild weather. Avoid dividing right before a heat wave, droughty week, or a hard freeze. If you must divide in less-than-perfect timing, you can still succeed, you just need to baby the divisions with consistent moisture and a little shade protection.
My favorite dividing day: an overcast morning with damp soil. The plants barely notice you meddling.
Signs a perennial needs dividing
- Dead or bare center: classic “donut clump” problem.
- Fewer flowers than usual: lots of leaves, not much show.
- Flopping or splaying: stems fall outward, especially after rain.
- Crowding neighbors: the plant is making itself at home in someone else’s space.
- Water is not soaking in: if water beads up and runs off, the root zone may be too tight or the soil surface may be crusted or compacted. Either way, it is a clue to check what is happening under the plant, not just around it.
Good candidates (and a few not)
Usually great candidates
These tend to respond beautifully to division:
- Daylily (Hemerocallis)
- Hosta
- Bee balm (Monarda)
- Black-eyed Susan (Rudbeckia)
- Coreopsis
- Yarrow (Achillea)
- Shasta daisy
- Sedum and many stonecrops
- Ornamental grasses (many types)
- Irises (bearded and Siberian types, with slightly different methods)
Use caution or avoid dividing
Some perennials dislike root disturbance, have a deep taproot, or are simply finicky about being moved. You can sometimes divide them, but it takes more care and success rates vary.
- Lavender and rosemary: woody crowns do not divide well. Take cuttings instead.
- Peonies: can be divided, but timing and bud depth matter and they may sulk for a year or two.
- False indigo (Baptisia): deep roots, hates being moved once established.
- Poppies: generally better started from seed.
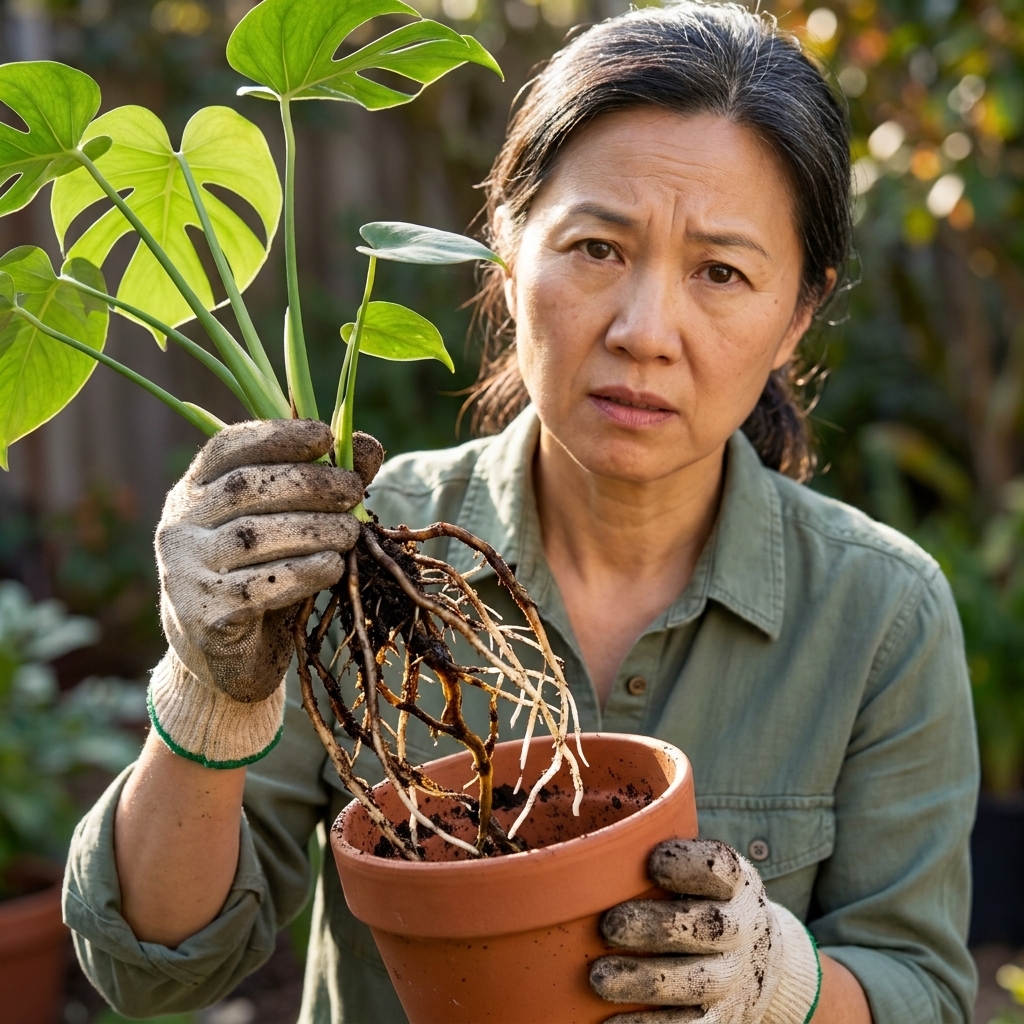
If you are unsure, look at the plant’s root type when you dig. A clumping plant with many crowns and fibrous roots is usually an easy “yes.” A single thick taproot is a “proceed gently” situation.
Division vs runners
If a plant spreads by runners or creeping stems (think the enthusiastic groundcover types), you are often better off snipping and replanting rooted sections instead of wrestling a single central clump. The aftercare is similar, but the “dig up the whole mound” approach is not always necessary.
Tools and supplies
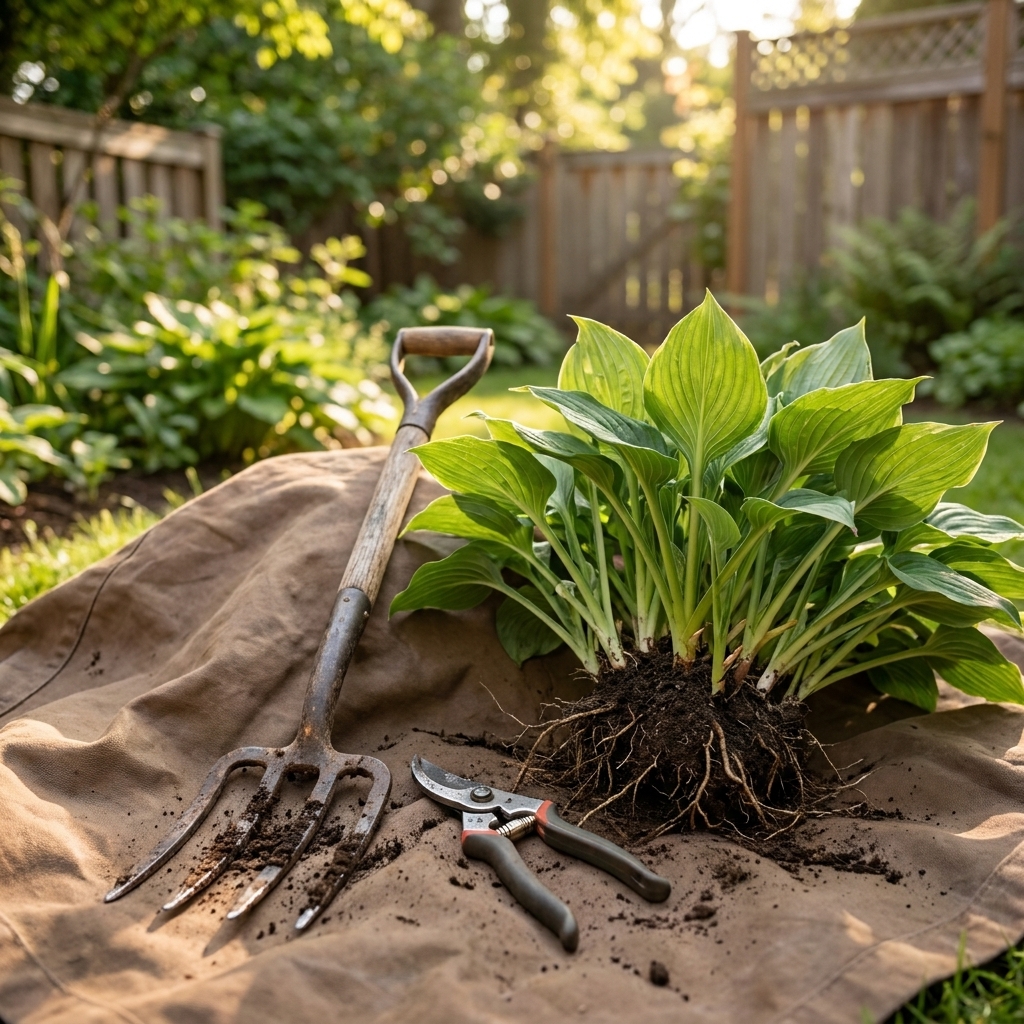
- Spade or digging fork (a fork is kinder in rocky soil)
- Hand pruners or garden knife
- Hori hori or soil knife (optional but very satisfying)
- Two buckets or a tarp (one bucket for water, one for keeping divisions shaded and damp)
- Compost and/or finished leaf mold
- Mulch (shredded leaves, bark, or straw)
- Water source
- Gloves, and something cold to drink for you
- A rag and rubbing alcohol or a disinfectant wipe for quick tool cleanups
How to divide perennials
Step 1: Water the day before
Moist soil releases roots more easily, and hydrated plants handle stress better. If your soil is dusty-dry, water deeply the evening before you plan to divide.
Step 2: Prep the new planting spots first
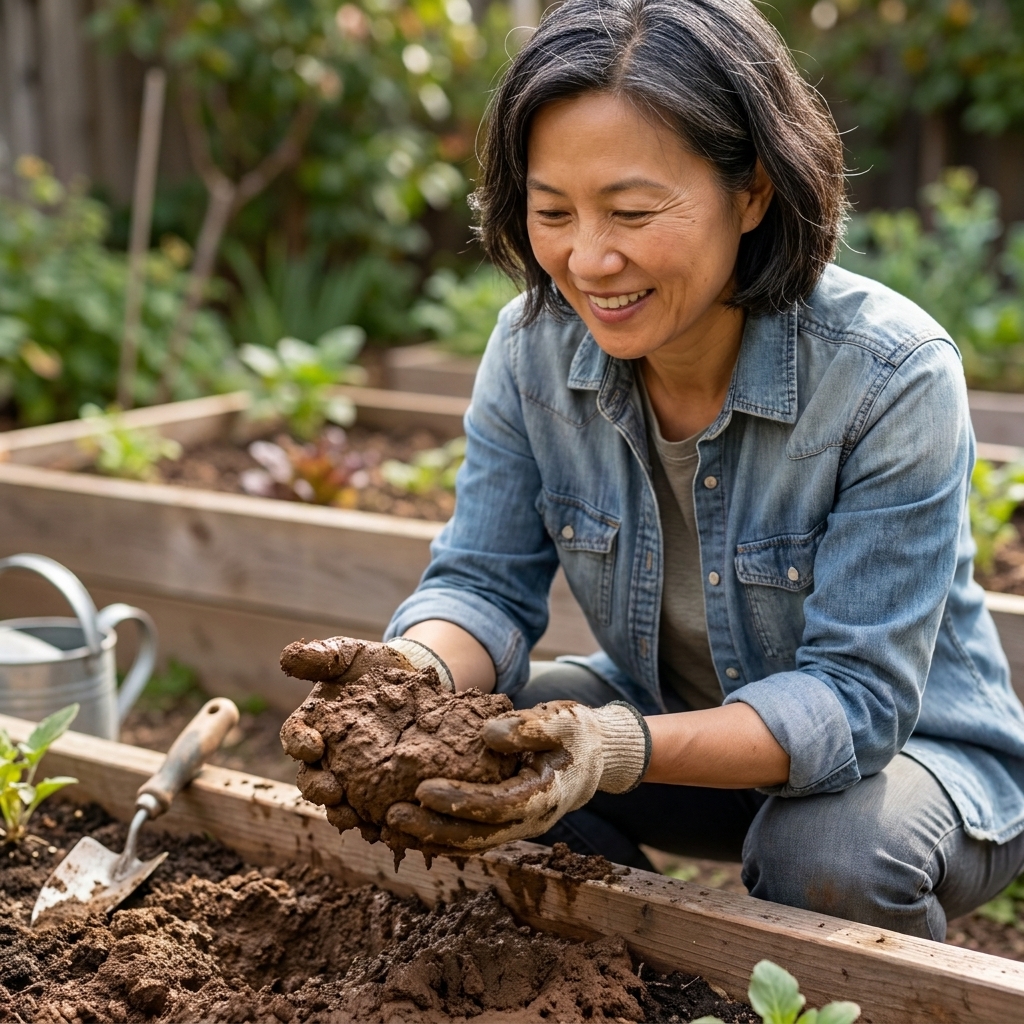
This is the secret to less chaos. Dig the new holes before you lift the plant, and amend lightly.
- Loosen soil 8 to 12 inches deep, wider than you think you need.
- Mix in compost. If your soil is already rich, a thin layer is enough.
- Set aside mulch for after planting.
Step 3: Trim top growth (sometimes)
You do not always have to, but it can help reduce water loss. If a plant is tall or leafy, trim it back by about one-third. For grasses, you can shear to 6 to 10 inches. For irises, fans are often trimmed to about 6 inches to reduce flop.
Use judgment: if a plant is already stressed, newly planted, or in the middle of a growth spurt, go lighter. And if you are dividing right after bloom, remember some plants rely on their foliage to recharge, so avoid hacking them down to the ground.
Step 4: Dig wide, not close
Start your spade or fork several inches outside the crown, then work in a circle. Think of it like lifting a pie, not spearing a potato.
- Push the tool straight down.
- Rock gently to loosen.
- Work around the whole clump before levering up.
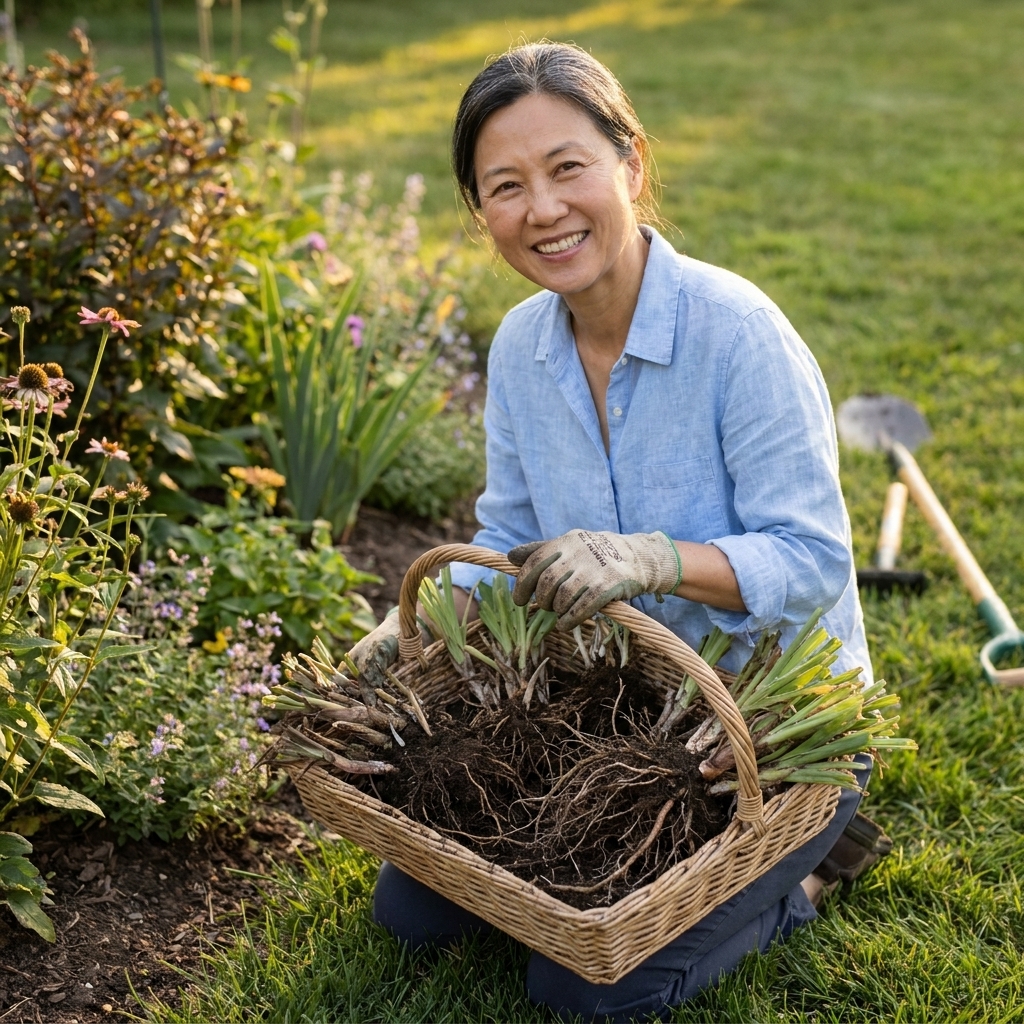
Step 5: Lift and shake off soil
Once the clump is out, knock off loose soil so you can see what you are doing. If soil is sticky clay, a gentle rinse with water can help reveal natural separation points.
Step 6: Find the seams and split
Look for distinct crowns, shoots, or rosettes. Many plants practically fall apart into sections with a tug. Others need persuasion.
- Easy clumps: pull apart by hand or pry with two forks back-to-back.
- Tough clumps: slice with a sharp spade, soil knife, or a serrated garden knife.
As a general guideline, each division should have:
- At least one strong crown or growing point
- A healthy bundle of roots
- Enough size to establish, but not so huge you are back where you started
Step 7: Toss the tired center if needed
If the middle is woody, hollow, or clearly declining, compost it only if it looks clean and disease-free. If anything looks mushy, spotted, or suspicious, bag it or trash it. Then give your cutting tools a quick wipe or dip before moving on to the next plant. This feels ruthless the first time. It is also the part that makes the biggest difference.
Step 8: Replant right away at the right depth
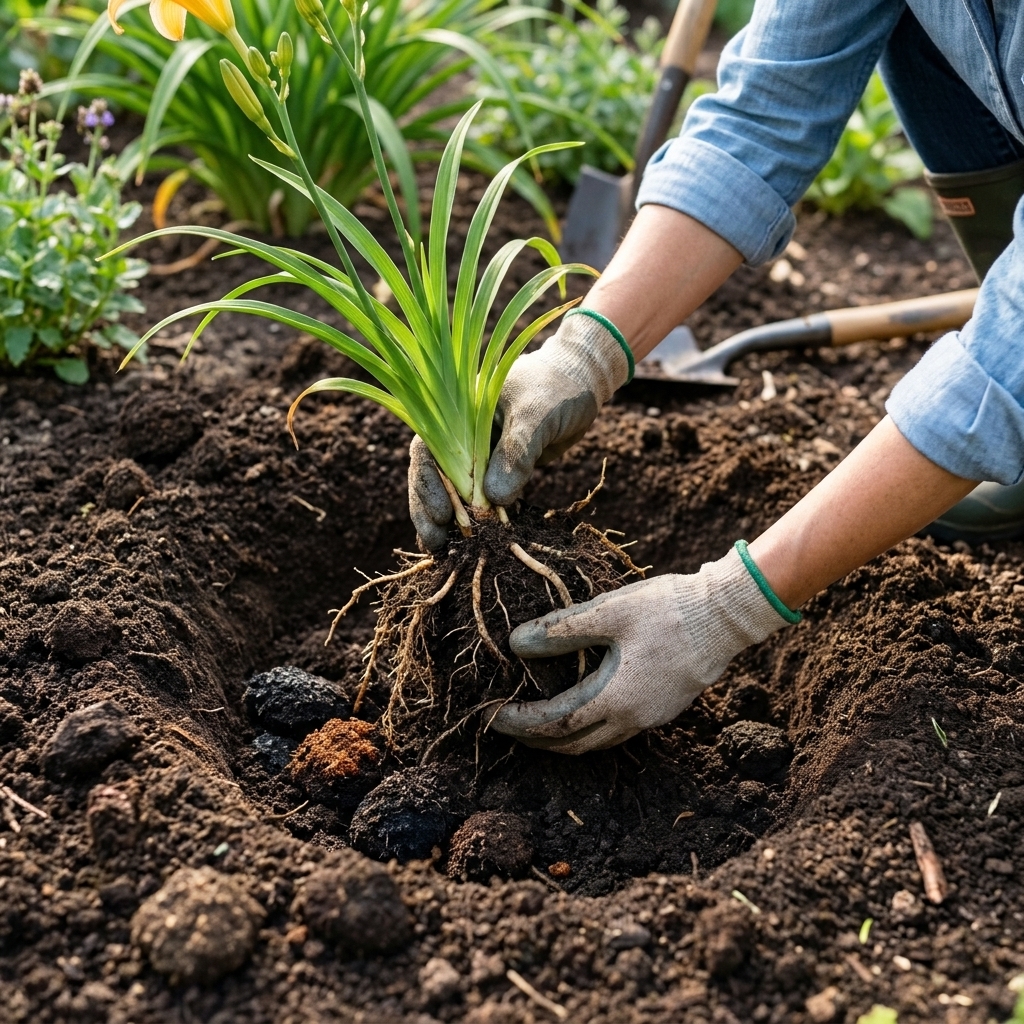
Plant divisions at the same depth they were growing before. Burying crowns too deep is a common reason perennials struggle after division. Exception: bearded iris rhizomes are planted very shallow, with the top of the rhizome at or just above soil level.
- Set the division in the hole.
- Backfill with native soil mixed with a little compost.
- Firm gently to remove air pockets.
Step 9: Water deeply, then mulch
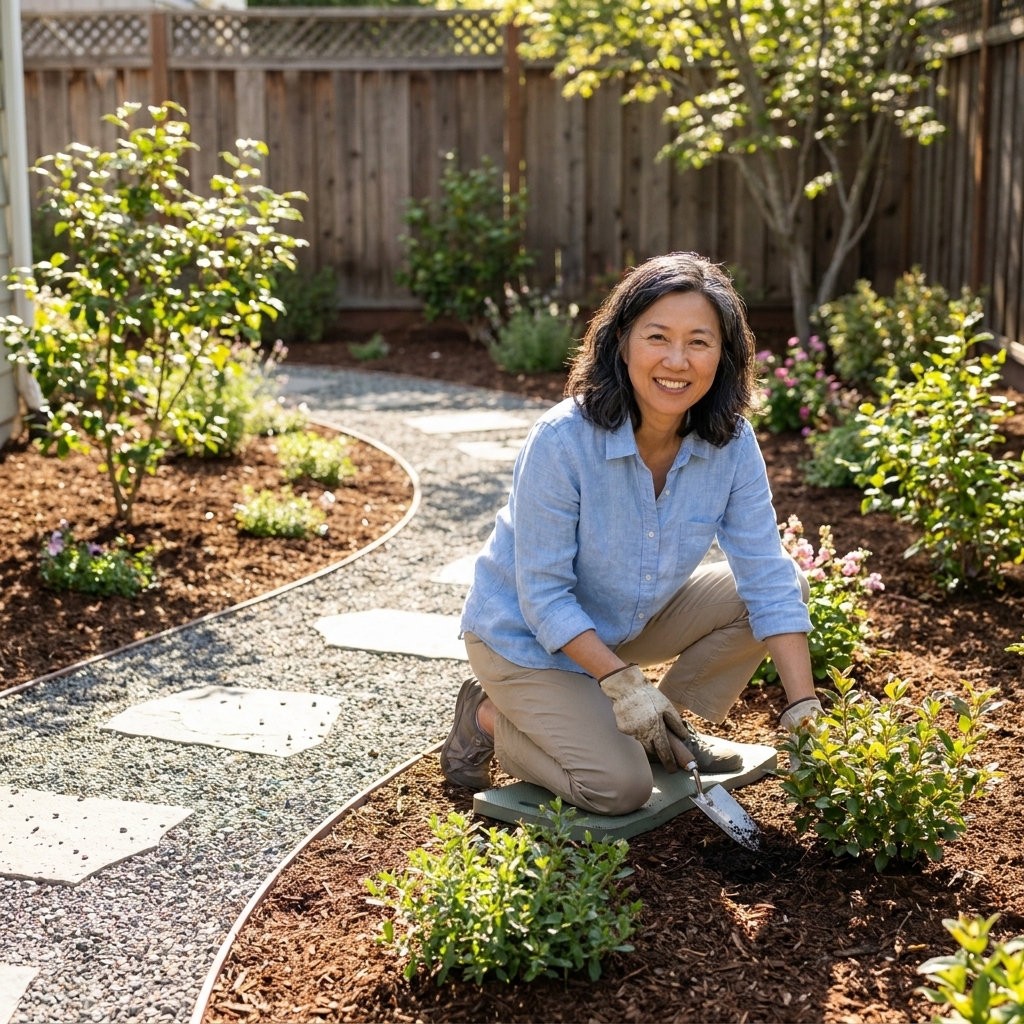
Water until the soil is soaked, not just sprinkled. Then mulch 2 to 3 inches deep, keeping mulch pulled back from the crown so it does not stay soggy.
Spacing tips
It is tempting to plant your new divisions close together for instant fullness. Future-you will not love that. Give each piece room to mature.
- Small divisions: plant a bit closer than mature spacing, but not crowded.
- Fast growers (bee balm, yarrow, many asters): err on the generous side.
- Slow growers (some hostas, peonies): you can plant closer to mature size expectations.
If you are filling a big blank spot, group divisions in odd numbers (3 or 5) for a natural look, and leave stepping room for weeding and watering while they establish.
Aftercare: two-week rule
Most divisions fail for one reason: they dry out before new roots grab hold.
For the first 2 weeks
- Water consistently: keep soil evenly moist, not swampy.
- Provide temporary shade: a patio umbrella or shade cloth helps during unexpected heat.
- Go easy on fertilizer: compost is fine. Avoid strong, fast-release or high-nitrogen fertilizer right after division. If you like to feed at planting time, keep it light and slow-release.
- Watch for wilt: afternoon droop is normal on warm days, but morning droop usually means you need water.
When can you expect blooms?
Many divided perennials bloom fine the next season. Some bloomers, especially if divided into small pieces, may take a year to fully rebound. This is normal and not a personal failure.
Notes for common plants
Hostas
Hostas are famously forgiving. Divide in spring as “noses” emerge or in early fall. A sharp spade through the clump works well. Keep divisions watered, especially in sunny sites.
Daylilies
Daylilies can be divided after flowering or in spring. Pull fans apart, aiming for 2 to 4 fans per division for quick establishment. Trim leaves to reduce water loss if the clump is tall and floppy.
Bearded irises
Irises are typically divided in late summer after blooming. Replant rhizomes shallowly, with the top of the rhizome near the soil surface and in full sun for best flowering. Good airflow helps prevent rot.
Ornamental grasses
Many warm-season grasses divide best in spring. Cool-season grasses can often be divided in early fall or spring. Cut the clump back first so you can see what you are doing, then split with a spade. Some old clumps are genuinely tough and you may need to use your body weight and a sharp blade.
Troubleshooting
“My divisions wilted right away.”
Most often this is heat or dry wind. Water deeply, add temporary shade, and consider trimming back top growth a bit more to reduce transpiration.
“The center looked mushy or smelled bad.”
That is usually rot. Discard affected parts in the trash, not the compost, and replant only firm, healthy sections. Wipe or sanitize tools before moving on to other plants. Improve drainage and avoid burying crowns too deep.
“I accidentally broke off a bunch of roots.”
Happens. Replant what you can, water well, and mulch. Many perennials are tougher than they look, even when we fumble the excavation.
“Can I divide in summer?”
You can, but it is playing on hard mode. If you must, divide on a cool, cloudy day, trim back top growth, replant immediately, water often, and give temporary shade for a couple of weeks.
FAQ
How often should you divide perennials?
It depends on the plant and your growing conditions. Many perennials appreciate division every 3 to 5 years. Fast spreaders may need it sooner, slow growers can go longer. Let the plant’s performance be your guide.
Should I add fertilizer when I replant divisions?
Usually, no. A bit of compost is plenty. If you do fertilize, keep it light and slow-release, and avoid strong, fast-release or high-nitrogen fertilizers right after dividing.
How long can divisions sit out before replanting?
Try to replant within an hour or two. Keep roots shaded and damp. If you need to pause, tuck divisions into a bucket with slightly moist soil or wrap roots in damp burlap.
Can I divide perennials and give them away?
Absolutely. It is one of the nicest garden traditions. Send them home with planting depth advice and one instruction in big letters: “WATER FOR TWO WEEKS.”
A gentle nudge
If you have been staring at an overgrown clump for two seasons, consider this your permission slip. Dividing perennials is not a delicate art reserved for people with pristine gloves. It is practical, a little messy, and wonderfully forgiving. Also, your future garden will thank you, and you may just end up with enough extra plants to make your own little neighborhood plant swap.
And if your first attempt looks a bit like you wrestled a root octopus, welcome to the club. I have been there.