Root rot has a sneaky way of making good gardeners feel like they suddenly forgot how to garden. One week your plant looks fine, the next it is droopy and sad, even though you watered like a responsible adult. The frustrating truth is that root rot is usually less about you “overwatering” and more about oxygen. When roots sit in constantly wet, poorly draining soil, they cannot breathe. Opportunistic fungi and fungus-like organisms move in, and the decline can be quick.
The good news: you can prevent most root rot with a few soil habits. And when it does show up, you can often save the plant if you act early and tackle both parts of the problem: the waterlogged conditions and the pathogens.
What root rot is
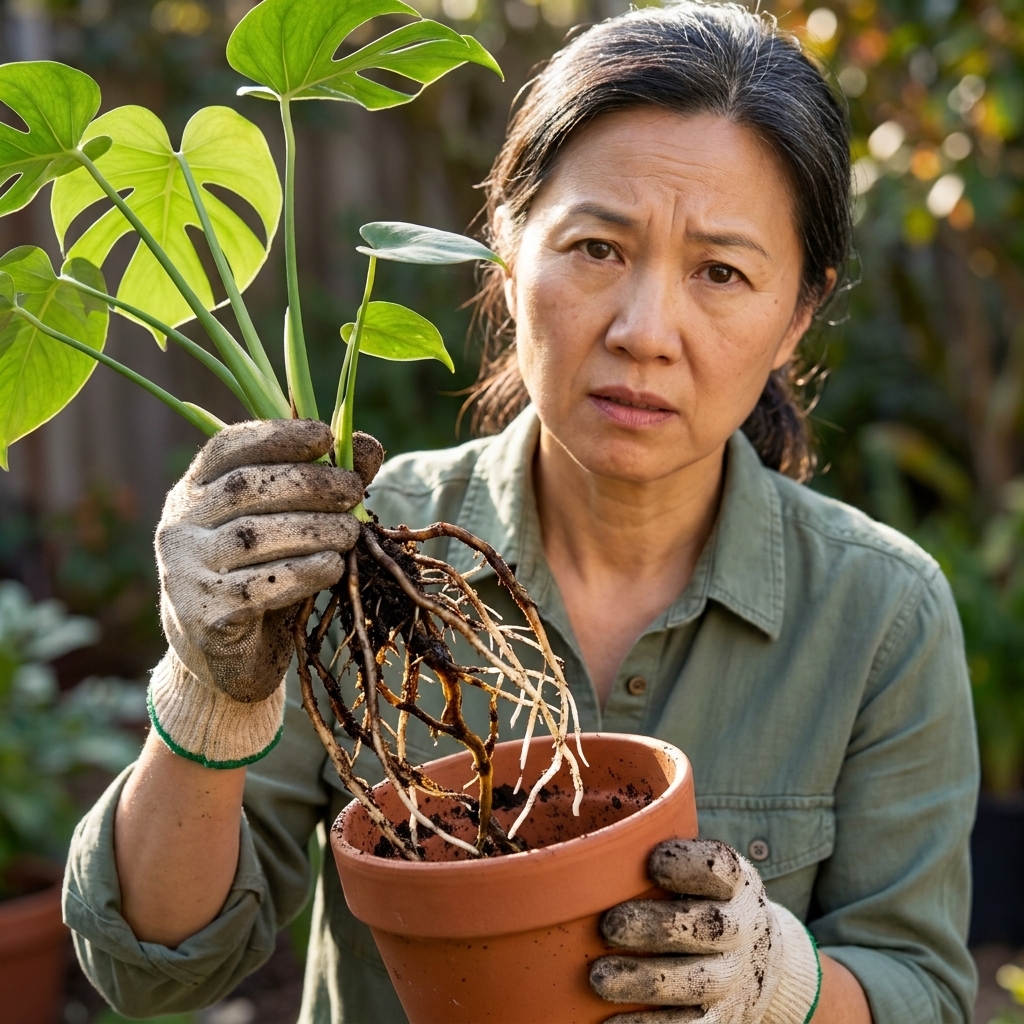
“Root rot” is a catch-all term for roots that are dying and decomposing due to prolonged wet conditions and infection by soil-borne pathogens. In home gardens, the most common culprits include:
- Pythium (often called a water mold, thrives in saturated soil)
- Phytophthora (another water mold, notorious in beds with standing water)
- Rhizoctonia and Fusarium (true fungi that can persist in soil and plant debris)
These organisms love the same conditions your plant hates: low oxygen, warm temperatures, and soil that stays wet for too long. That is why fixing drainage is not optional. It is the foundation of prevention and recovery.
Early signs and proof
Above-ground symptoms
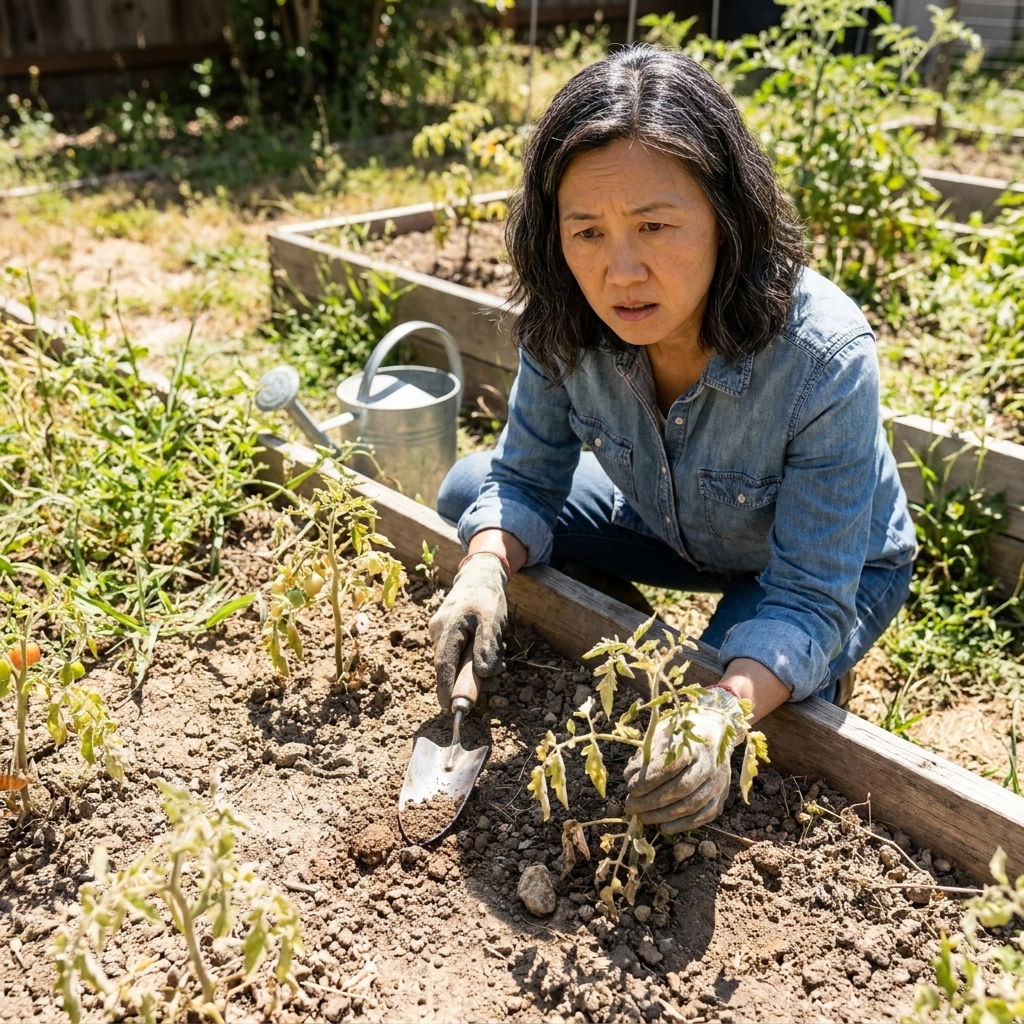
Root rot often looks like “random” stress, which is why it is easy to miss at first. Watch for:
- Wilting even when the soil is moist
- Yellowing leaves, especially lower leaves first
- Stunted growth and smaller new leaves
- Leaf drop, limp stems, or a general “tired” look
- Slow-to-dry soil and a faint sour smell near the base
Common look-alikes
Before you assume rot, do a quick sanity check. Similar symptoms can come from:
- Underwatering: soil pulls away from the pot edge and the root ball feels dry and light
- Heat stress: midday wilting that rebounds in the evening
- Nutrient issues: slow yellowing without the mushy-root problem underneath
- Root-bound pots: water runs straight through and the plant still wilts because there is almost no mix left to hold moisture
How to confirm root rot
If the plant is in a pot, slide it out. If it is in the ground, gently dig a little off to the side and lift part of the root mass.
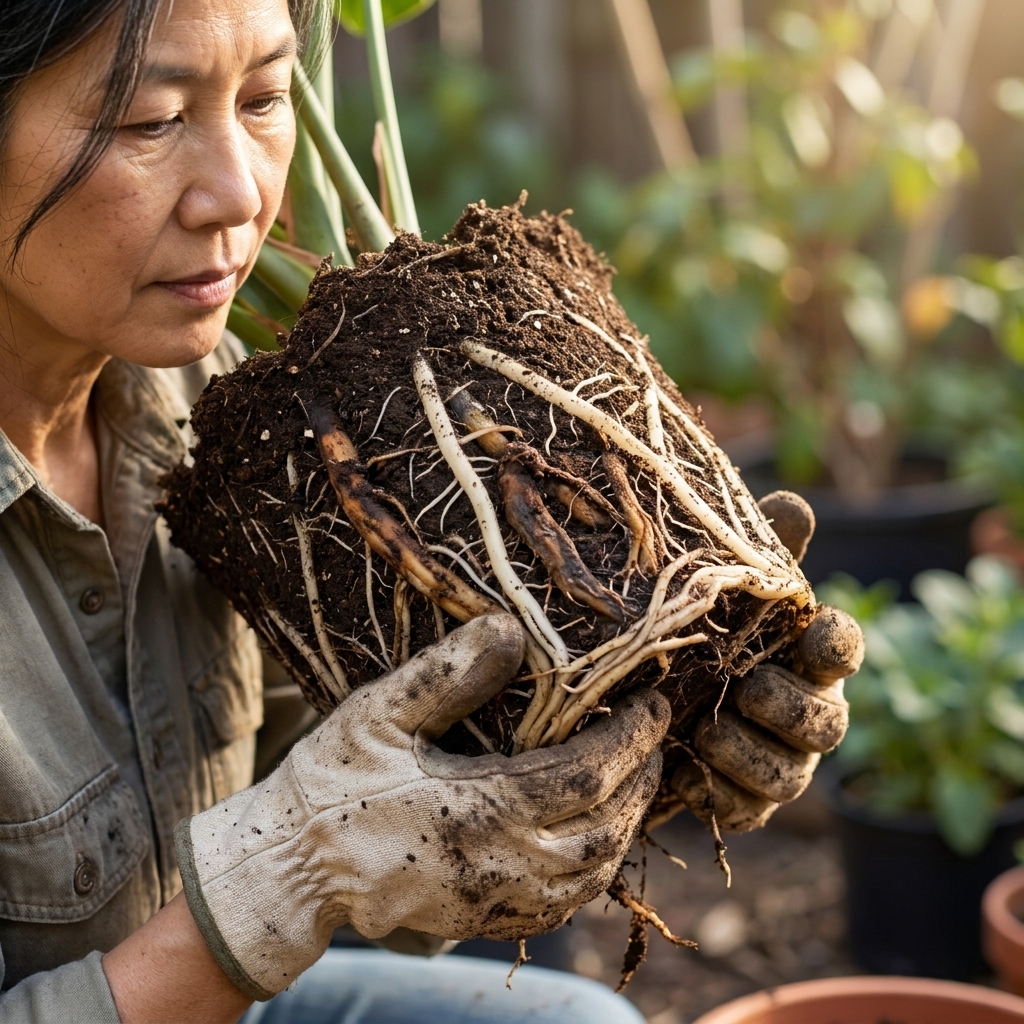
- Healthy roots: firm, pale to white to tan, and they snap rather than smear.
- Rotten roots: brown to black, soft or stringy, and the outer layer may slough off when you pinch it.
Why it keeps happening
In my experience, recurring root rot almost always traces back to one of these garden realities:
- Compacted soil: Clay and heavily walked-on beds drain slowly and hold water in tiny pore spaces without enough air.
- Low spots: Even “good” soil rots roots if water pools after rain or irrigation.
- Heavy, fine-textured amendments in clay: Compost is wonderful, but in some clays, working in thick layers of very fine material can reduce air space and slow drainage instead of improving it.
- Mulch against the crown: Mulch piled against stems keeps the crown wet and invites disease.
- Irrigation habits: Frequent shallow watering encourages shallow roots and keeps the upper zone constantly damp.
- Containers without true drainage: Decorative pots with no hole, saucers that never get emptied, or potting mix that has broken down into sludge.
Quick triage
If you catch root rot early, you can sometimes stop the slide. Here is the order I follow.
1) Pause watering and check drainage
- Skip watering until the top few inches of soil have dried.
- After rain or irrigation, observe: does water sit for more than a few hours? If yes, treat this as a drainage emergency.
2) Improve airflow at the base
- Pull mulch back 2 to 4 inches from stems and crowns.
- Remove any leaves pressed against damp soil.
3) Decide if the plant needs to come out
In containers: yes, usually. Waterlogged potting mix rarely “turns around” fast enough to save tender roots.
In the ground: it depends. If the plant is small and the soil is staying soggy, lifting it to replant into a raised mound or raised bed can be the difference between life and compost.
Fixing drainage
If you do one thing after reading this article, let it be this: make water move through your root zone at a reasonable pace. Fungicides help, but they cannot outrun a bathtub.
A quick drainage test
Dig a hole about 12 inches wide and 12 inches deep. Fill it with water and let it drain once (this pre-wets the soil). Fill it again and time how fast the water level drops. In many yards this is about 10 minutes of active work, plus however long your soil takes to drain.
- Often suggested as a good target: about 1 to 2 inches per hour.
- Often flagged as a concern: less than 1 inch per hour, especially if the hole is still holding water many hours later.
Best upgrades
- Stop compressing the bed: Create paths and stick to them. Compaction is slow to undo.
- Top-dress for structure: A thin layer of compost plus shredded leaves or leaf mold can improve structure over time. Avoid burying thick, fine layers into heavy clay all at once.
- Add mineral structure if needed: In stubborn clay, incorporating expanded shale (where available) can increase pore space more reliably than sand. Avoid mixing small amounts of sand into clay, which can create a cement-like texture.
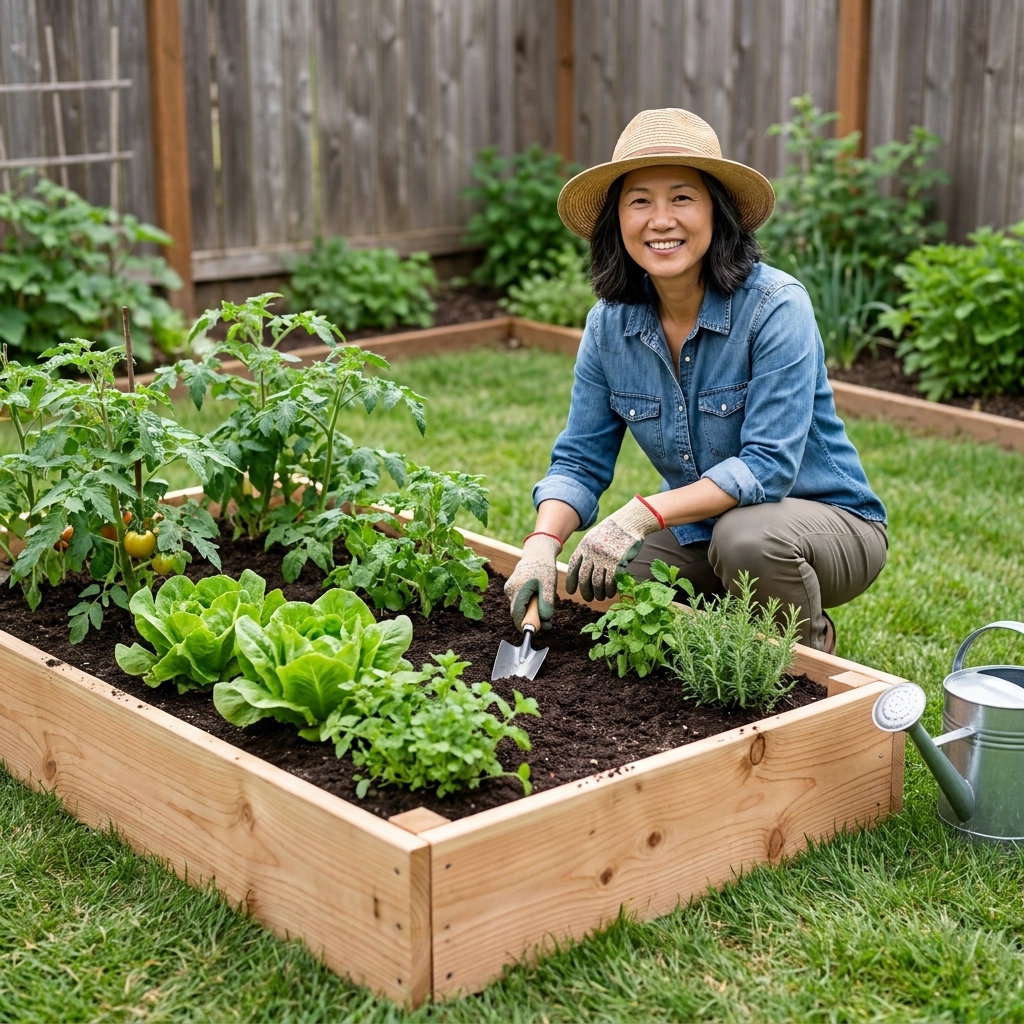
- Build up, not down: Raised beds or mounded rows move roots above the saturated zone.
- Redirect water: Downspouts, hardscape runoff, and sprinkler overspray can keep one corner perpetually wet.
- Consider a French drain or swale: For chronic pooling, landscape drainage may be the actual “pest management.”
In containers
Container plants are often the most salvageable because you can fully change their environment. Do this gently but promptly.
Step-by-step rescue
- Unpot the plant and remove as much wet mix as possible without tearing healthy roots.
- Rinse or shake roots clean enough to see what you are dealing with.
- Trim rot with clean scissors or pruners. Cut back to firm tissue. If you are pruning multiple plants, wipe blades between plants with isopropyl alcohol.
- Repot into fresh, airy mix in a pot with a real drainage hole. For many houseplants and patio annuals, adding extra perlite or fine pine bark can improve airflow.
- Water once to settle, then let the mix dry to an appropriate level before watering again. Empty saucers.
Important: Do not reuse the old potting mix. It breaks down and can harbor pathogens.
If you plan to reuse the pot, wash it with soap and water, then disinfect it before repotting.
In garden beds
In-ground root rot is trickier because you cannot replace all the soil. Your goal is to reduce pathogen pressure and improve oxygen fast enough for new roots to grow.
Practical options
- Pull mulch back and let the area dry: Simple, but it helps.
- Create a temporary mound: Pull soil into a low berm so the crown sits slightly higher.
- Open the soil surface: Lightly cultivate the top inch or two around (not on) the root zone to increase evaporation and gas exchange.
- Remove severely infected plants: If the root system is mostly gone, the kindest thing is to remove it so the problem does not spread through persistently wet soil.
If a bed repeatedly rots the same crop, rotate to something more tolerant for a season while you rebuild structure and drainage.
Fungicides and drenches
Think of fungicides as a support tool, not a magic eraser. They are most useful when:
- You have improved drainage or are actively drying the area.
- The plant still has some healthy roots left.
- You are treating early, before the crown and main roots collapse.
Common active ingredients
Always follow the label for the specific product and plant. Labels are the law, and they will tell you where a product is approved for use. Availability and legality vary widely by country and even by state, and some actives may be restricted-use or simply not sold to home gardeners in your area.
- Phosphorous acid and phosphite (often sold as phosphite fungicides): commonly used against Phytophthora and some other water molds. These are often used as soil drenches in landscapes.
- Mefenoxam (and related chemistry): used for Pythium and Phytophthora in some settings.
- Thiophanate-methyl: used for certain fungal diseases. Effectiveness depends on the pathogen and local resistance issues.
- Copper-based fungicides: sometimes used as preventatives for certain diseases, but they are not a cure-all for root rot and can build up in soil with repeated use.
Biologicals
Some gardeners have good results with Trichoderma-based products or other biological fungicides used as drenches. They work best as preventatives and in soils that are not staying wet all the time. If you try one, pair it with improved drainage and gentler watering, or it is like sending in lifeguards while leaving the pool cover on.
A note on hydrogen peroxide
Hydrogen peroxide gets mentioned a lot online. In containers, a diluted drench is sometimes used to reduce microbial load, and because it breaks down into water and oxygen. Any oxygen boost is short-lived and dose-dependent, and it can also damage tender roots and beneficial microbes if overused. For most garden soil situations, you will get better results by fixing drainage and using labeled products targeted to the pathogen.
Prevention habits
Preventing root rot is mostly about building a soil environment that cycles water well and stays breathable.
- Water deeply, less often: Let the top layer dry a bit between waterings for most plants (exceptions exist, but “constantly wet” is rarely the goal).
- Water in the morning: Leaves and soil surfaces dry faster.
- Use drip irrigation: It reduces overwatering by accident and keeps foliage drier.
- Mulch correctly: A 2 to 3 inch layer is plenty for many beds. Keep it away from stems and crowns.
- Feed soil structure: Top-dress with compost annually, plant cover crops when appropriate, and avoid working soil when it is wet.
- Choose plants for the site: If a spot stays damp, lean into moisture-tolerant plants or build a raised bed for the ones that hate wet feet.
Plants most at risk
Any plant can rot in saturated soil, but these are frequent “patients”:
- Succulents and cacti
- Lavender, rosemary, and many Mediterranean herbs
- Tomatoes and peppers (especially in heavy, cool, wet soil)
- Young seedlings (damping off is closely related to root rot pathogens)
- Houseplants in dense potting mix (pothos may forgive you, but many others will not)
When to start over
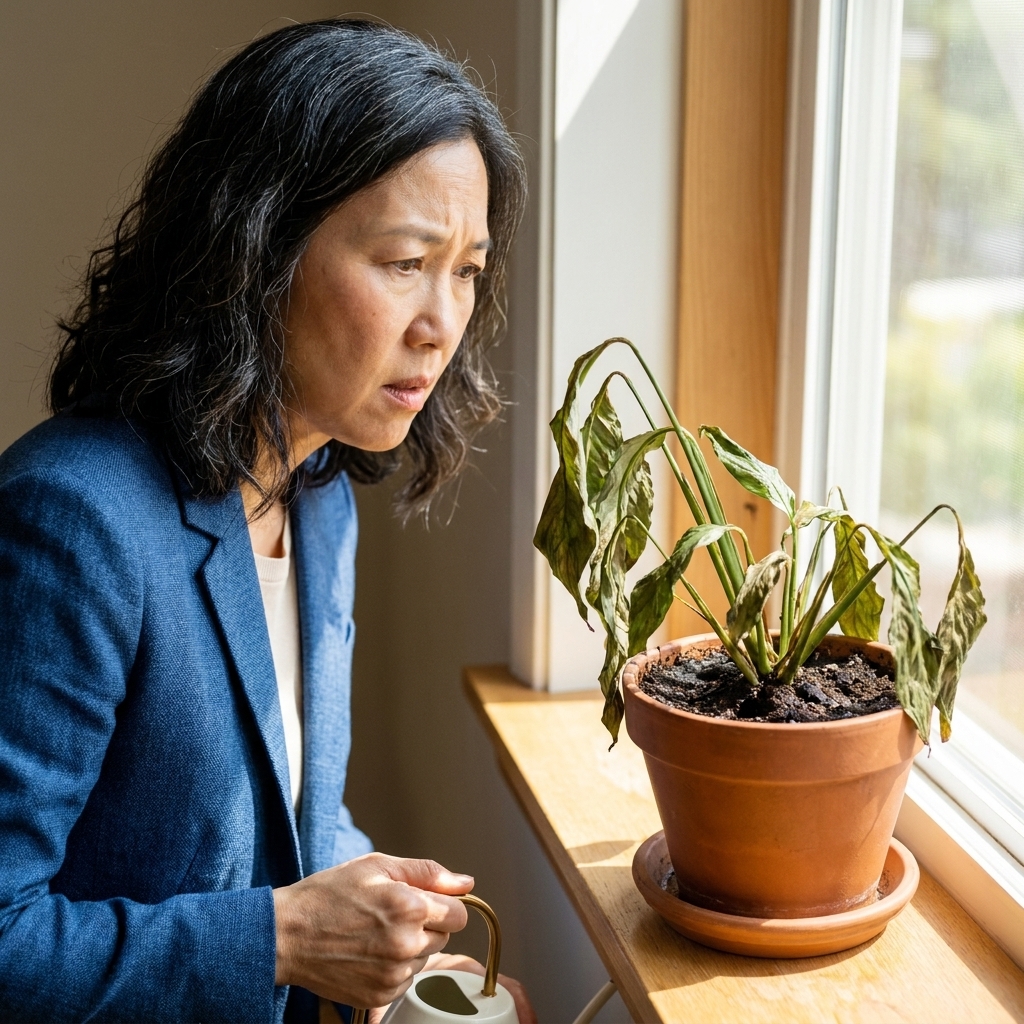
Sometimes the most strategic move is to compost the lesson and start fresh. Consider removing the plant if:
- Most roots are mushy and sloughing off.
- The crown is soft, dark, or collapsing.
- The plant continues to decline after drainage changes.
Before replanting:
- Fix the water issue first (raise the bed, redirect runoff, amend structure).
- Remove infected debris and avoid mixing it into the soil.
- Rotate plant families for a season if possible, especially after repeated losses.
Root rot FAQ
Can a plant recover from root rot?
Yes, if there are still healthy roots left and you correct the conditions that caused it. Recovery looks like new, firm white roots and fresh growth at the tips. It is usually slow, so be patient.
Is root rot contagious?
The pathogens can spread through shared water, saturated soil, contaminated tools, and infected plant material. It is not “airborne” in the way powdery mildew is, but it absolutely moves around the garden when conditions stay wet.
Should I add sand to fix drainage?
Usually no, at least not in the casual “a bag or two of sand” way. Small amounts of sand mixed into clay can worsen texture. Raised beds, expanded shale (where available), organic matter over time, and addressing runoff tend to be more reliable solutions.
How do I know if I am overwatering or if it is root rot?
Overwatering is a practice. Root rot is the result. If your soil stays wet for days, roots can suffocate even with “normal” watering. Confirm by checking the roots. Healthy roots are firm. Rotting roots are dark and mushy.
A gentle reminder
Root rot feels personal, but it is mostly physics and biology. Water plus low oxygen plus time equals trouble. If you take away the “staying wet” part, you take away most of root rot’s power.
If you want to troubleshoot on your own, focus on three questions: How long does the soil stay wet after watering? Does the plant have firm, pale roots left? And is water being trapped by compaction, a low spot, or a pot that cannot drain? Answer those, and the fix usually becomes obvious.