If you have ever wished you could bottle the “good stuff” from rich compost and deliver it straight to your roses, hydrangeas, peonies, or lilacs, aerated compost tea is about as close as we get in home gardening. Done well, it is less like a fertilizer bomb and more like a soil biology booster: a microbe-rich brew that can support nutrient cycling, root function, and overall plant resilience.
Done poorly, compost tea can turn into a smelly science experiment that encourages the wrong organisms. So let’s do it the calm, safe, effective way.
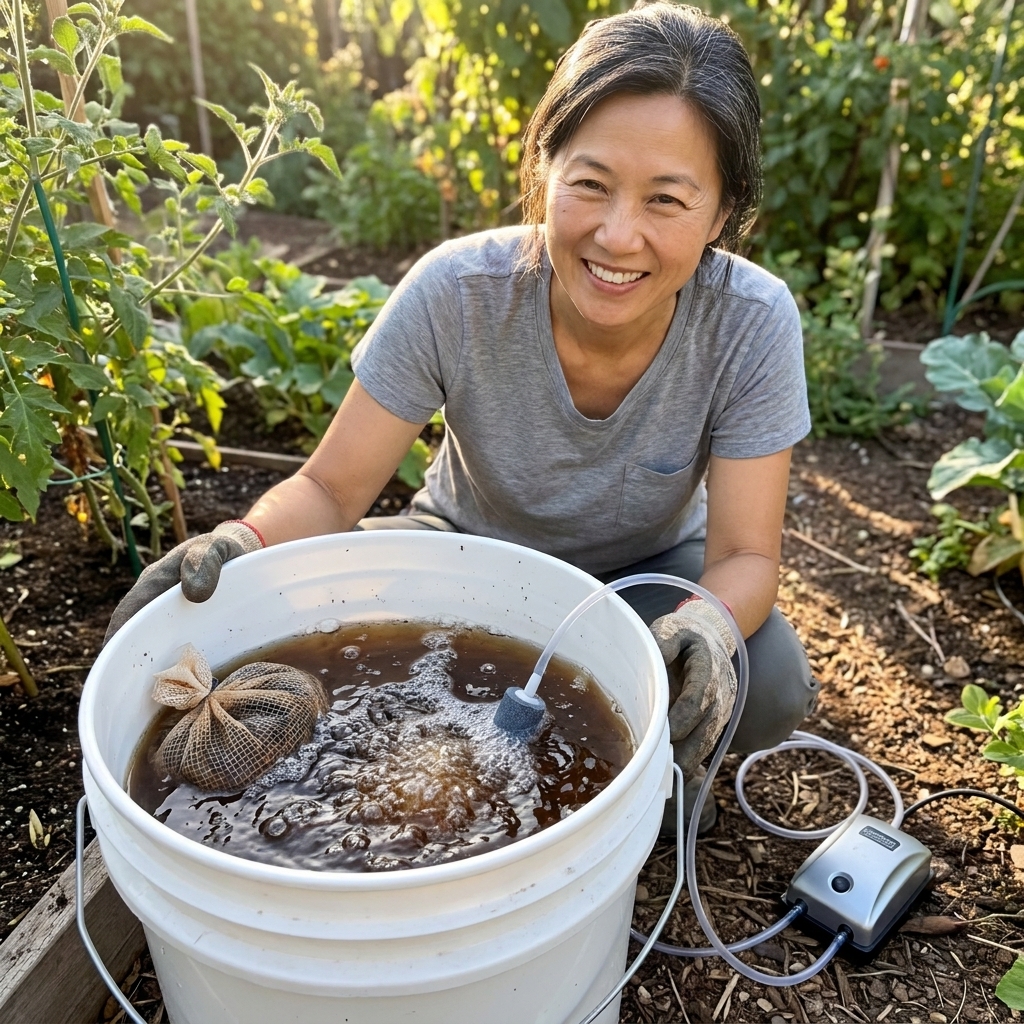
What it is
Aerated compost tea (often shortened to ACT) is water that has been actively oxygenated with a pump while high-quality compost is steeped inside. The goal is to multiply and suspend beneficial aerobic microbes, especially bacteria and fungi that support healthy soil food webs.
It helps to separate three similar sounding things:
- Compost tea (aerated): brewed with constant oxygen. This is what we are making here.
- Compost tea (not aerated): compost soaked without a pump. This can go anaerobic and get funky fast.
- Compost leachate: the liquid that drips out of a compost pile or bin. This is not the same thing and can contain plant pathogens.
For blooming ornamentals and shrubs, I like ACT because it is gentle. It aims to support the biology that makes nutrients more available, rather than pushing a big, salty surge of nitrogen that can lead to soft growth and more pest pressure.
Why it may help
Aerated compost tea is not a magic bloom potion, but it may contribute to better flowering in a very grounded, soil-health way. Results vary widely based on compost quality, brew conditions, and how you apply it, so think of it as a supportive tool, not a guarantee.
- Nutrient availability: microbes can help cycle nutrients into forms roots can use, especially in stressed or compacted soils.
- Root-zone support: a diverse microbial community can help create a healthier root environment and steadier uptake of water and nutrients.
- Plant resilience: healthier plants tend to handle heat swings, transplant shock, and minor pest issues with less drama.
- Soil structure over time: repeated biological inputs plus compost topdressing can improve aggregation and reduce crusting.
One small reality check, from a gardener who has tried to “tea” her way out of problems: ACT helps most when your basics are in place. Sun, consistent water, decent drainage, and the right plant for the right spot still do the heavy lifting.
What it is not
- Not a replacement for compost and mulch: tea is a delivery vehicle. Compost and mulch are the long-term food source.
- Not a high-NPK fertilizer: it is primarily about biology, not a measured nutrient dose.
- Not proven disease control: some gardeners report benefits, but research results are mixed and inconsistent, especially for foliar disease prevention.
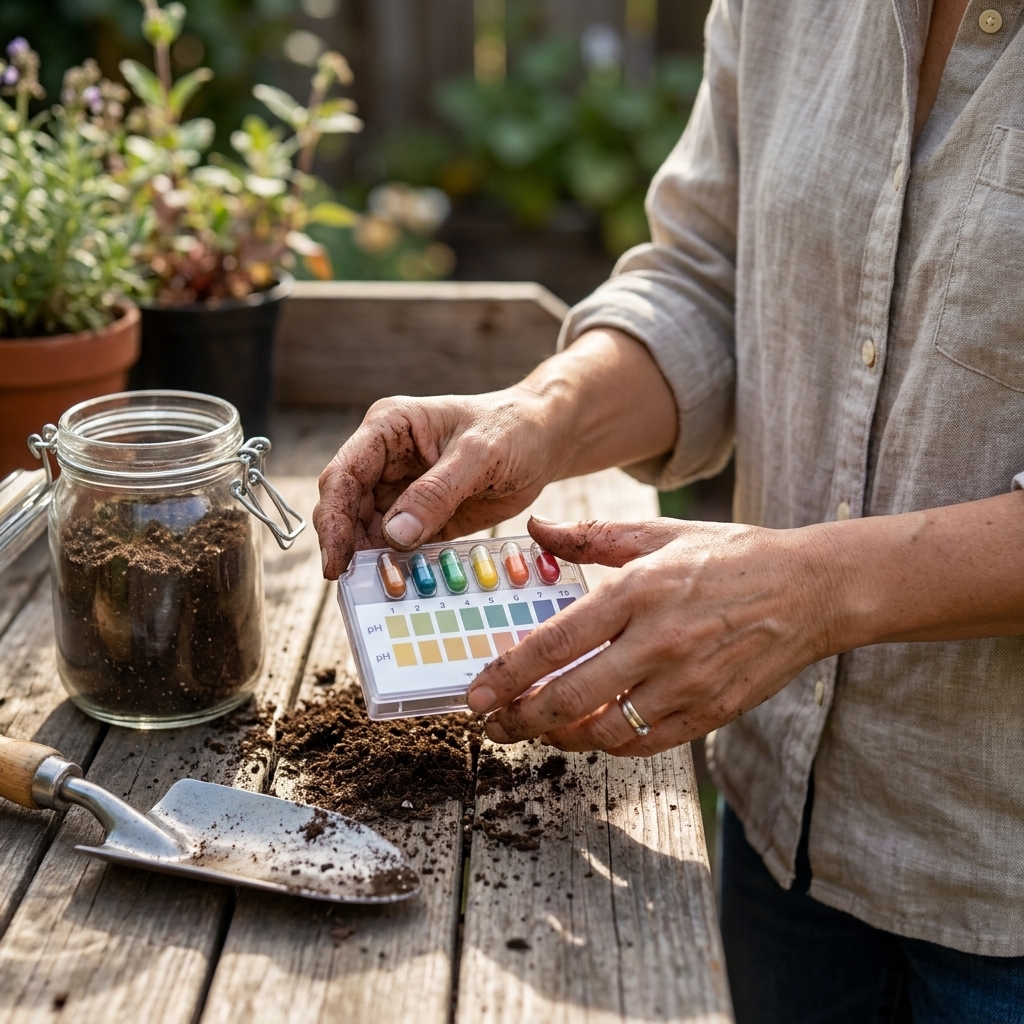
- Not a substitute for a soil test: if your soil is short on key nutrients or your pH is off, tea will not “fix” that by itself.
What you need
You do not need a lab. You do need reliable aeration and clean gear.
Equipment
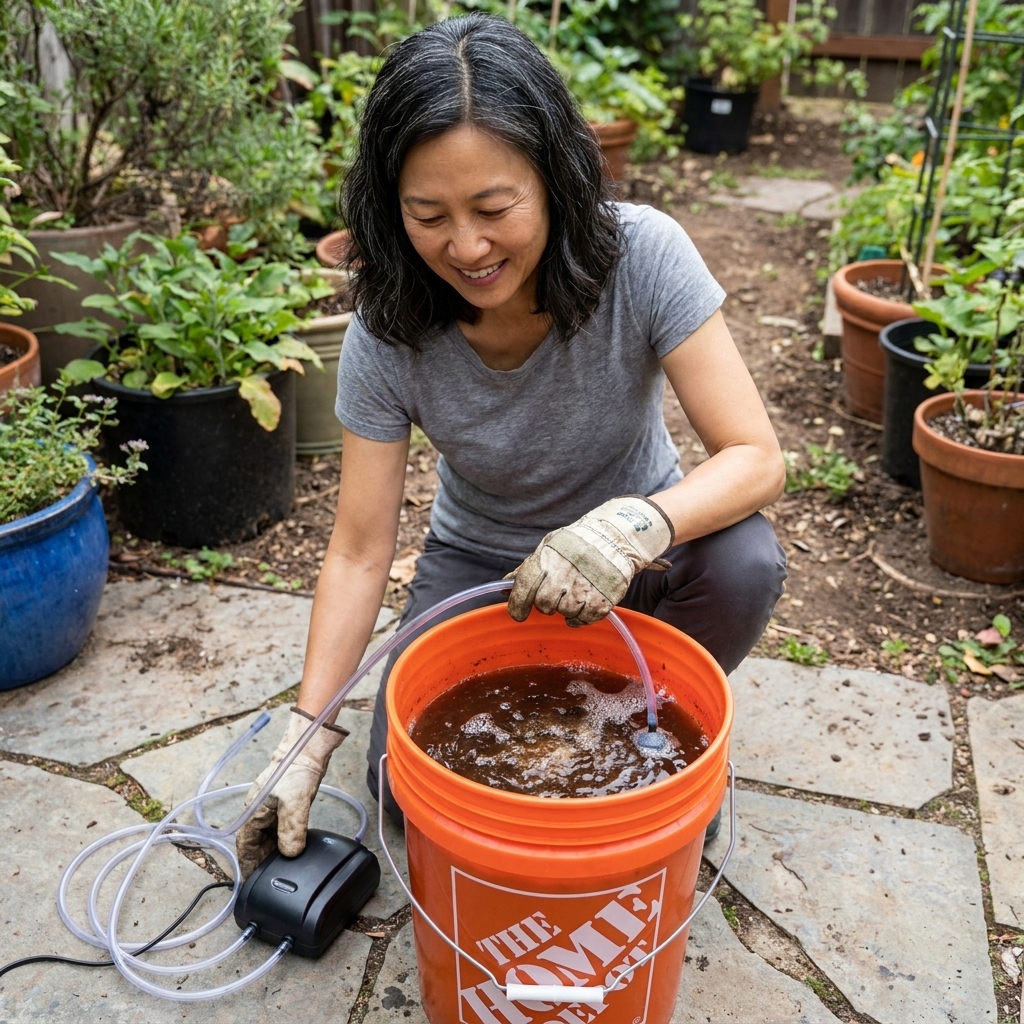
- Clean bucket: 5 gallons is the sweet spot for most home gardens. A food-safe bucket is a good best practice for minimizing contamination risk, even for ornamentals.
- Aquarium air pump: ideally rated for 20 to 60 gallons (bigger than you think you need). Two-outlet pumps are handy.
- Airline tubing and air stones or a diffuser wand.
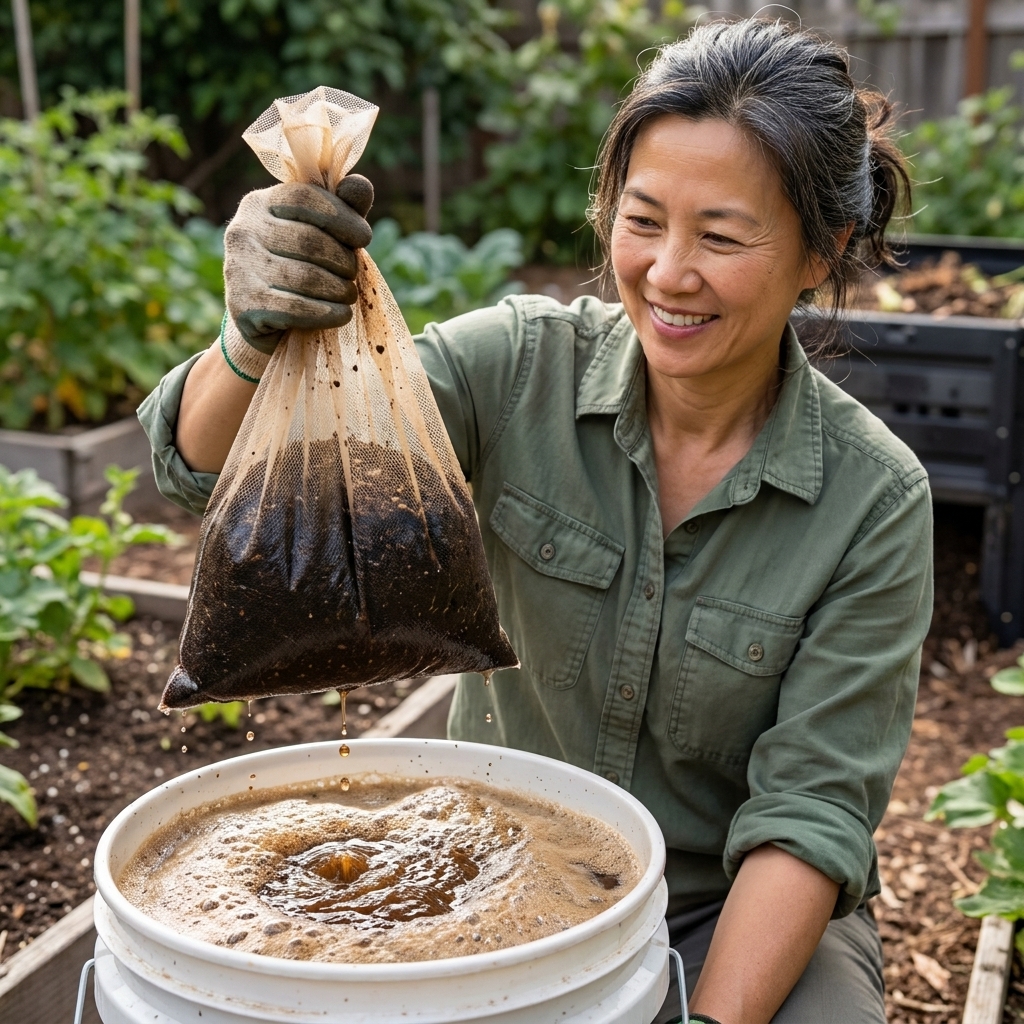
- Mesh bag (nylon paint strainer bag works well) to hold compost. You can brew “loose,” but bagged compost makes application easier.
- Thermometer (optional): helpful for dialing in brew time.
- Dechlorination method: use an inline hose filter rated for chloramine, or add a dechlorinator. Letting water sit out for 24 hours can work for chlorine, but it does not reliably remove chloramine.
Ingredients
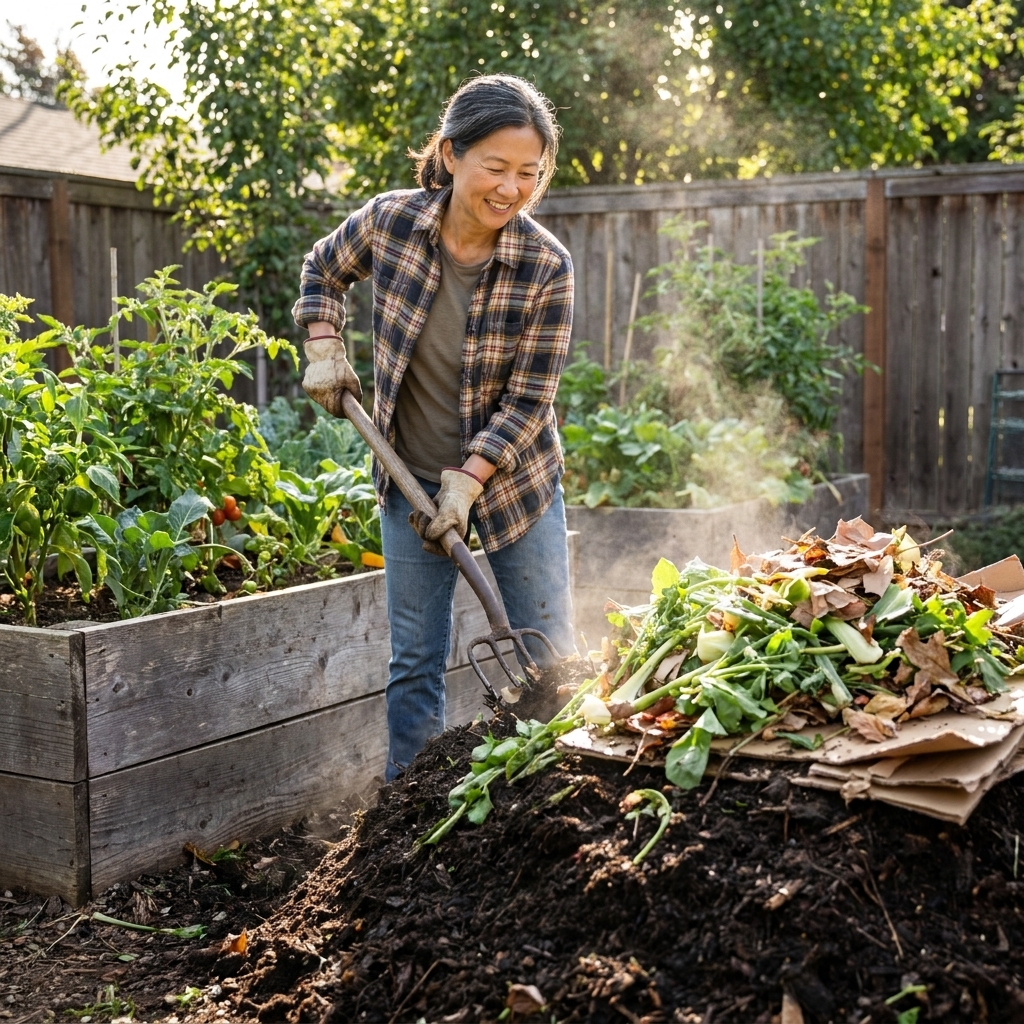
- High-quality finished compost: dark, crumbly, earthy smell. Worm castings can be part of this.
- Microbe food (optional): unsulfured blackstrap molasses is common. Use lightly. Sugars can increase risk if compost quality is questionable or aeration is weak, so this is not the place to get heavy-handed.
Quick water note: extremely hard or very alkaline water can be less friendly to microbes. If your tap water is notoriously hard, consider filtered or collected rainwater (where legal and clean), plus dechlorination as needed.
Compost matters most
If I could grab you by the gardening gloves for one moment: do not brew tea from questionable compost. Compost tea amplifies what is already in the compost. Start with compost that is fully finished and made from known inputs.
Use compost you trust: homemade compost that reached hot-compost temperatures, or high-quality bagged compost from a reputable source.
Avoid:
- compost that still has recognizable food scraps
- manure that was not properly composted (especially from unknown sources)
- leachate from the bottom of bins
- compost that smells sour, rotten, or like ammonia
Basic recipe (5 gallons)
This is my steady, beginner-friendly brew for ornamentals.
Ingredients
- Water: 4 to 4.5 gallons dechlorinated
- Finished compost: 2 to 4 cups (or about 1 to 2 pounds in a mesh bag)
- Unsulfured blackstrap molasses (optional): 1 to 2 teaspoons
Steps
- Dechlorinate the water. Fill your bucket and treat it as needed. Remember: resting water helps with chlorine, not chloramine.
- Add aeration first. Drop in your air stones and turn on the pump. You want vigorous bubbling, not a lazy simmer.
- Add compost in the mesh bag. Tie it off and suspend it so water circulates freely around it.
- Add molasses (optional). Dissolve it in a cup of water first so it disperses evenly. When in doubt, skip it.
- Brew briefly, then use right away. A common home window is 12 to 24 hours, but the “right” time depends on compost, temperature, and aeration. Cooler water usually needs longer, warmer water shortens the safe window.
My default timing: 18 to 24 hours at about 60 to 75°F (15 to 24°C), brewed in the shade. If your water is 70 to 80°F (21 to 27°C), aim more like 12 to 18 hours.
How you know it is going well: it smells pleasantly earthy, like damp forest soil. A little foam is fine. A rotten or sewage smell is your sign to stop and clean everything.
Brewing tips
Keep it aerobic
Oxygen is the entire point. If the pump is weak for the bucket size, or the brew is too warm, oxygen can drop and the microbial community can shift in the wrong direction. When in doubt, more aeration and a shorter brew is safer than the opposite.
Go easy on sugars
Molasses can help beneficial bacteria multiply, but too much can cause explosive growth and oxygen depletion. Stick to teaspoons, not tablespoons, for a 5-gallon bucket. And if your compost quality or aeration is anything less than excellent, skip sugars entirely.
Mind the temperature
- Cooler (55 to 65°F / 13 to 18°C): brew may take closer to 24 hours.
- Warmer (70 to 80°F / 21 to 27°C): aim for 12 to 18 hours and keep it shaded.
Clean gear every time
Rinse immediately, then wash the bucket, stones, and tubing with hot water and a small amount of unscented soap. Rinse thoroughly. If you ever had a foul batch, sanitize with a dilute bleach solution, rinse well, and let everything air dry.
How to use it
You can apply ACT as a soil drench (my favorite for shrubs) and, in some cases, as a foliar spray. For blooms and long-term plant health, soil application is the main event.
Option 1: Soil drench
Apply around the drip line of shrubs and across the root zone of perennials.
- Dilution: often optional for a home brew. If you want to stretch it, dilute 1:1 with dechlorinated water.
- Rate: about 1 to 2 cups for small perennials, 1 to 2 gallons for a medium shrub, adjusted for size and soil moisture.
- Timing: water the soil lightly first if it is bone-dry, then apply tea. Microbes move more comfortably in a moist environment.
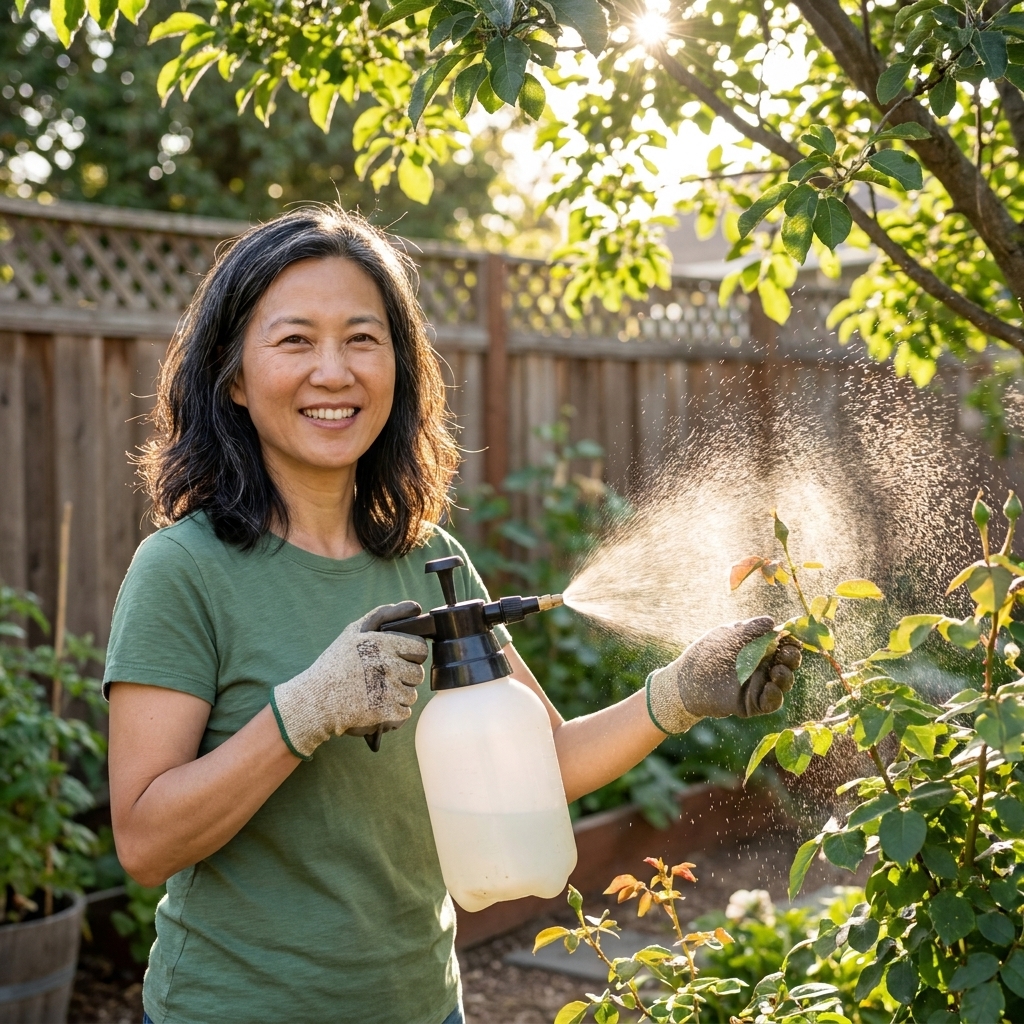
Option 2: Foliar spray (with realistic expectations)
Foliar applications are best thought of as microbial “occupancy,” encouraging a beneficial community on leaf surfaces. Some gardeners see improvements under certain conditions, but results are inconsistent and it is not a guaranteed way to prevent powdery mildew, black spot, or other foliar diseases.
- Strain well: use a fine mesh or cloth so sprayer nozzles do not clog.
- Spray at the right time: early morning is ideal. Avoid hot midday sun.
- Coverage: light, even coating on tops and undersides of leaves.
Skip foliar spraying on edible leaves unless you are highly confident in your compost quality and sanitation practices. For ornamentals like roses, hydrangeas, and shrubs, foliar use is simpler.
When to apply
For bloomers, timing is about supporting steady growth and root function, not forcing flowers overnight.
My practical schedule
- Early spring: one soil drench as buds swell and plants wake up.
- Pre-bloom: another drench 2 to 3 weeks before expected flowering.
- After a heavy flush of blooms: optional drench to support recovery, especially for roses.
- After stress events: transplanting, heat waves, hail, or pruning can be good moments for a gentle biological boost.
Frequency: every 3 to 4 weeks during active growth is plenty for most home gardens. More is not always better, and your soil food web also needs actual organic matter, like compost topdressing and mulch, to stay fed.
Best pairings
Compost tea is a quick delivery vehicle. Compost and mulch are the long-term pantry.
- Topdress with compost: 1 to 2 inches around shrubs (keep it off the trunk or crown).
- Mulch: 2 to 3 inches of leaf mulch, shredded bark, or pine straw to moderate moisture and temperature.
- Then apply tea: pour through the mulch so microbes wash into the root zone.
This combo does more for soil structure and bloom consistency than tea alone, in my experience.
Troubleshooting
“It smells bad.”
Earthy is good. Sour, rotten, or sewage-like is not. Stop the brew and dispose of it safely. If local rules allow, the simplest option is often to pour it into a sanitary sewer cleanout or household drain. If that is not an option, dispose of it in an inactive, non-food area where runoff cannot reach storm drains or surface water. Then clean your equipment, shorten your next brew, increase aeration, and skip sugars.
“There is no foam. Did I fail?”
Foam is not a reliable success indicator. Some composts foam, some do not. Smell, aeration, and time matter more.
“My sprayer keeps clogging.”
Strain again through finer material, or brew in a mesh bag and avoid squeezing too aggressively. For foliar use, strain like your nozzle’s feelings depend on it.
“Plants look burned after applying.”
Compost tea is usually mild. Burn is more often from spraying in hot sun, mixing with other products, or applying to drought-stressed plants. Apply in cooler parts of the day and water lightly beforehand if soil is very dry.
“Will this replace fertilizer?”
Not always. ACT is primarily a biological amendment. If a soil test shows low phosphorus or potassium, or if you are growing heavy feeders, you may still need targeted amendments. Tea is a helper, not a whole nutrition plan.
Safety basics
I brew compost tea like I handle raw chicken. Respectfully, quickly, and with cleanup.
- Wear gloves if you have cuts on your hands.
- Do not store finished tea. Use it the same day, ideally right after brewing.
- Keep buckets out of reach of curious toddlers and thirsty dogs. (My golden retriever, Barnaby, thinks every bucket is a personal invitation.)
- Do not apply to edible parts right before harvest. For ornamentals, this concern is lower, but hygiene is still wise.
FAQ
Can I use worm castings instead of compost?
Yes. Worm castings make an excellent base, or you can blend castings with finished compost. Castings are typically microbe-rich, but they are also finer, so use a good mesh bag or strain well.
Can I make compost tea without molasses?
Absolutely. Compost alone can brew a solid tea. Molasses is optional, and I often skip it when I am unsure about temperature control or aeration strength.
How long can compost tea sit after brewing?
Not long. Once aeration stops, oxygen drops and the microbial community can shift. Use it the same day, ideally within a couple of hours of stopping the pump.
Is compost tea good for hydrangeas and roses?
Yes, as a soil drench it can be a nice support tool for both. For hydrangeas, consistent moisture and organic matter matter most. For roses, focus on watering at the base, good airflow, and sanitation first, then use tea as an added layer of support.
Will compost tea prevent powdery mildew or black spot?
It may help support plant health as part of an overall plan, but it is not consistently proven to prevent foliar disease. For roses and mildew-prone plants, prioritize sun, spacing, pruning for airflow, and removing infected leaves. Think of tea as backup singers, not the lead vocalist.
Simple starting plan
If you want the lowest-stress way to begin, do this:
- Brew a 5-gallon batch with trusted compost, strong aeration, and no molasses the first time.
- Apply as a soil drench to your flowering shrubs in early spring and again pre-bloom.
- Topdress with compost and add mulch so the microbes have a long-term home.
Your garden does not need perfection. It needs consistency. And if your first batch feels a little fussy, welcome to the club. Every seasoned gardener has a compost bin full of past mistakes and a few buckets of “well, that did not smell right” along the way.