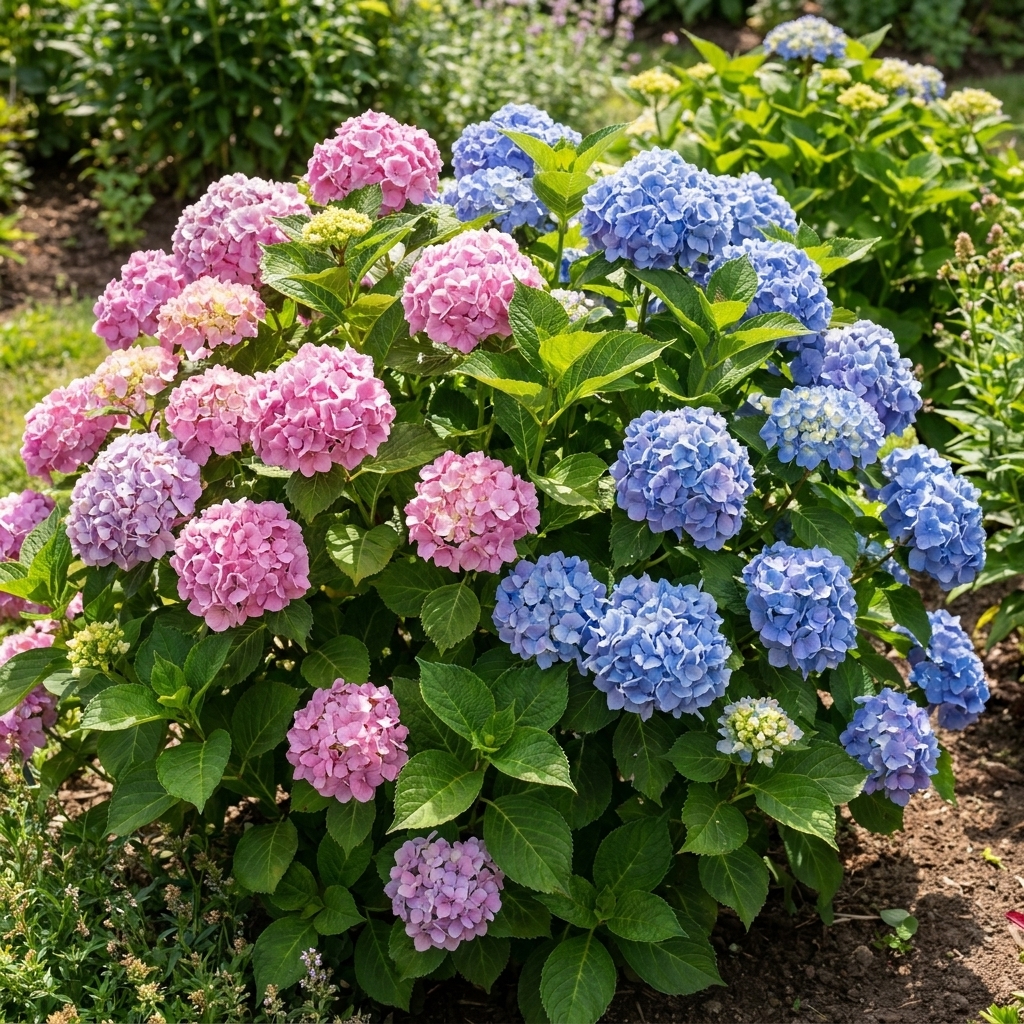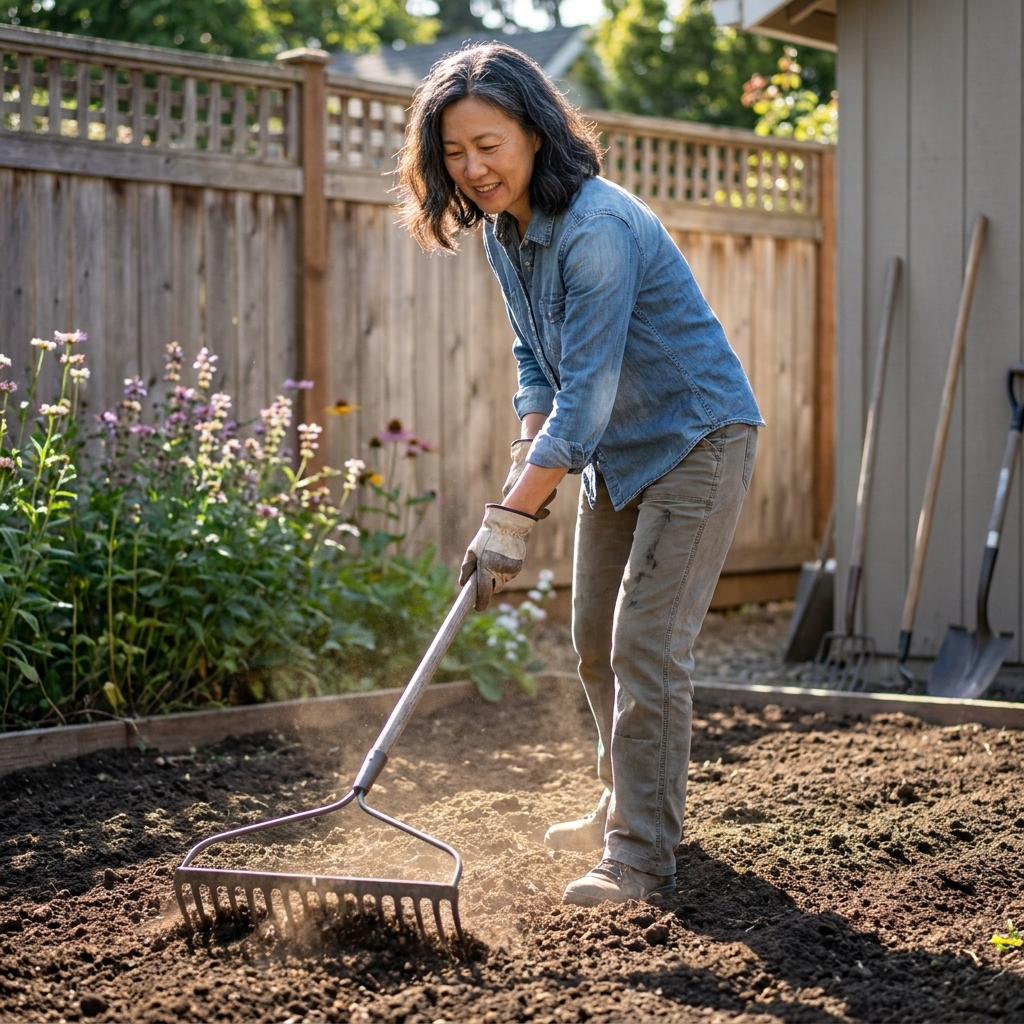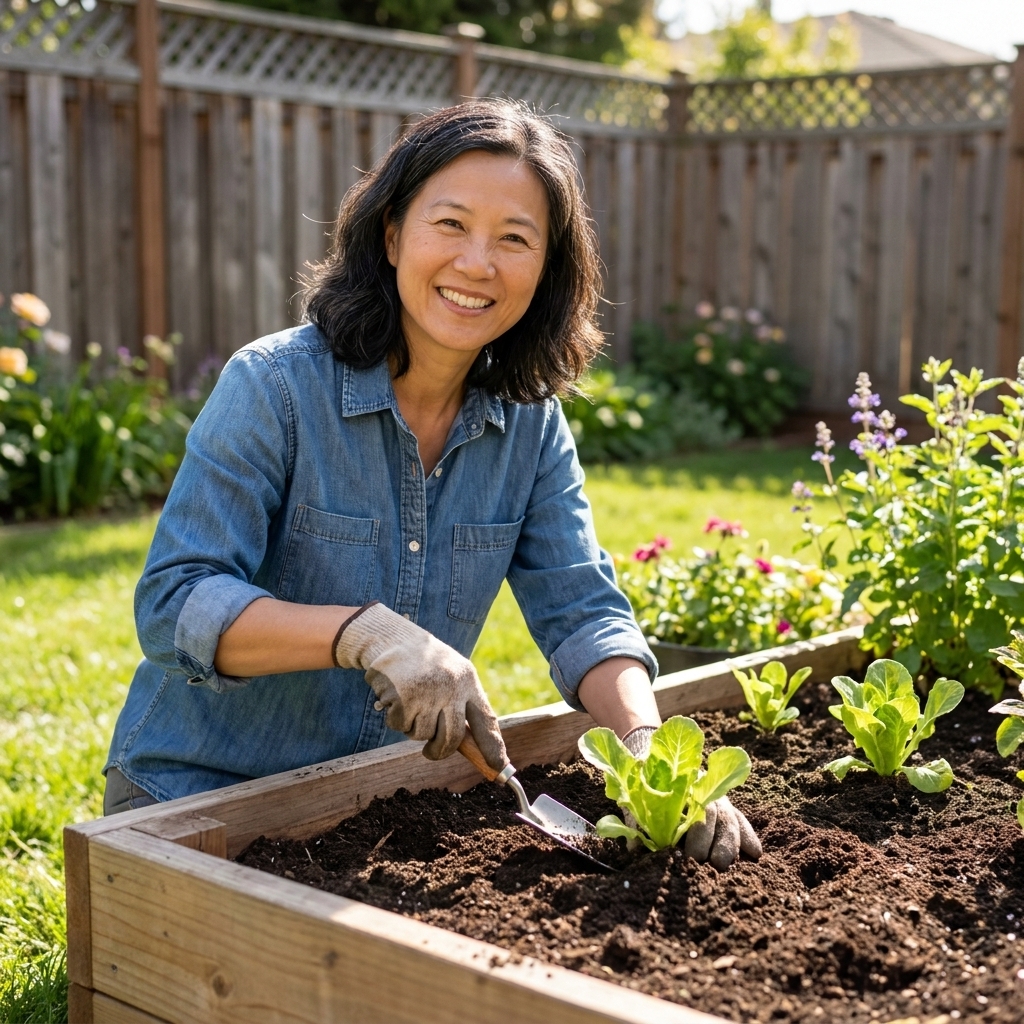
Soil pH sounds like one of those things only “serious gardeners” worry about. But here’s the truth I wish someone had told me early on, somewhere between my grandmother’s hydrangeas and my own first sad tomato patch: pH is not about perfection. It’s about nutrients being available to your plants.
If your plants look pale, stubbornly stunted, or strangely “hungry” even though you’ve added compost, pH might be quietly locking up nutrients. The good news is you can test it at home and nudge it naturally, slowly, and safely.
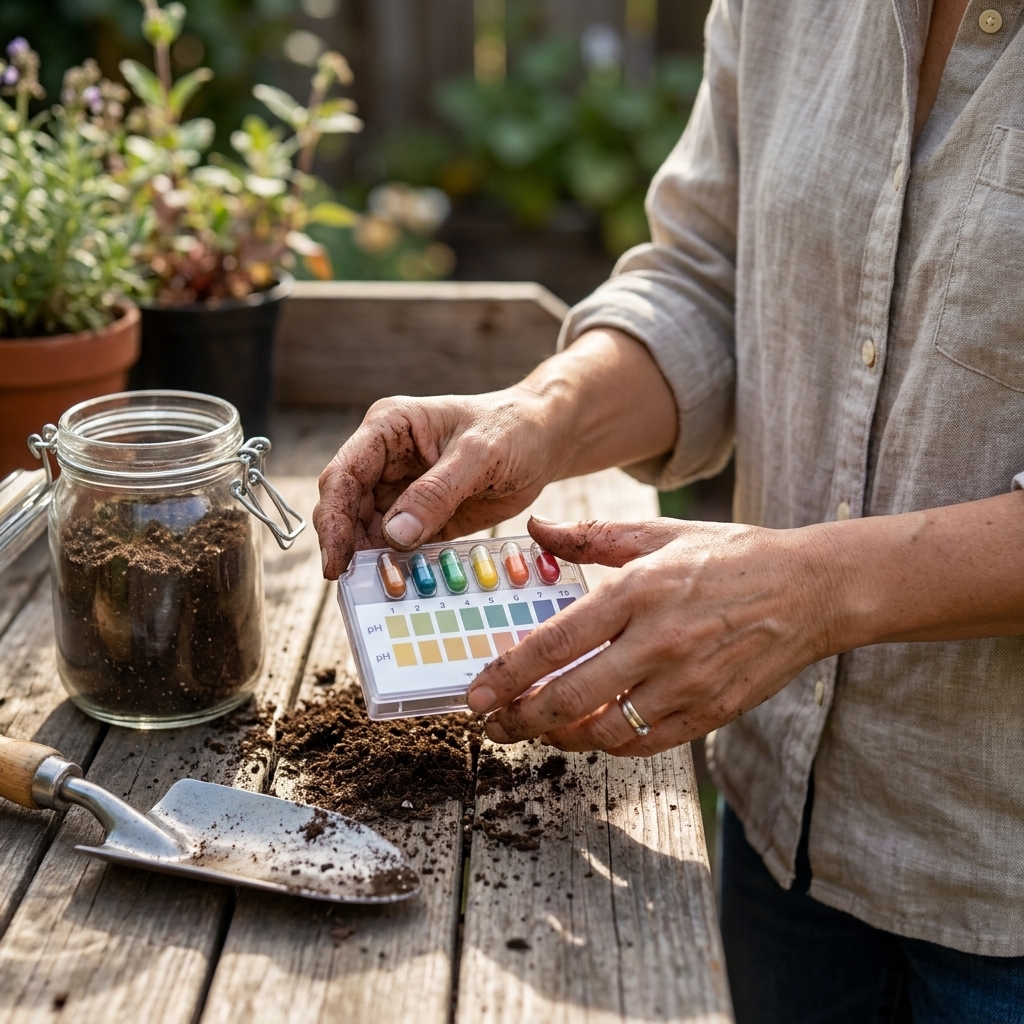
What soil pH means
Soil pH is a measure of how acidic or alkaline your soil is on a scale from 0 to 14.
- 7.0 is neutral
- Below 7.0 is acidic
- Above 7.0 is alkaline
Most garden plants are happiest when soil is slightly acidic to near-neutral, roughly pH 6.0 to 7.0. In that neighborhood, major nutrients like nitrogen, phosphorus, potassium, and key micronutrients tend to stay more available.
There are exceptions, of course. Blueberries love acidic soil. Many Mediterranean herbs tolerate more alkaline soil. And even within vegetables, preferences vary a bit. For example, potatoes often do better a little more acidic than the average veggie bed, while asparagus tolerates higher pH than most.
Signs your pH might be off
pH problems can look like “fertilizer problems,” which is why they’re so sneaky. You might notice:
- Yellowing leaves (especially new growth), even with feeding
- Poor flowering or fruiting
- Stunted growth that doesn’t match your care routine
- Recurring blossom-end rot (often tied to calcium availability and watering consistency)
- Moss thriving in lawns (most often linked to shade, moisture, compaction, and poor drainage, and sometimes associated with acidic soil)
None of these symptoms prove a pH issue on their own. They’re just good reasons to test before you throw more amendments at the problem.
Test before you change anything
If you take only one thing from this article, let it be this: don’t “treat” pH based on guesswork. It is very easy to overcorrect, and quick swings stress plants and soil life.
You have two good options:
- At-home tests for a quick, workable snapshot
- Lab soil tests for accurate pH plus nutrient levels and buffering capacity
For most home gardeners, I recommend starting with an at-home test, then sending a lab test if you’re fighting recurring issues or growing picky crops like blueberries.
How to test soil pH at home
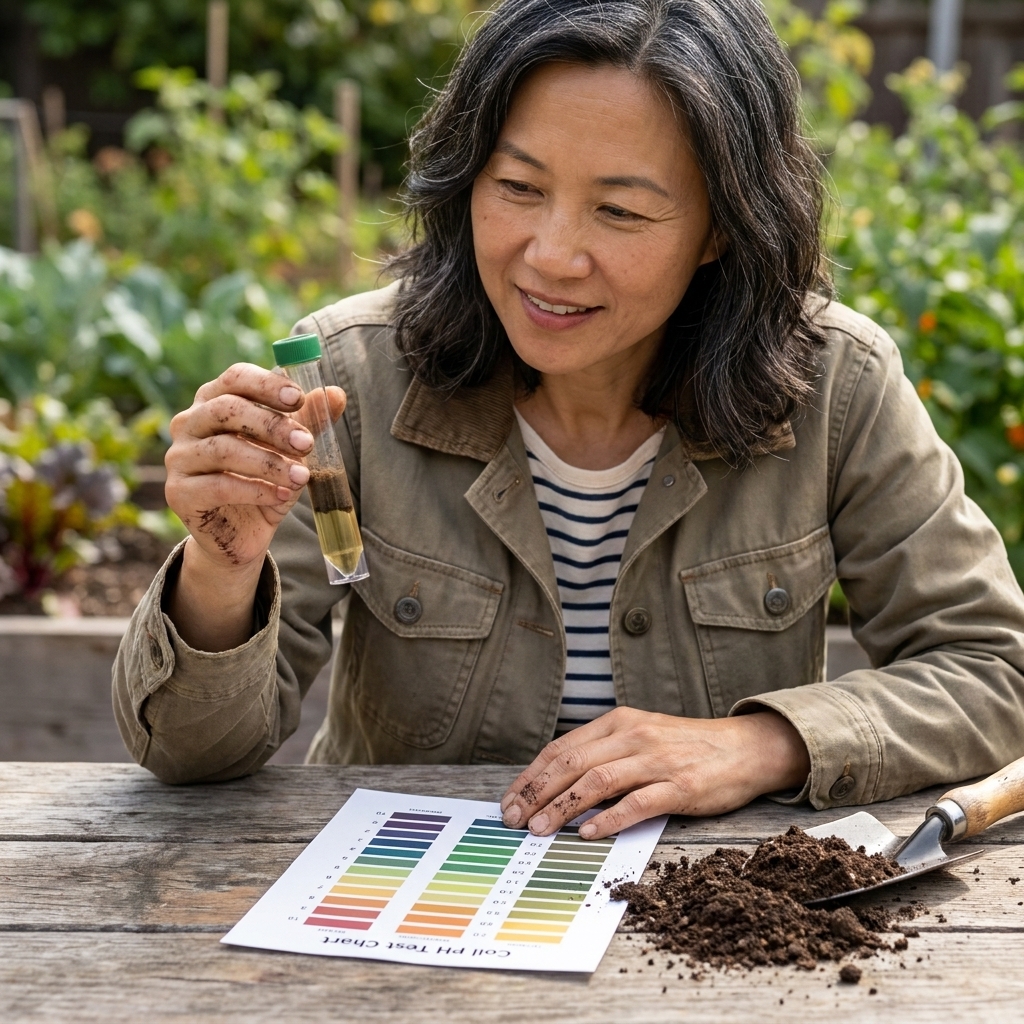
Option 1: Test strips or color kits
These are affordable, widely available, and accurate enough for most gardens when you follow directions carefully.
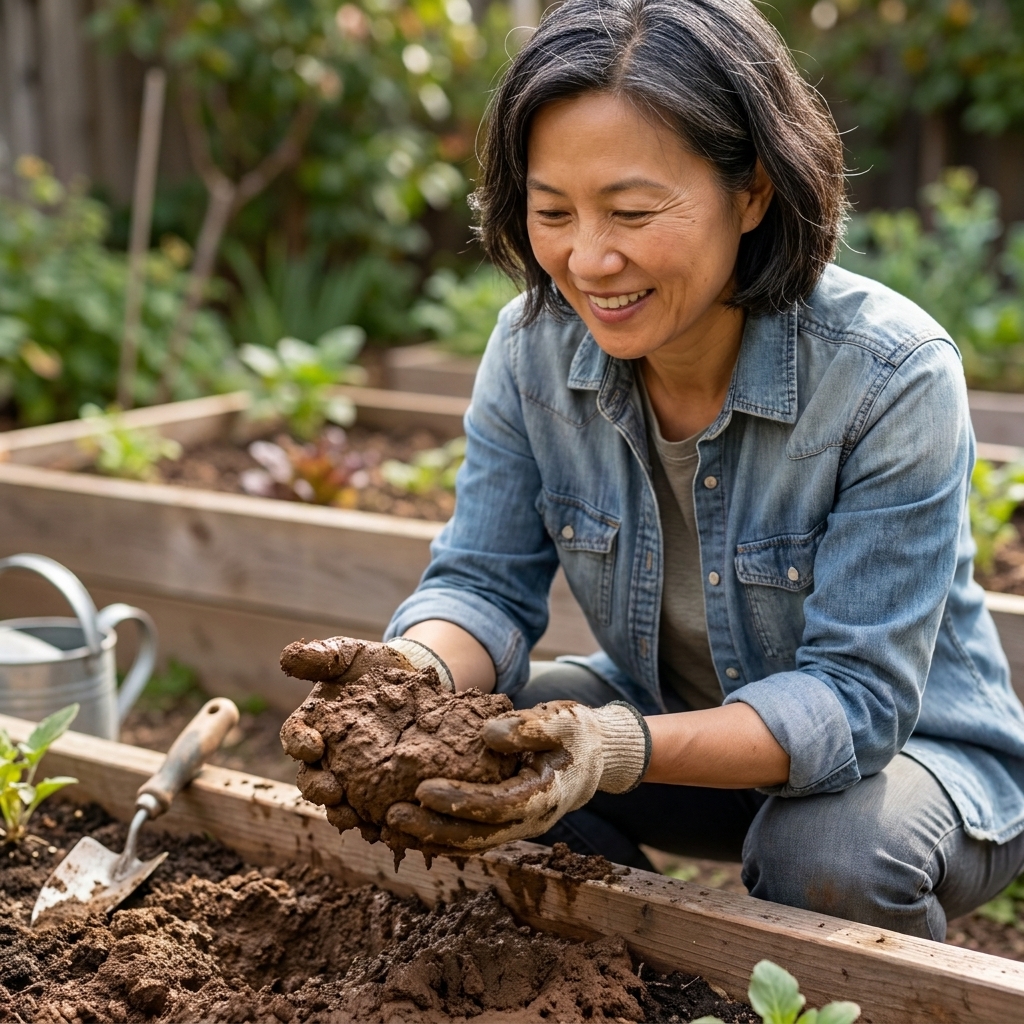
- Clear the surface first: scrape aside mulch, leaves, and obvious debris so you are sampling soil, not top dressing.
- Collect soil samples from several spots in the bed (4 to 8 is great). Avoid edges, compost piles, pet spots, and places where fertilizer granules sit.
- Dig to the right depth: for vegetable and flower beds, sample about 4 to 6 inches deep (or the usual root zone you work). For lawns, sample about 3 to 4 inches deep.
- Mix samples in a clean bucket and remove rocks, roots, and bits of mulch.
- Let the soil air-dry for an hour or two if it’s very wet. Muddy water makes readings unreliable.
- Follow your kit instructions exactly for the soil-to-water ratio and wait time. (If you can, use distilled water for consistency.)
- Record the result with the date and bed name. Your future self will thank you.
If you can, avoid testing immediately after you’ve limed, fertilized, or heavily amended a bed. Give it a little time to settle so your reading reflects the soil, not the moment.
Option 2: Digital pH meters
Digital meters can be convenient, but quality varies. If you use one, calibrate it if the model allows, and take multiple readings.
A friendly warning: many inexpensive “3-in-1” probe meters (the ones that claim pH, moisture, and light) are not reliable for true soil pH. If you want a more dependable DIY approach, use a meter designed for a soil slurry (soil mixed with distilled water) rather than dry soil.
Option 3: Lab soil test
Lab tests usually include pH and may include buffering capacity, which is how strongly your soil resists pH change. That matters a lot when deciding how much lime or sulfur to apply.
If you’re repeatedly amending without progress, a lab test can save money and frustration.
What pH to aim for
These are general targets. Always prioritize what you’re growing.
- Most vegetables: pH 6.2 to 6.8 (many will tolerate roughly 6.0 to 7.0, but that mid-6 range is often the sweet spot)
- Lawns: pH 6.0 to 7.0 depending on grass type and region
- Acid lovers (blueberries, azaleas, rhododendrons, camellias): pH 4.5 to 5.5
- Lavender and many herbs: often tolerant of pH 6.5 to 7.5, sometimes higher with good drainage
If your soil lands at 6.5 and you grow mixed vegetables, you can probably stop right there, feel proud, and move on to the rest of your garden chores.
How to make soil more acidic
If your soil is too alkaline, your plants may struggle to access iron, manganese, and other micronutrients. The key is to lower pH gradually.
Natural amendments for lowering pH
- Elemental sulfur (effective and commonly used): Soil microbes convert it to sulfuric acid over time. This is a slow, controlled change and a common recommendation for high pH soils. It is often allowed in organic gardening, but if you are certified organic or following a specific standard, check your label and rules.
- Compost (steady soil-builder): Compost usually does not swing pH dramatically, but it improves nutrient cycling and helps stabilize the whole system.
- Acidic mulches like pine needles or shredded pine bark (mild effect): Great as a surface mulch, especially around acid-loving shrubs.
- Iron sulfate (faster than elemental sulfur): Can acidify more quickly, but is easier to overdo and can add excess iron. Use carefully if you choose it.
How to apply elemental sulfur safely
Because the correct amount depends on your starting pH, your target pH, and your soil type (sand changes faster than clay), follow the label for your specific product. As a rule, I prefer a two-step approach:
- Apply about half of the label-recommended amount for your pH goal.
- Water in and wait 8 to 12 weeks during warm soil conditions.
- Retest before adding more.
Also important: sulfur works best when soil is biologically active. Cold, waterlogged, or dead-dry soil slows the microbial process.
What not to rely on
- Coffee grounds: Great for compost and soil texture, but they do not reliably acidify soil in a meaningful way when sprinkled around plants.
- Vinegar: It can temporarily lower pH, but it is not a stable, soil-friendly long-term strategy and can harm soil biology at higher concentrations.
How to make soil more alkaline
If your soil is too acidic, plants can struggle with nutrient uptake and you may see issues like poor growth and certain deficiencies. The classic fix is lime, and yes, it can be used thoughtfully in an organic-style garden.
Natural amendments for raising pH
- Garden lime (calcitic lime): Raises pH and adds calcium.
- Dolomitic lime: Raises pH and adds calcium and magnesium, useful if magnesium is low.
- Wood ash (use sparingly): Raises pH and adds potassium and trace minerals, but it’s strong and easy to overapply.
- Compost: Helps improve soil structure and can moderate extremes over time.
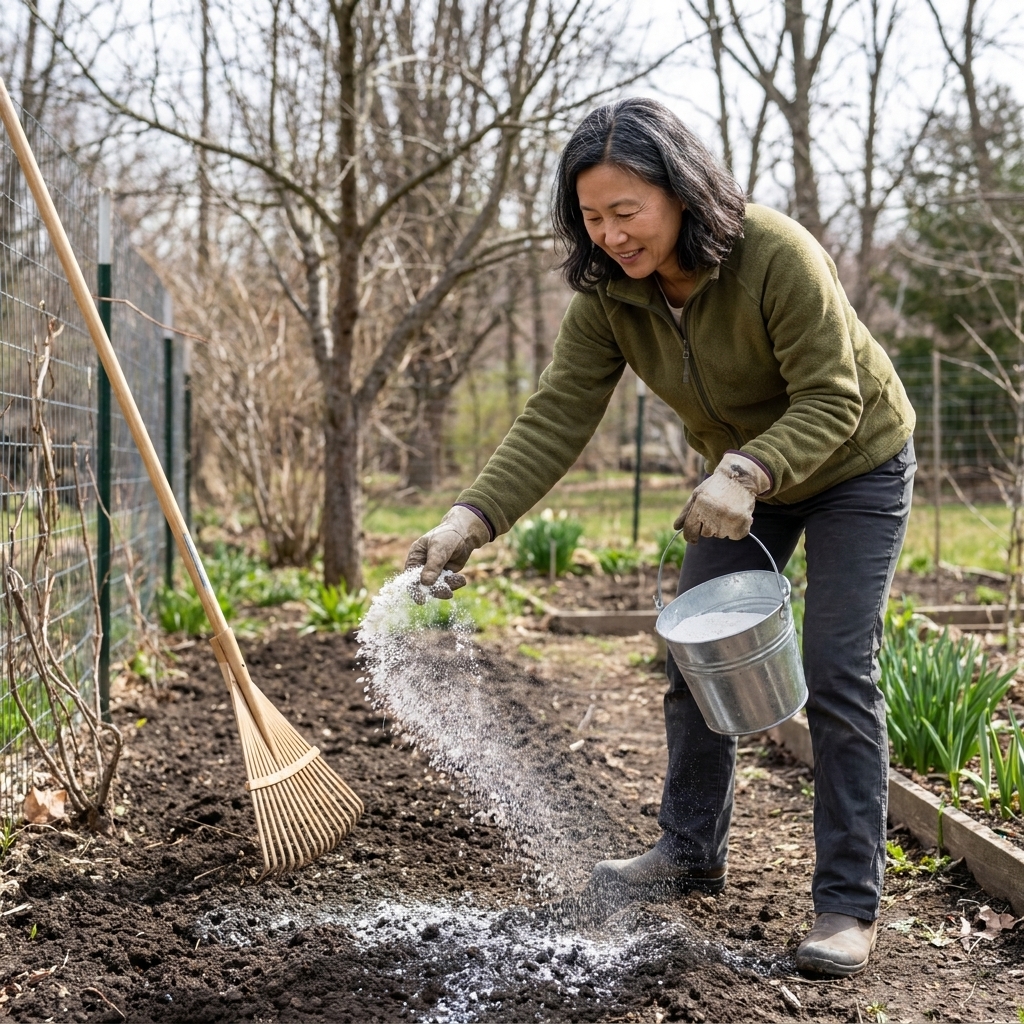
How to apply lime safely
Lime works over time, and over-liming is a headache to undo. Here’s the calm approach:
- Confirm low pH with a test (and ideally a lab test if you’re far below 6.0).
- Choose the right lime: calcitic for calcium, dolomitic if magnesium is also needed.
- Apply small amounts based on label guidance for your soil type.
- Incorporate lightly into the top few inches if possible, then water.
- Wait and retest in 2 to 3 months (or the timeframe your product suggests).
Avoid combining lime with urea or ammonium-based nitrogen fertilizers in the same application. Separating them in time helps reduce nitrogen loss through volatilization.
Using wood ash without turning your bed into a chemistry experiment
Wood ash can be useful if you have a fireplace or wood stove and you know the ash is from untreated, unpainted wood. It’s highly alkaline and fast-acting.
- Use a very light dusting, then water in.
- Apply no more than once or twice per season unless a lab test directs otherwise.
- Keep it away from acid lovers like blueberries.
How fast pH changes
This is where gardeners get impatient, and where plants roll their eyes at us. In most soils, meaningful pH change takes weeks to months. Clay soils and high organic matter soils resist change more than sandy soils.
Plan for pH adjustment like you plan for compost: a steady, seasonal habit, not a one-week makeover.
A simple seasonal routine
- Early spring: Test pH as beds wake up, especially if last year’s crops struggled.
- Spring to early summer: Make small adjustments (sulfur or lime), then mulch and water consistently.
- Mid to late summer: Retest if you made changes. Watch plant response.
- Fall: Add compost and mulch. Consider a lab test every couple of years if you’re intensively growing vegetables.
And if you only do compost and mulch this year, that still counts as real soil care. Soil rewards consistency.
Quick troubleshooting
My pH is fine but my plants look deficient
Check these common culprits:
- Watering swings (too wet, too dry, irregular)
- Compaction and poor root oxygen
- Low organic matter and weak microbial activity
- Nutrient imbalance (too much of one nutrient blocking another)
This is a great moment for a lab soil test if problems persist.
I adjusted pH but nothing changed
- You may need more time. Many amendments take months.
- Your soil may have high buffering capacity, especially clay-heavy soils.
- You may be adjusting only the surface while roots live deeper. Gentle incorporation (when appropriate) helps.
Can I adjust pH in containers the same way?
Containers are different because potting mixes are lightweight and change faster. It’s usually easier to refresh the mix or use a potting mix formulated for what you’re growing (for example, an acid-loving mix for blueberries) than to chase pH with amendments.
One extra container note: in some areas, irrigation water is naturally alkaline. Over time, that can push container mix pH upward, especially in pots that get watered frequently. If you keep seeing the same pH creep, your water (and its alkalinity) may be part of the story.
pH safety notes
- Change slowly: Aim for small shifts, then retest.
- Do not mix strong amendments together: For example, lime and sulfur in the same application.
- Keep amendments off leaves: Broadcast on soil, then water in.
- Wear gloves and a dust mask when applying powdered lime, sulfur, or ash.
FAQ
Is there a perfect pH for every garden?
Not really. There’s a useful pH range for the plants you want to grow and the soil you already have. Most mixed gardens do beautifully when pH stays in the 6-ish range and the soil is rich in organic matter.
How often should I test soil pH?
Once a year is plenty for most home gardens. If you’re actively adjusting pH, test again a couple months after your amendment has had time to work.
Will compost change my pH?
Compost tends to be more of a stabilizer than a dramatic pH-changer. Its superpower is improving soil structure and nutrient cycling so plants can access what’s already there.
Can I make my hydrangeas blue by lowering pH?
Sometimes, yes, but hydrangea color also depends on aluminum availability and the variety. Lowering pH can help make aluminum more available, which pushes many bigleaf hydrangeas toward blue. Do it gradually, and focus on the plant’s overall health first.
The gentle takeaway
Testing soil pH is like turning on the porch light at night. You stop stumbling around and start making small, sensible choices. Do a simple test, adjust slowly with the right amendments, and let your soil life do what it does best: build resilience one season at a time.
And if you overshoot a little? Welcome to gardening. We all have a compost bin full of past mistakes.