The fastest way to make gardening feel “hard” is to ask a plant to live in the wrong spot. I have absolutely done this. More than once. The good news is you can prevent a lot of heartbreak with a simple yard audit: map your sun, notice your microclimates, and get honest about your soil.
Think of this as zone mapping your yard. Not the big USDA hardiness zone map (still useful), but the smaller, real-life zones that exist from your front steps to the back fence. USDA zones tell you what can survive your winter. Your yard map tells you what will actually thrive in a specific spot based on sun, wind, moisture, and heat.
Once you see those patterns, designing gets easier. Choosing plants gets easier. Watering gets easier. Even weeding gets easier because you are not constantly “rescuing” stressed plants.
Start with a simple base map
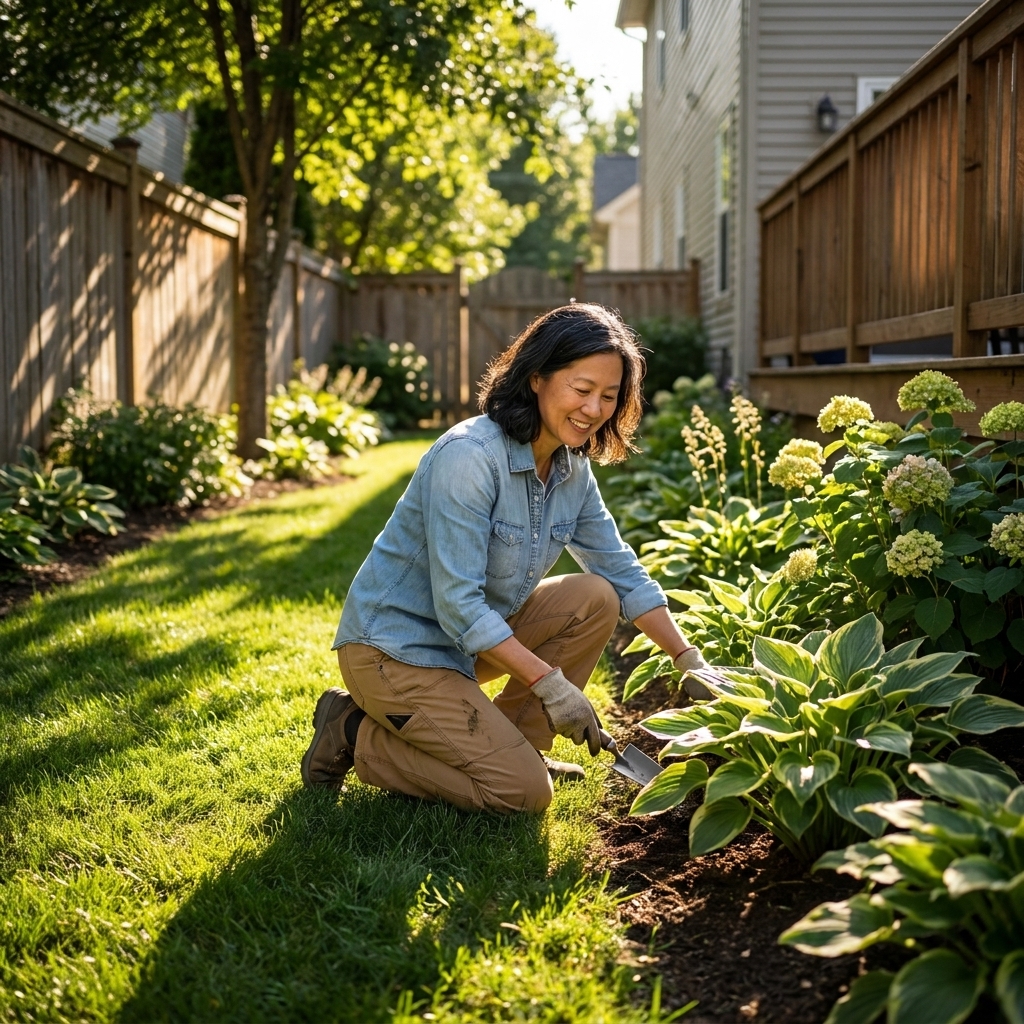
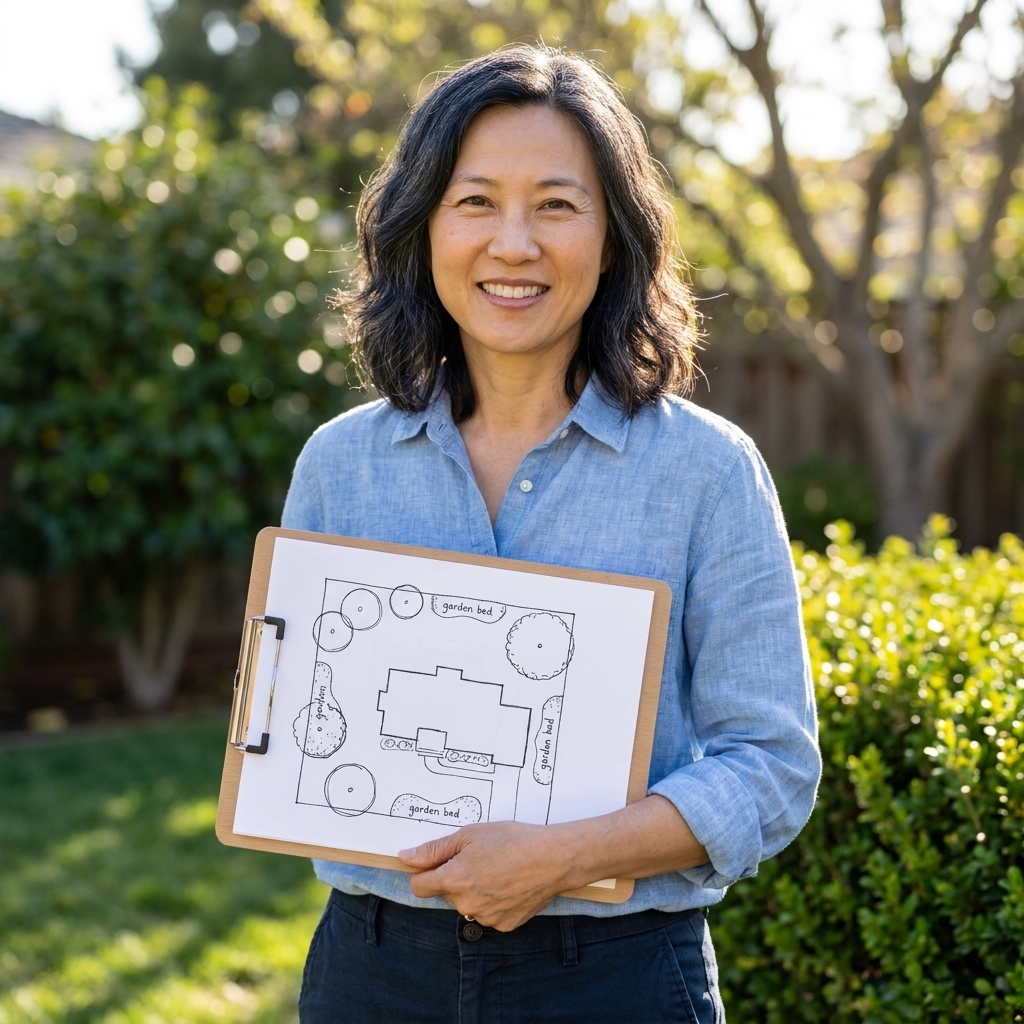
You do not need fancy software. A clipboard, a pencil, and a little curiosity are enough. Your goal is to create a sketch you can write on, stain with coffee, and keep improving.
What to include
- House, garage, sheds, fences, and large trees (anything that casts a predictable shadow).
- Hard surfaces like driveways, patios, rock mulch, and sidewalks (they store heat and change moisture).
- Existing beds and lawn areas, plus spots you want to change.
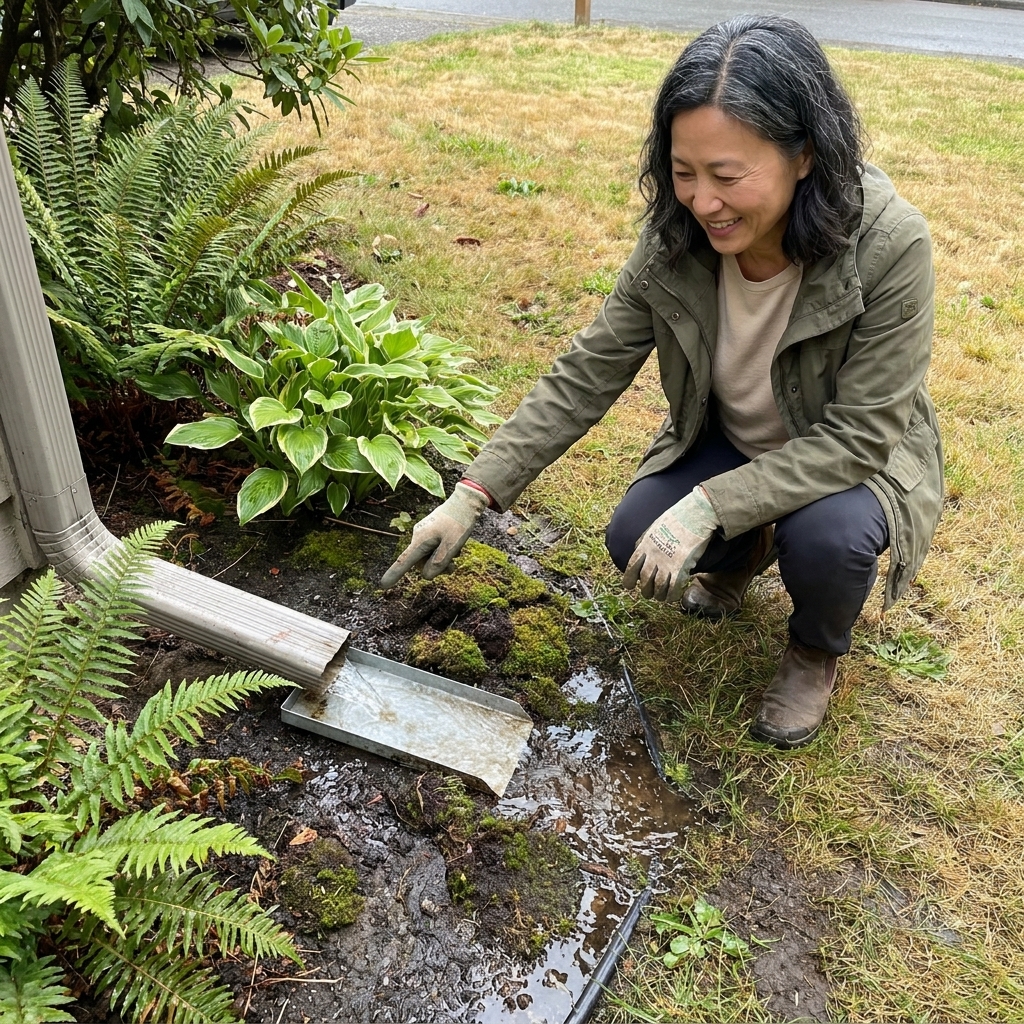
- Downspouts, low areas where water pools, and places that bake dry.
- Slopes or subtle grades (water almost always follows them, even when it is not obvious).
- North arrow so you can interpret sun exposure correctly.
If you can, print a satellite view of your property and trace over it. If not, just sketch. The map is for you, not a museum.
Microclimates inside your yard
Microclimates are small areas where temperature, wind, and moisture behave differently than the rest of the yard. These pockets can be the difference between a plant limping along and a plant thriving like it pays rent.
Common microclimates to mark
- South and west walls: hotter and brighter, especially near brick or stucco. Great for heat lovers. Brutal for tender shade plants.
- North side of buildings: cooler, shadier, often stays damp longer. Moss and slugs tend to approve.
- Under eaves: dry shade, because rain often does not reach. Many “shade plants” still struggle here without supplemental water.
- Low spots: collect cold air and water. Frost lingers. Roots can suffocate if drainage is poor.
- Wind tunnels: between houses, along a side yard, or at a gate opening. Wind dries soil fast and can shred big leaves.
- Reflective zones: near light colored fences, metal edging, or windows that throw extra heat and light.
- Under trees: not just shade, but root competition for water and nutrients. Some trees also have chemistry issues that make planting harder (black walnut is the famous example).
Walk your yard on a day with a weather mood swing. If possible, check it after a rain, after a hot afternoon, and on a windy day. The patterns show themselves quickly.
Track sun exposure
“Full sun” is one of the most misunderstood phrases in gardening. In most gardening guidance, it usually means about 6 or more hours of direct sun (and for vegetables and many flowering plants, closer to 8 hours is even better). Part sun is typically around 4 to 6 hours. Shade is often less than 4 hours, with “deep shade” often being less than 2 hours.
How to measure sun (low-tech)
- Pick 2 to 4 representative days during the growing season. For most home yards, one spring day and one midsummer day gives you a very usable picture. If you can only do one, choose a day close to summer solstice for a “maximum sun” snapshot.
- Check and record sunlight about every 2 hours from morning to evening (for example, 8 a.m. to 6 p.m.). If you miss a check, you did not fail. You are looking for patterns, not perfection.
- Notice dappled shade under trees. Some plants love it, but it is not the same as open shade.
- Repeat in another season if you can. Deciduous trees change everything in spring and fall.
A quick phone option
If you prefer digital help, a sun-tracking app can estimate sun paths, but I still recommend validating with real observation. Neighboring trees, fences, and additions do not always show up accurately.
Soil reality check
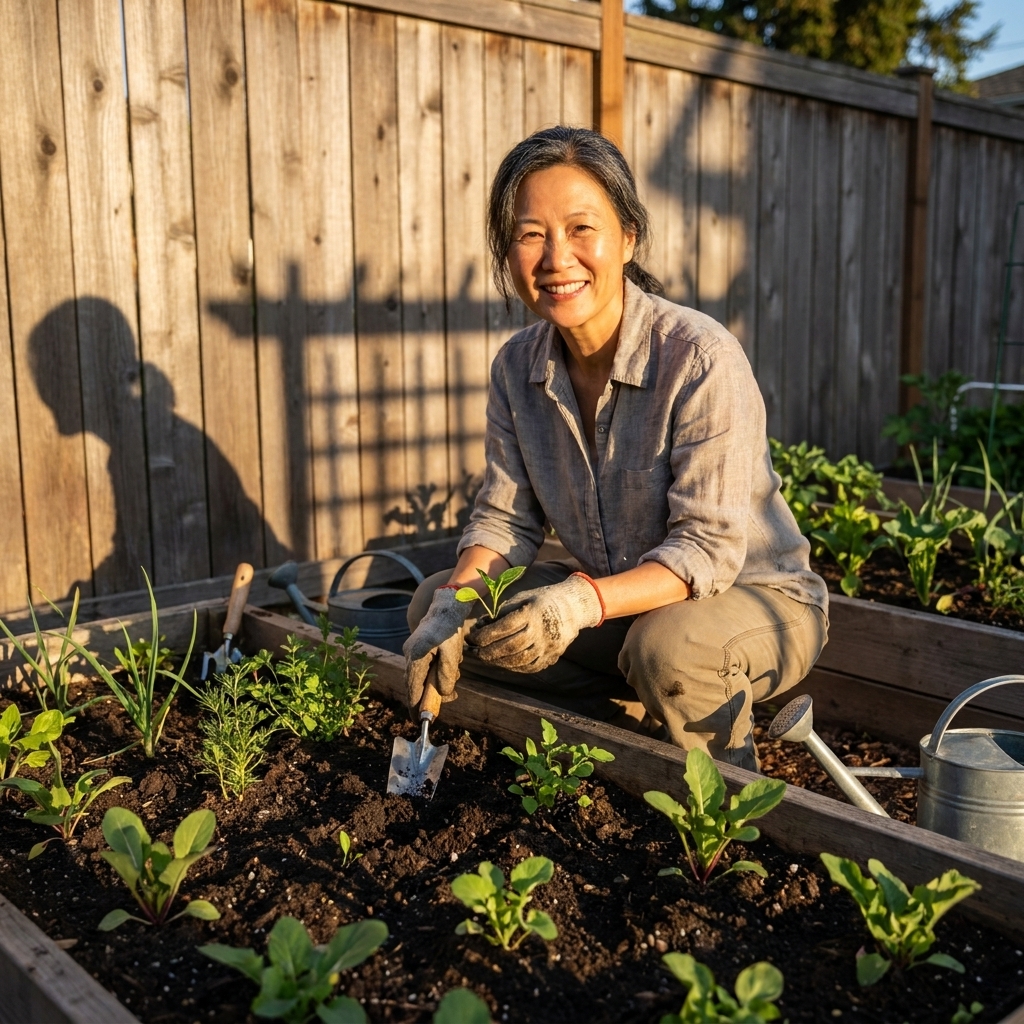
Before you design, get a feel for what you are actually working with. Soil is not just “dirt.” It is a living system. And it is also wildly variable even within one yard.
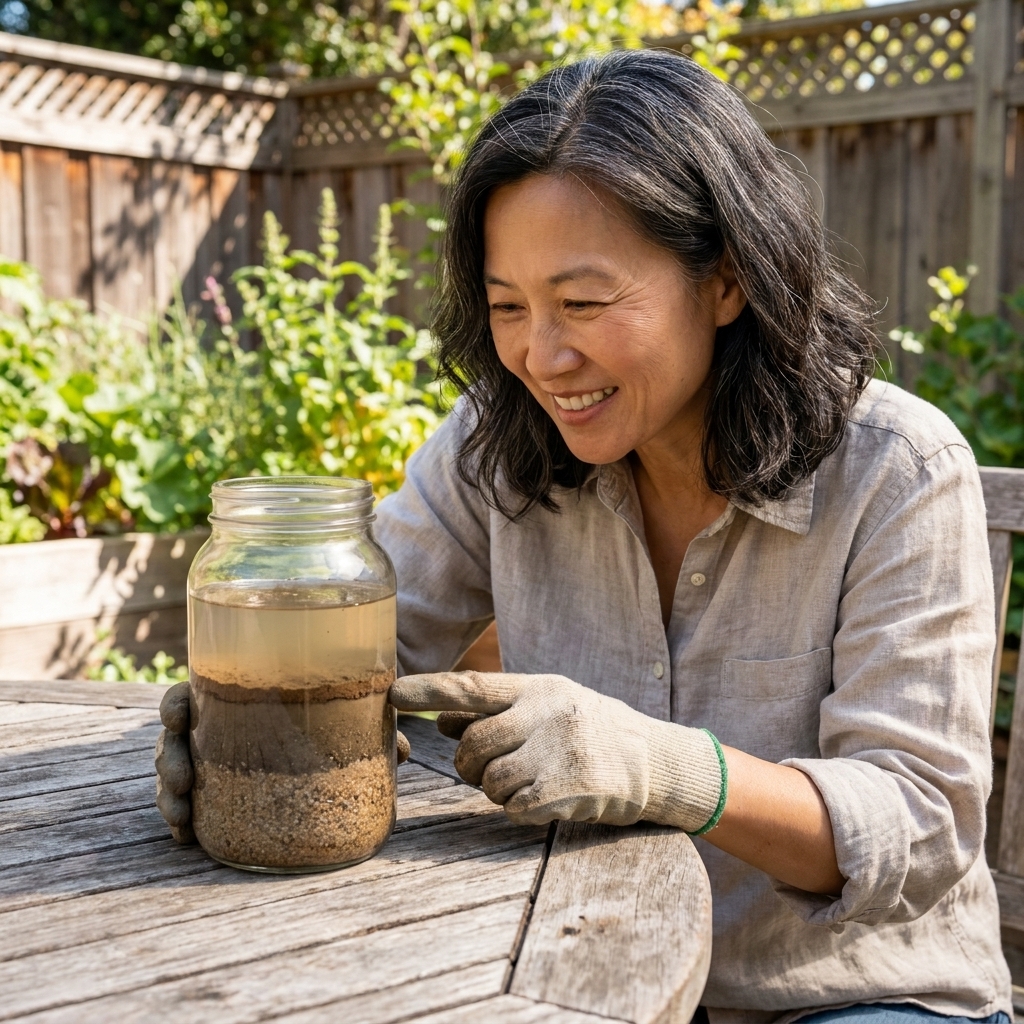
Do the jar test for texture
This tells you the rough proportions of sand, silt, and clay. It will not replace a lab test, but it is a helpful baseline.
- Fill a clear jar about 1/3 with soil (remove mulch and roots first).
- Add water nearly to the top and a small squirt of dish soap.
- Shake hard, then set it down.
- As a rule of thumb, sand settles first (often within a minute or two). Silt settles next (often over a few hours). Clay can take 24 hours or longer depending on your soil and how well it dispersed. Wait until the layers look distinct.
Clay-heavy soil holds water longer and compacts easily. Sandy soil drains fast and leaches nutrients. Many yards are a mix, plus construction debris you never asked for.
Check soil structure
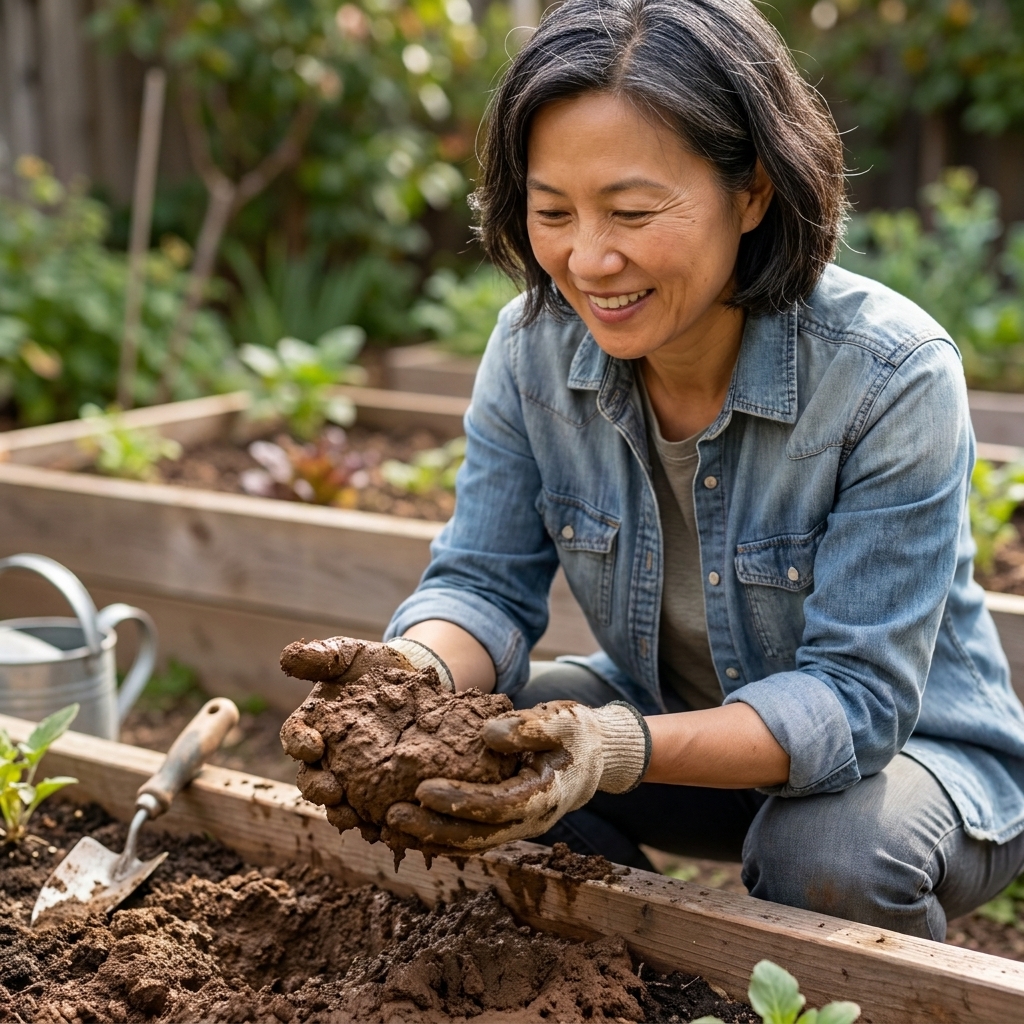
Grab a handful of slightly moist soil and squeeze. Good garden soil forms a loose clump that breaks apart with a poke. If it turns into a hard brick, you are dealing with compaction or high clay. If it will not hold together at all, it may be very sandy or low in organic matter.
Drainage tests
If I could only run one pre-design test, it would be drainage. Plants can handle a lot, but most cannot handle suffocating roots.
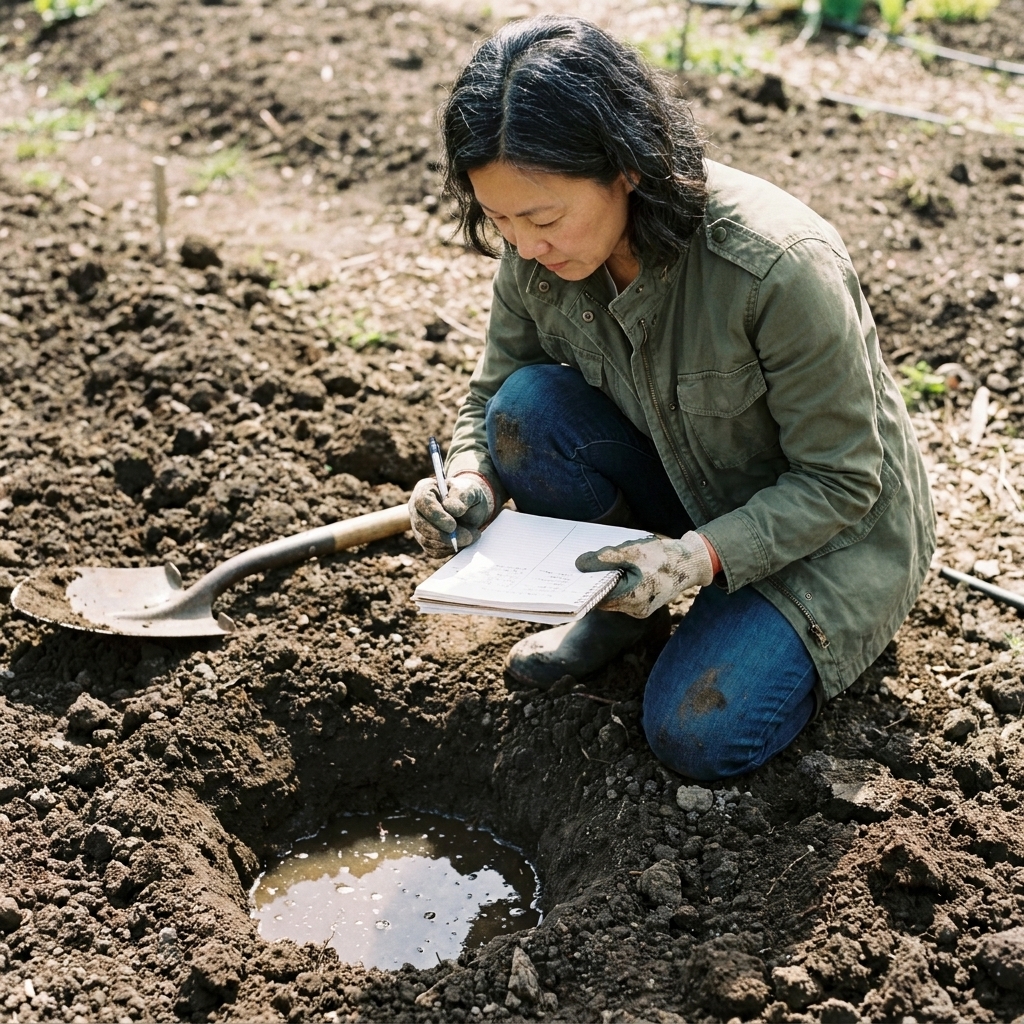
The percolation test
- Dig a hole about 12 inches deep and 6 to 12 inches wide in the area you want to plant.
- Fill it with water and let it drain completely (this pre-soaks the soil).
- Fill it again and time how long it takes to drain.
How to interpret results
- Rule of thumb sweet spot: many garden plants are happiest when water drops roughly 0.5 to 1 inch per hour.
- Faster drainage: around 1 to 2 inches per hour can be great for plants that hate wet feet (many Mediterranean herbs, some shrubs), but it usually means you will water more and build organic matter to help hold moisture.
- Slower drainage: less than about 0.5 inch per hour suggests compaction, clay, or a perched water table. Plan for raised beds, soil rehabilitation, or water-tolerant plants.
If water is still sitting there the next day, treat it as a design constraint, not a personal failure.
Test pH and nutrients
Sun and drainage decide whether a plant can live. pH and nutrients often decide whether it will look good doing it.
At-home basics
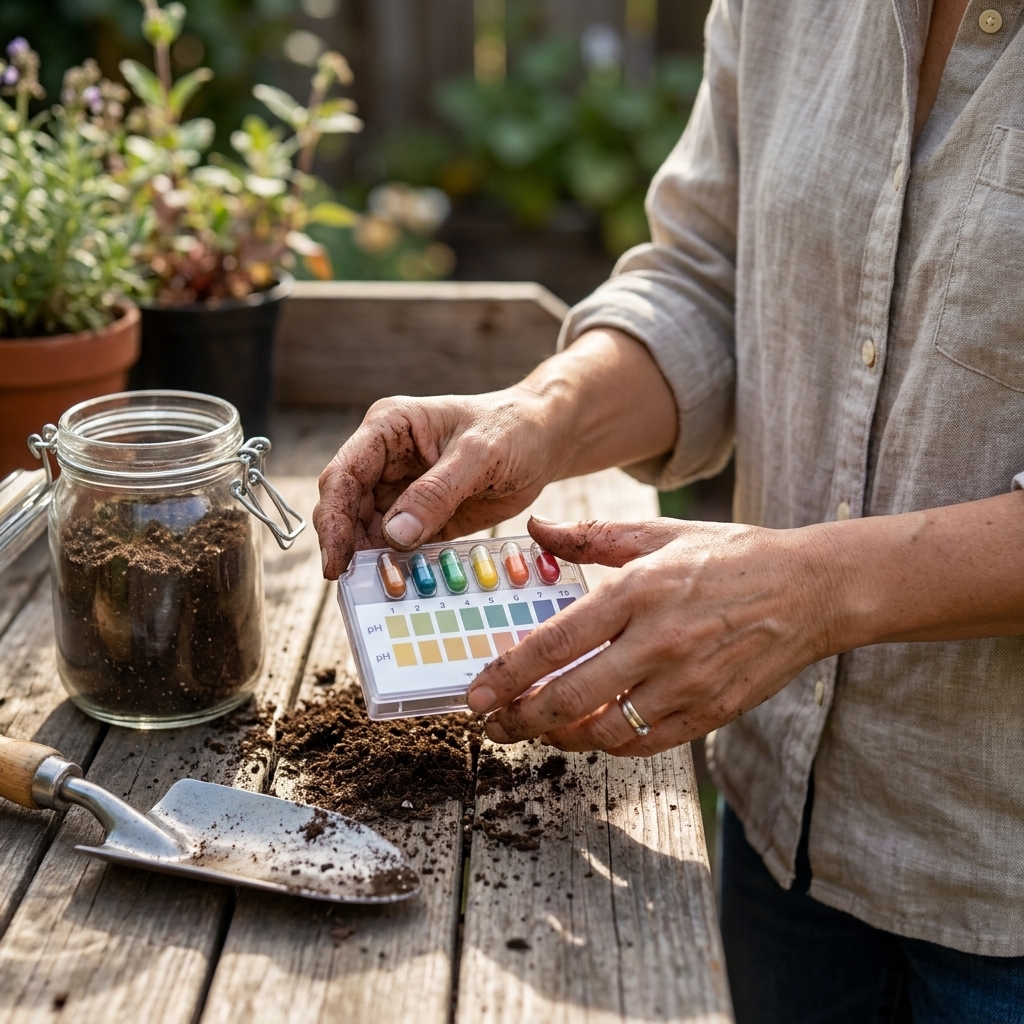
- pH: Many garden plants prefer slightly acidic to neutral soil (often around 6.0 to 7.0), but there are exceptions. Blueberries want more acidic conditions. Lavender often prefers closer to neutral to slightly alkaline, plus sharp drainage.
- Quick nutrient kits: These can be helpful, but treat them as a rough snapshot.
When to do a lab test
If you are installing permanent beds, growing lots of vegetables, or dealing with chronic plant problems, a lab soil test is worth it. You will get pH, organic matter, and nutrient levels with amendment recommendations that are far more reliable than guessing. Many gardeners use a county extension office or a reputable soil lab for this.
If you grow food regularly, retesting every couple of years is a sensible rhythm, especially if you are making ongoing amendments.
One important note for older properties: lead contamination is possible near older homes with exterior paint history, and in some areas with historical vehicle pollution or industrial use. If you have concerns, check guidance from your local extension office or health department and consider a heavy metals test before planting edibles in the ground. Raised beds with clean soil are a great workaround.
Match plants to your zones
Now comes the satisfying part: translating your notes into planting zones you can actually use.
Use zone labels that fit
I like to name zones in plain language, such as:
- Hot and dry: west side, reflected heat, fast drainage.
- Bright and moist: morning sun, downspout nearby, decent drainage.
- Dry shade: under eaves, north side, protected from rain.
- Dappled shade: under deciduous canopy with seasonal light shifts.
- Wet feet: low spot or slow-draining soil.
Design tips that follow your map
- Put thirstier plants where water already wants to go. If you have a naturally moist area, use it for moisture-loving perennials instead of fighting it with constant drainage fixes.
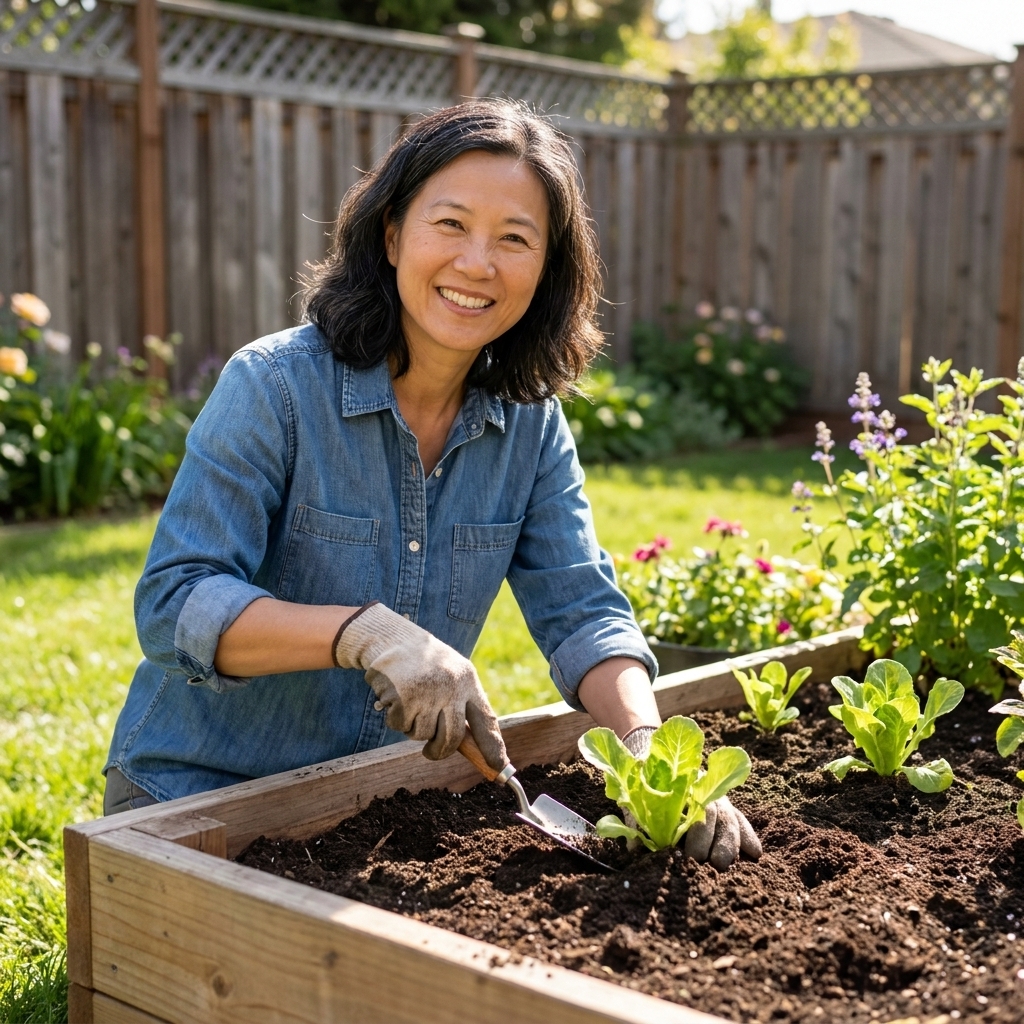
- Reserve the best sun for what needs it most. Tomatoes, peppers, squash, and many blooming annuals want your top-tier sun real estate.
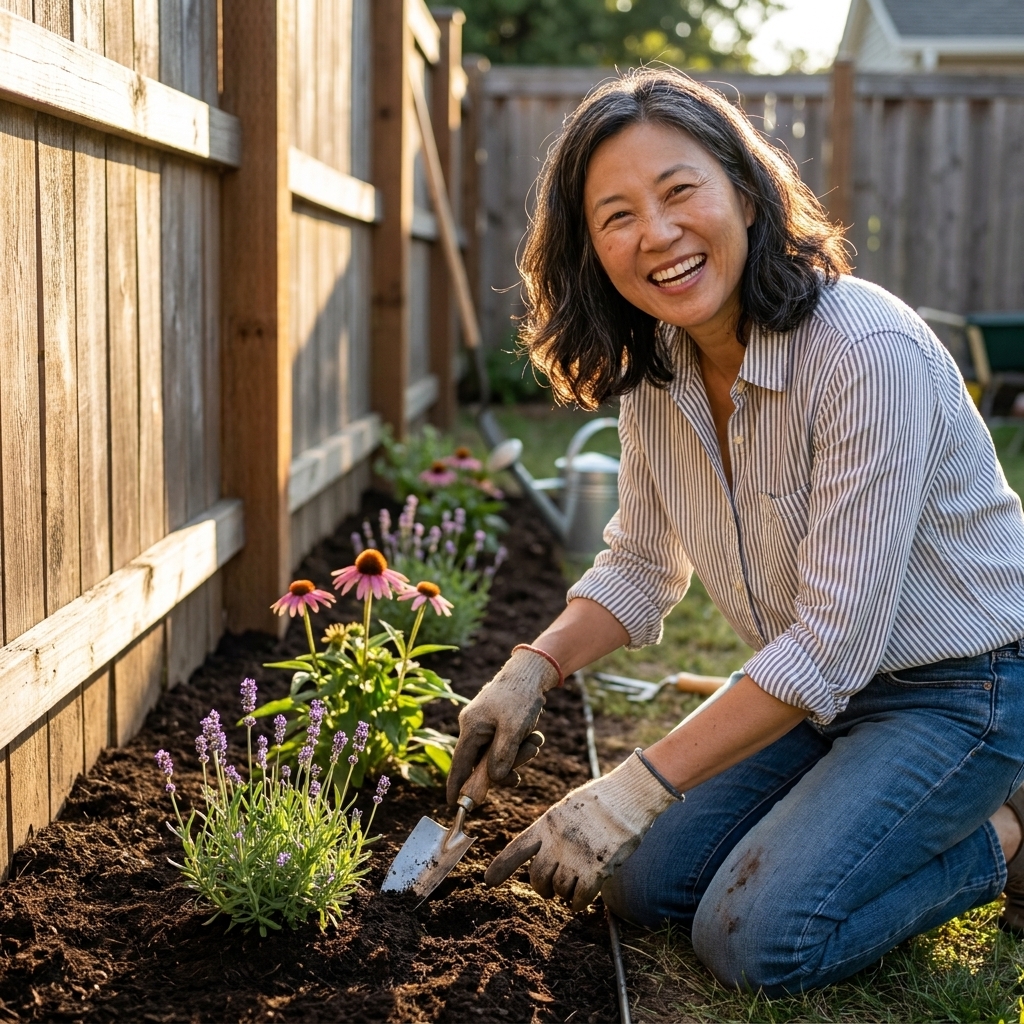
- Use tough plants for tough spots. That sidewalk strip that bakes all summer is not where you test a delicate new favorite.
- Group by water needs. Your future self will thank you every time you turn on the hose.
- Let slope do some of the work. If water runs downhill, you can use the upper area for drought-tolerant plants and the lower area for plants that enjoy a little extra moisture, as long as you are not creating a soggy mess.
Red flags to spot early
A good yard audit is also a problem-spot detector. Here are a few signs that should influence your layout, plant choices, or soil plan right away.
- Standing water after rain: plan for drainage solutions, raised beds, or water-tolerant plants.
- Hard, cracked soil: likely compaction and low organic matter. Focus on compost, mulch, and gentle aeration practices.
- Thin grass under trees: often dry shade plus root competition. Consider expanding beds and choosing shade-tolerant groundcovers rather than fighting for a lawn.
- Stunted plants near driveways: heat, salt (in snowy climates), and runoff can stress roots.
- Persistent pest or disease hotspots: poor airflow, overwatering, and stressed plants invite problems. Design can fix more than sprays.
A weekend zone map
If you want a clear checklist, here is a realistic two-day approach that does not require you to become a full-time meteorologist.
Day 1: Observe and sketch
- Make your base map and mark permanent features (including any slope you notice).
- Do 3 to 5 sun checks across the day and record sun versus shade.
- Walk the yard and note hot spots, wind tunnels, soggy areas, and tree-heavy zones where roots dominate.
Day 2: Test and label
- Do a drainage test in each area you want to plant.
- Run a quick pH test or collect soil for a lab test.
- Label zones in plain language and start a list of plants that fit each one.
Keep your map. Update it. Gardens are living systems, and your understanding of your yard will deepen every season.
FAQ
How many hours of sun is “full sun”?
In most gardening guidance, full sun usually means at least 6 hours of direct sunlight. For fruiting vegetables and many bloomers, 8 hours is often even better. Morning sun is gentler than late afternoon sun, so note when those hours occur.
Can I improve clay soil without raised beds?
Often, yes, but it takes time. Regular additions of compost, keeping soil covered with mulch, minimizing foot traffic, and planting deep-rooted cover crops can steadily improve structure. If drainage is extremely slow, raised beds may still be the simplest path to success.
What if my yard is mostly shade?
Shady yards can be gorgeous. Focus on shade-tolerant perennials, ferns, and woodland plants, and pay special attention to whether your shade is dry shade (under eaves or dense roots) or moist shade (north side, protected and damp). That difference matters more than people realize.
Do I need to test soil everywhere?
If your yard varies a lot, test a few representative areas. At minimum, test where you plan to install long-term beds or grow food. Soil can change dramatically within 10 feet, especially around construction fill and older landscaping.
The calm takeaway
Zone mapping is not about perfect measurements. It is about noticing what your yard is already telling you. When you design with sun, drainage, slope, and microclimates in mind, the whole garden gets quieter. Fewer emergencies. Less fuss. More time to enjoy the parts that made you want a garden in the first place.
And if you misread a spot the first time, welcome to the club. Every seasoned gardener I know has learned at least one lesson the compost pile way.