There is a special kind of frustration that comes from doing everything “right” and still watching a shrub sulk. You water. You mulch. You whisper encouraging words. And yet the leaves fade, growth stalls, and the plant wobbles like it never really settled in.
When that happens, I stop looking at the foliage and start thinking underground. Soil grubs, the C-shaped larvae of scarab beetles, can quietly chew through fine feeder roots and leave shrubs struggling to drink and eat. The good news is that grubs are very manageable once you confirm they are the real problem and hit them at the right time.

This guide will help you spot the signs, verify what is in your soil, and choose a step-by-step plan that protects your shrub roots without turning your garden into a chemistry experiment.
What grubs are (and why shrubs suffer)
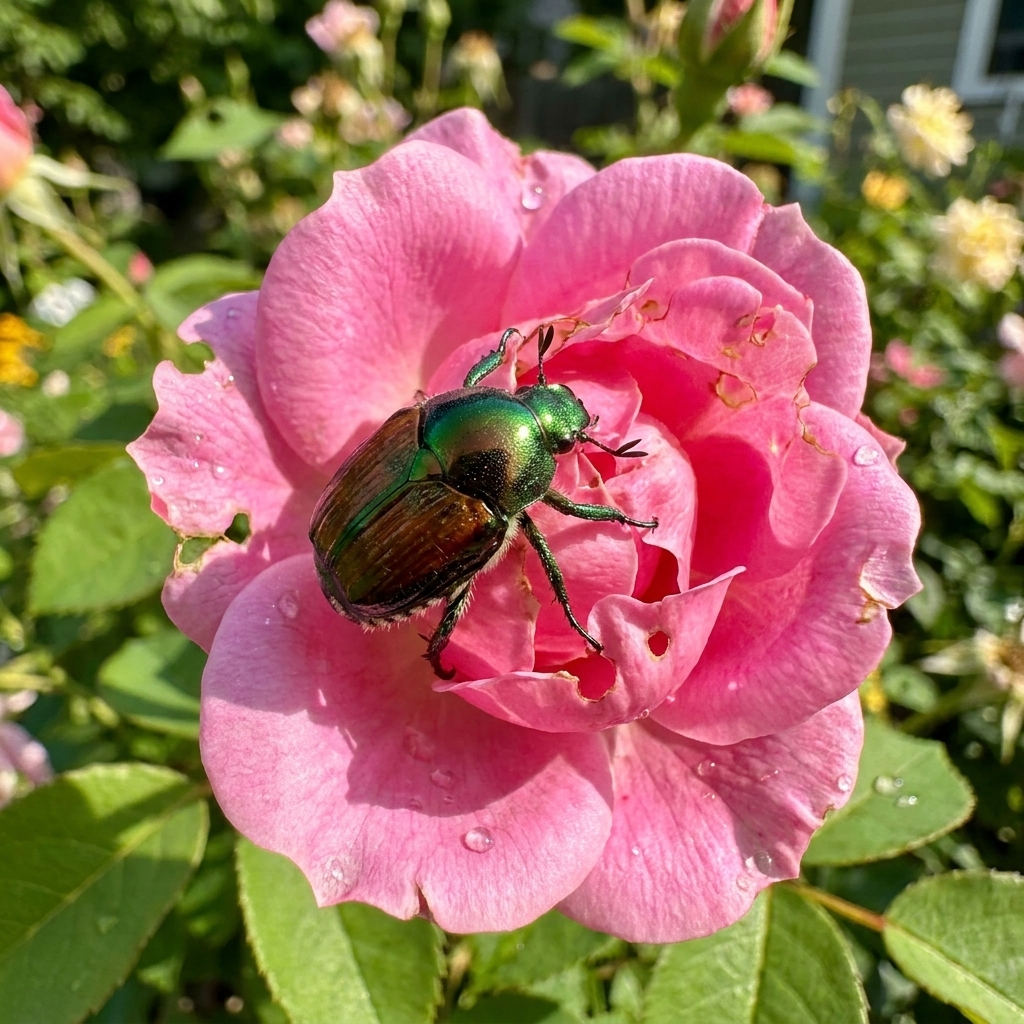
Most “soil grubs” gardeners talk about are larvae of beetles like Japanese beetles, June beetles, chafers, and related scarabs. When they are actively feeding, they are often found in the top few inches of soil near tender roots, though they can move deeper depending on temperature and moisture.
Grub damage often shows up after the fact. By the time leaves look stressed, the root system may already be partly compromised. That is why confirming the pest and acting quickly matters, especially for newly planted shrubs and shallow-rooted ornamentals.
Grubs vs. other underground troublemakers
- Grubs: C-shaped, creamy white bodies, tan head, and three pairs of legs near the head (six legs total). They are usually thicker-bodied than most other soil larvae.
- Cutworms: Smooth caterpillars that curl into a C but are darker and usually found near the soil surface, often cutting seedlings.
- Wireworms: Slender, hard, coppery larvae that look like little wires and damage seeds and roots.
- Vine weevil larvae: Legless, creamy white with a brown head, often in pots and around certain ornamentals. Not the classic thick, legged scarab grub.
If you are unsure, “three pairs of legs near the head plus a chunky C-shape” gets you much closer than legs alone. If you want to go deeper, scarab grubs can also be identified by patterns on the rear end (the raster), but that is more detail than most shrub owners need.
Signs of grub damage
Grubs do their best work when no one is looking. These are the red flags I watch for around shrubs, hedges, and foundation plantings.
Plant symptoms
- Sudden wilting even when the soil is moderately moist.
- Thin canopy, pale leaves, and reduced new growth.
- Dieback on one side of a shrub where the root zone is most damaged.
- Plants that feel loose or rock in the soil because roots were chewed back.
Soil and wildlife clues
- Soil that lifts like a carpet in nearby turf or groundcover because roots are missing.
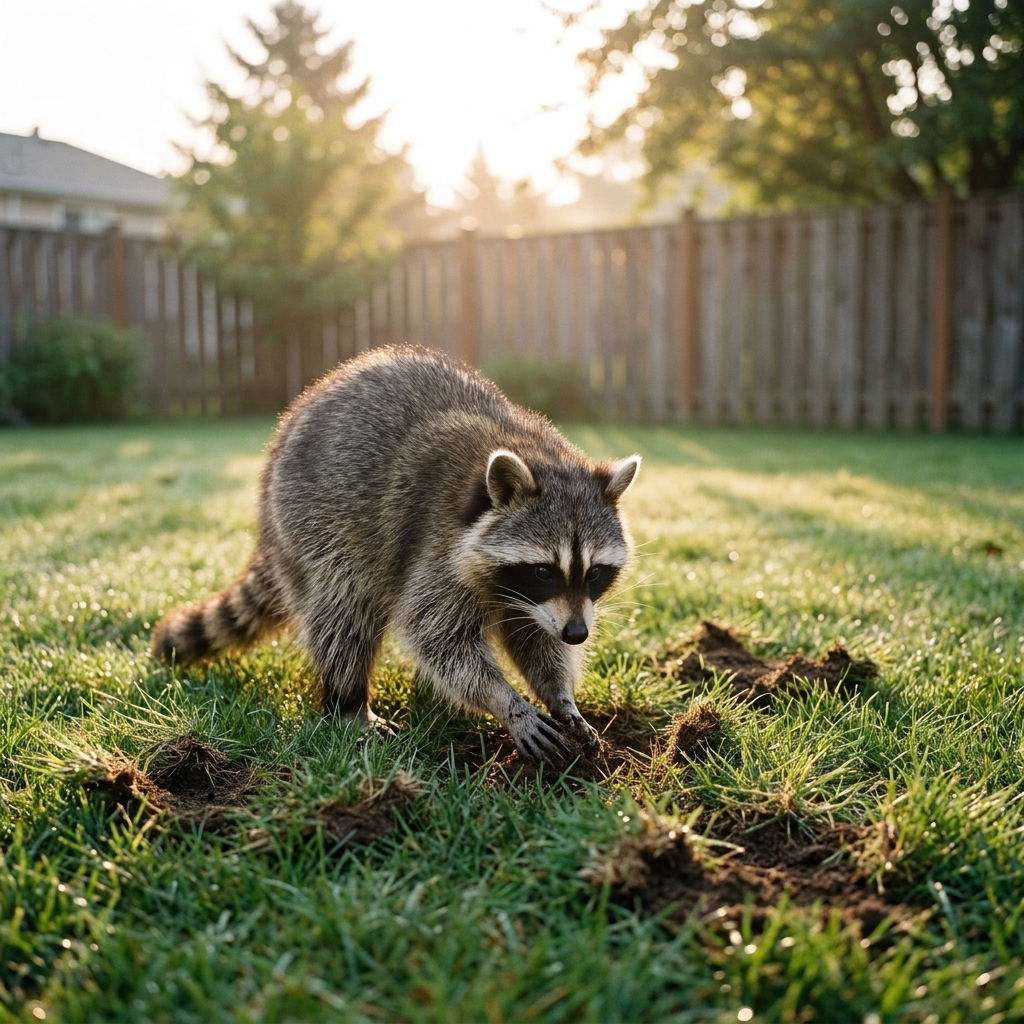
- Fresh digging from skunks, raccoons, crows, or even neighborhood dogs looking for a protein snack.
- Clusters of C-shaped larvae found when you plant, edge, or pull weeds.
Rule out look-alikes
Grub damage can mimic a lot of other problems. Before you treat, do a quick scan for these common culprits:
- Drought stress or inconsistent watering (especially with overhead sprinklers that never soak deeply).
- Planting depth issues, including a buried root flare or mulch piled against stems.
- Root rot (often tied to poor drainage) where roots look dark, mushy, or smell off.
- Girdling roots that choke shrubs slowly over time.
- Vole or rodent damage near the crown and roots.
- Soil pH or nutrient problems that cause overall chlorosis or weak growth.
If you find healthy roots and no grubs, step back and reassess. Treating blindly is how gardens end up with fewer beneficial organisms and the same sad shrub.
Confirm it first: a 10-minute check
Before you deploy anything, confirm you actually have a grub problem. This saves money, effort, and beneficial soil life.
Step-by-step
- Pick the right spot. Check at the drip line of the shrub and any adjacent turf or groundcover where roots are active.
- Cut and lift a small section of soil. For turf, lift a square about 1 foot by 1 foot and 2 to 3 inches deep. In beds, gently trowel into the top 2 to 4 inches.
- Count what you find. A few grubs can be normal. A dense cluster in a small area is the warning sign.
- Look for root pruning. Healthy roots look fibrous and plentiful. Grub damage leaves a sparse, nibbled look.
- Water back in. Replace soil or sod and water so you do not create new stress.
How many is “too many”? For lawns, a commonly cited action range is about 5 to 10 grubs per square foot, with a lower threshold when turf is already stressed by heat or drought. Around shrubs and ornamental beds, there is no universal number because root density and plant stress vary so much. My practical rule is this: if your shrub is declining and you find several grubs in a single 1-square-foot check near the drip line (or you see obvious root chewing), treat that zone. For the most precise thresholds in your area, your local extension office is the gold standard.
One more nuance that matters: not every “white grub” is a root-wrecker. Some scarab larvae feed mostly on decaying organic matter and cause little harm. That is another reason the root check is just as important as the grub count.
Best timing
Timing is half the battle. Grubs are easiest to control when they are small and close to the surface.
- Late summer to early fall: Often the best window. Eggs hatch, young grubs feed near the surface, and biological controls work well.
- Spring: You can reduce damage, but larger, older grubs are tougher to control. Still worth treating if shrubs are at risk.
- Mid-summer drought: Grubs may move deeper to find moisture, making treatments less effective unless you irrigate properly.
If your shrub is actively declining, do not wait for the “perfect” season. Confirm, then act, and plan a follow-up prevention step for late summer.
Step-by-step: eliminating grubs
I like to start with the methods that are targeted and soil-friendly, then scale up only if the infestation is heavy or the shrub is in serious trouble.
1) Hand-pick and disturb lightly
If you find grubs while planting, digging, or doing your soil check, removing them by hand is surprisingly effective for small problem spots.
- Drop grubs into a container of soapy water.
- Lightly cultivate the top couple inches of soil to expose additional larvae to birds.
- Re-mulch and water your shrub to reduce stress.
This method is not glamorous, but it is immediate and very satisfying in a justice-for-your-shrub sort of way.
2) Beneficial nematodes
Beneficial nematodes are microscopic organisms that hunt grubs in the soil. For home gardens, products commonly contain Heterorhabditis bacteriophora, which targets many white grubs.
How to apply nematodes successfully:
- Buy fresh and store correctly. Nematodes are living. Keep them cool and use them before the expiration date.
- Water the area first. Moist soil helps nematodes move.
- Apply at dusk or on a cloudy day. UV light can harm them.
- Use a sprayer or watering can (remove fine filters if needed) and apply evenly over the root zone.
- Water again after application to wash them into the soil.
- Keep soil evenly moist for 7 to 14 days. This is the part many people skip, and it matters.
Tip from my own backyard: If you are treating around shrubs in a mulched bed, pull mulch back first, apply to soil, water in, then replace mulch. Nematodes need soil contact.
Do not set them up to fail: Avoid applying nematodes to hot, dry soil, and do not let the treated area bake without watering afterward.
3) Milky spore
Milky spore is a bacterium (Paenibacillus popilliae) that specifically targets Japanese beetle grubs. It is not a universal grub cure, but when Japanese beetles are the culprit, it can be a great long-game tool.
- Pros: Can persist in soil and build over time, low impact on non-target organisms.
- Cons: Works slowly, is species-specific, and results can vary by region, climate, and soil conditions.
If adult Japanese beetles are common in your yard and you repeatedly find their grubs, milky spore can help reduce the re-infestation loop over the years. If you are unsure whether it performs well in your area, local extension guidance is worth a quick look.
4) Targeted reduced-risk products
If you need a faster knockdown and want to stay on the gentler end of the spectrum, look for grub control products labeled for your grub species and intended use area (lawn vs. ornamental beds). Some microbial-based options and insect growth regulators are designed to be more targeted than older broad-spectrum insecticides.
Important: Always follow the label exactly, including watering instructions and permitted plants and locations. The label is the law, and it is also how you avoid harming pollinators and beneficial insects.
5) Conventional controls
For severe infestations where shrubs are at real risk, conventional grub treatments can work, but they come with tradeoffs. Many products fall into two practical categories:
- Preventives: Typically applied earlier in the season, before or around egg hatch, so the product is in place when young grubs start feeding. This timing is often early to mid-summer, depending on region and product label.
- Curatives: Used when grubs are present and actively feeding, which is often late summer into early fall (and sometimes spring). These are aimed at reducing an existing population.
If you go this route:
- Confirm grubs first so you are not treating blind.
- Avoid application near blooming plants where pollinators forage.
- Water in as directed to place the product in the root zone where grubs feed.
- Spot-treat the affected area rather than blanket-treating the entire yard when possible.
Quick safety habits
- Wear gloves when digging and wash hands after handling soil and larvae.
- Keep all products (even biological ones) stored away from kids and pets.
- Avoid runoff into storm drains and waterways, especially when watering treatments in.
- Stick to labeled sites. Lawn products are not automatically bed products, and vice versa.
Rescue care after damage
Reducing grubs is step one. Step two is helping your shrub rebuild roots.
Next 2 to 4 weeks
- Deep, consistent watering: Soak the root zone, then allow the top inch or two to dry slightly. Avoid daily sprinkles.
- Mulch correctly: A 2 to 3 inch layer, pulled back a few inches from the stems to prevent rot.
- Skip heavy fertilizer: Pushing top growth when roots are compromised can backfire. If you fertilize, keep it light and slow-release.
- Reduce other stress: Hold off on hard pruning and avoid digging in the root zone.

When to replant
If a shrub is severely loosened in the soil, has major dieback, and fails to rebound after several weeks of good watering, the root system may be too damaged. If you replace it, treat the area for grubs first and improve soil structure before installing a new plant.
Prevention
Grub control is easiest when you make your garden a little less inviting to beetles and a lot friendlier to resilient roots.
Water and soil habits
- Avoid overwatering in peak egg-laying season. Many beetles prefer to lay eggs in consistently moist soil or irrigated lawns.
- Build organic matter. Compost improves soil structure and helps shrubs grow more robust root systems that tolerate minor nibbling.
- Reduce thatch in turf. Thick thatch can create a cozy zone for eggs and young larvae.
Planting tips
- Give shrubs room. Crowding stresses plants and makes it harder for you to monitor root-zone issues.
- Use diverse plantings. Mixed beds tend to buffer pest cycles better than large single-species blocks.
- Protect new shrubs. Newly planted roots are tender. Monitor them closely in late summer and early fall.
Common questions
Will grubs kill established shrubs?
They can, especially during heat or drought stress, or when grubs are present in high numbers. Established shrubs often survive light feeding, but significant root loss can lead to dieback or death.
Are grubs always bad?
A few grubs are a normal part of soil life and food webs. The problem is density. When grub numbers spike, roots become the buffet.
Why are animals tearing up my yard?
Skunks, raccoons, and birds dig for grubs, but they also hunt other soil critters like earthworms and insects. Reducing grubs often reduces the nighttime yard remodeling, but it is not a guarantee.
Can I treat grubs in mulched beds, not just lawns?
Yes. Focus on soil contact and moisture management. Pull mulch back, apply your treatment to the soil, water in, then replace mulch.
Do I need to treat my whole yard?
Not usually. Start by confirming where the grubs are and spot-treat the affected zones, especially around struggling shrubs and the nearby turf where beetles often lay eggs.
A plan for this week
If you are standing over a sad-looking shrub right now, here is a simple order of operations:
- Do a 10-minute grub check at the drip line and nearby turf.
- Remove what you find by hand while you are there.
- If counts are high or roots look chewed, treat the zone with beneficial nematodes and keep the soil evenly moist for the next 1 to 2 weeks.
- Support recovery with deep watering and proper mulching.
- Circle late summer on your calendar for a follow-up check and prevention step.
Gardening is never about perfection. It is about paying attention, learning your yard’s patterns, and helping your plants recover when nature throws them a curveball. Your shrubs can bounce back, and your soil can, too.