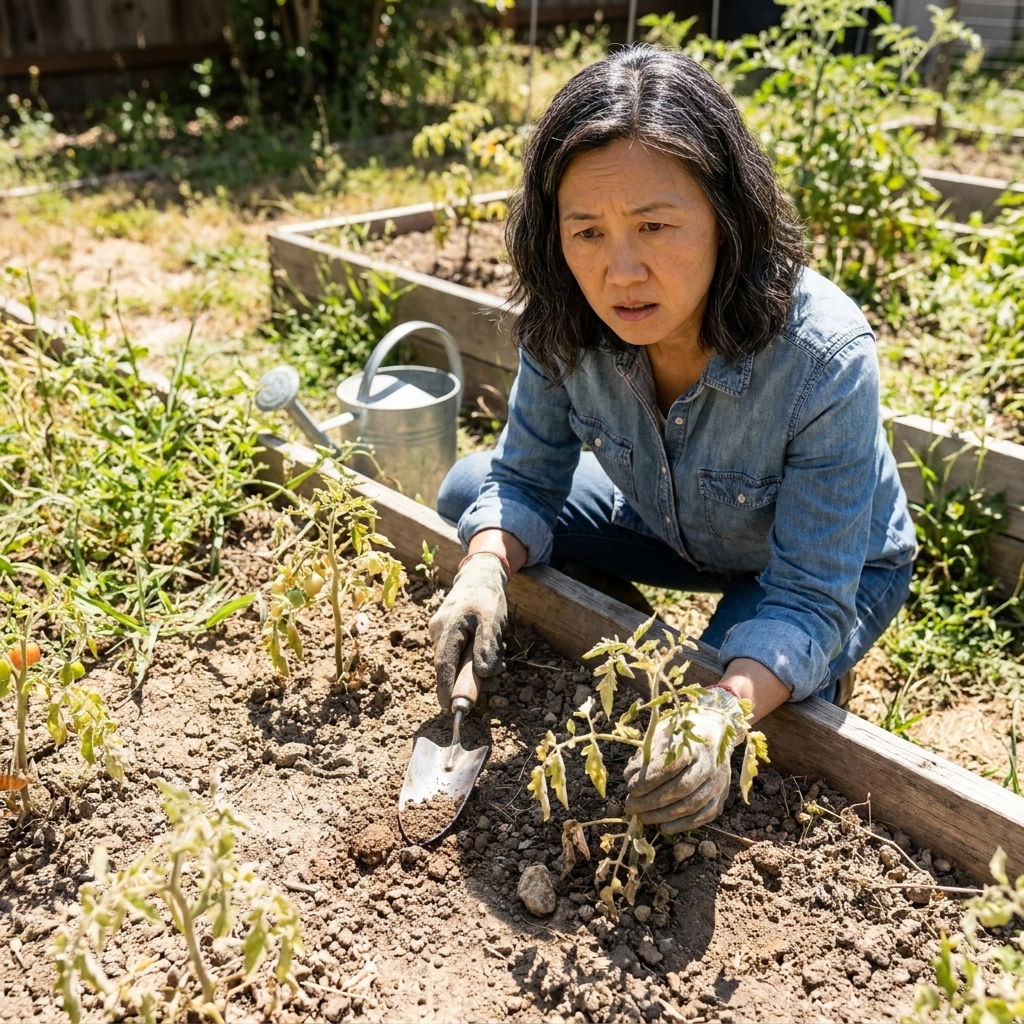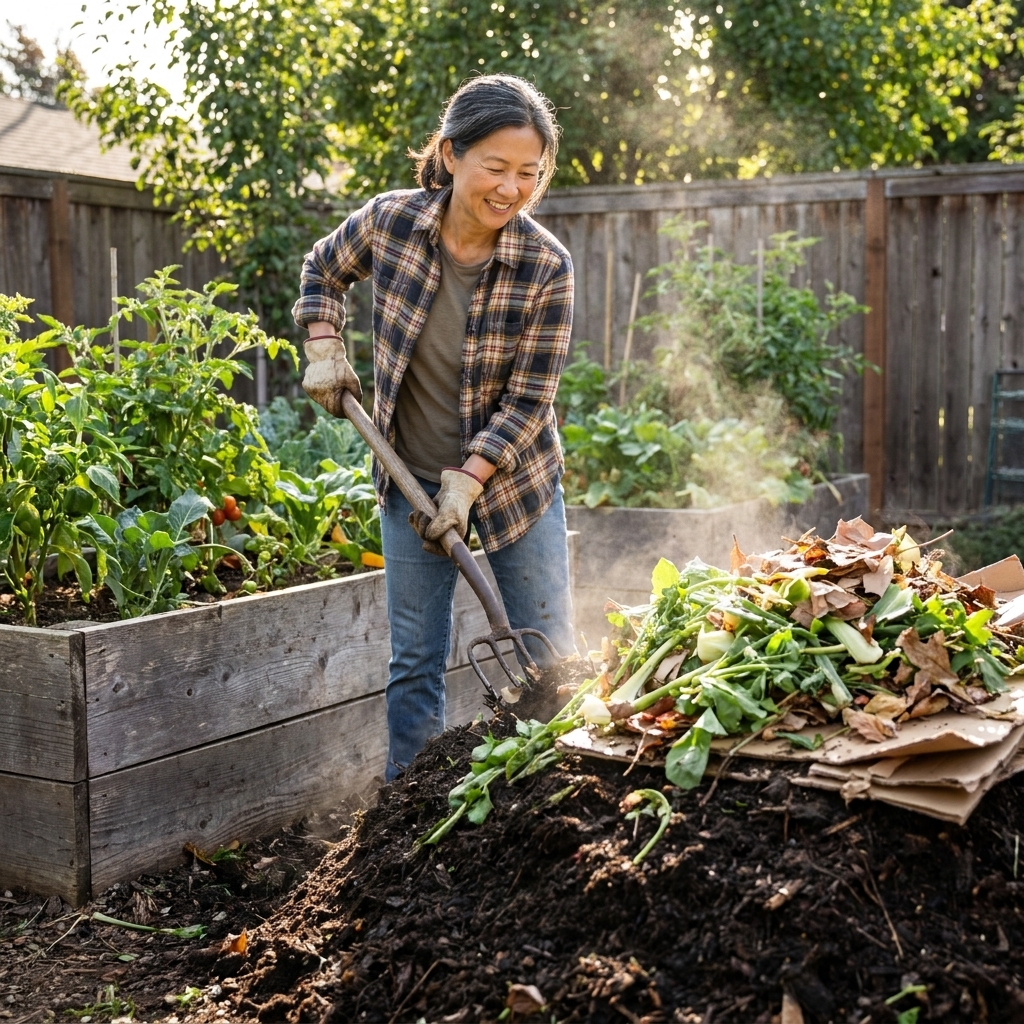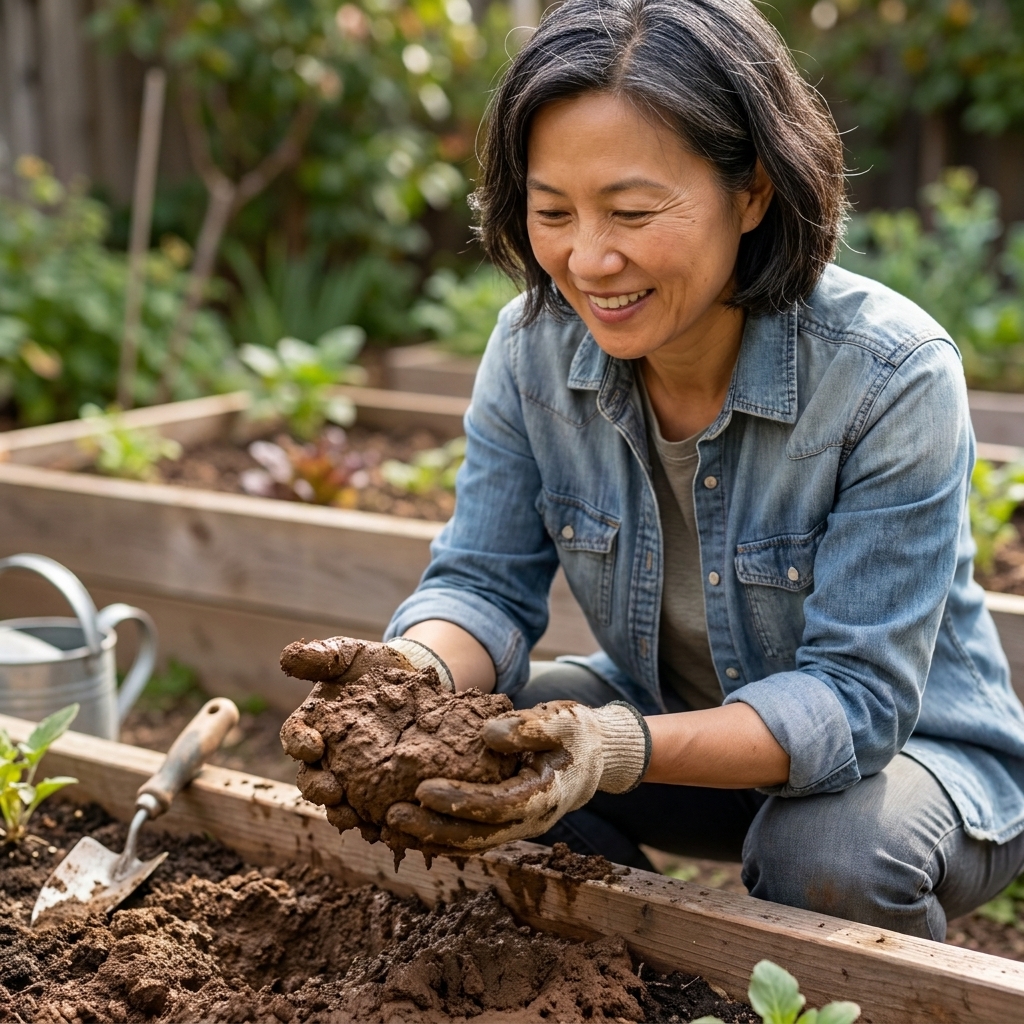
If you have ever wished you could sprinkle a little “garden confidence” over your soil, worm castings come pretty close. They are gentle enough for beginners, helpful for tired garden beds, and forgiving even when you do not measure like a scientist. In my own garden, they are the quiet helper that makes plants look like I have my life together, even when Barnaby has helped me “rearrange” a freshly mulched bed.

This guide walks you through what worm castings are, what makes them different from regular compost, and exactly how to use them in beds and potting soil without wasting money or overwhelming your plants.
What are worm castings?
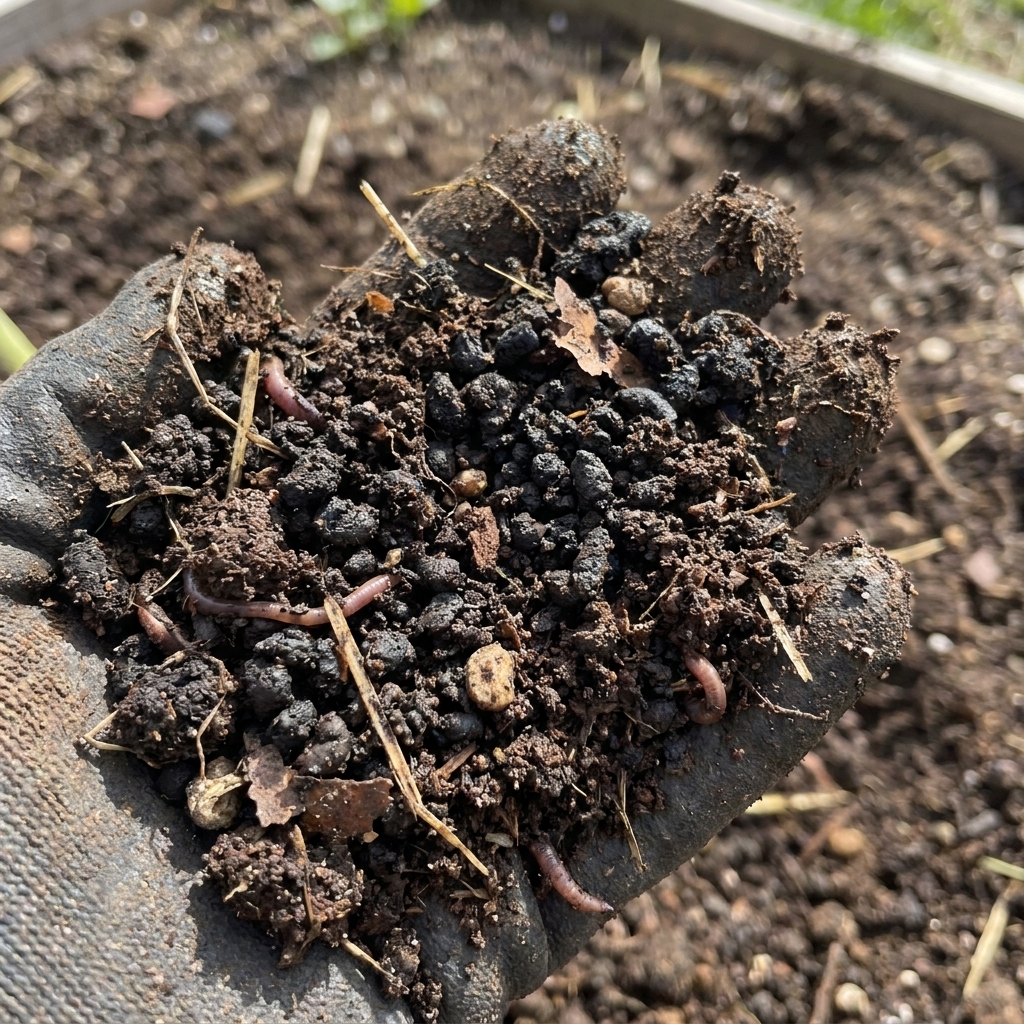
Worm castings are what you get after composting worms (usually red wigglers) eat organic material and pass it through their digestive system. The end product is a fine, earthy-smelling material that looks like rich coffee grounds.
You will also see them called vermicompost. In casual garden talk, the terms are often used interchangeably. Some sellers use “vermicompost” to mean castings plus a bit of leftover bedding material. For you as a gardener, both are used similarly, but pure castings tend to be finer and more concentrated.
Why castings help soil
Worm castings are not a quick-fix fertilizer in the way a synthetic nitrogen boost can be. Think of them as a soil health builder that also supplies a steady, plant-friendly trickle of nutrients.
1) Gentle nutrients that rarely scorch
Castings contain nitrogen, phosphorus, potassium, plus micronutrients, but typically in forms and concentrations that are less likely to burn plants. With quality castings used at reasonable rates, scorching is rare. Problems are more likely in small containers when castings are overapplied (hello, soggy mix) or when the product itself is poor quality.
2) Better soil structure, better roots
Worm castings help soils become more crumbly and workable. In heavy clay, they help create aggregation (little soil clumps with pore space). In sandy soil, they help improve moisture retention. Either way, roots get a more comfortable home with better access to air and water.
3) Microbial life gets a boost (when they are fresh)
Healthy soil is alive. Fresh, well-stored castings can add and feed beneficial microorganisms that help cycle nutrients and support overall soil function. Bagged castings that have baked in heat or dried to dust can lose some of that biological punch, which is one reason storage and freshness matter.
4) Natural support, not a pesticide
You will hear gardeners say worm castings help plants resist pests and disease. The most accurate way to think about this is: healthier plants tend to handle stress better. Castings are not an insecticide or fungicide, but stronger roots and steadier growth can make your garden less of an all-you-can-eat buffet.
Castings vs. compost
If you already compost, keep composting. Compost is fantastic for adding organic matter in bulk. Worm castings are more like a concentrated soil amendment you use in smaller amounts.
- Compost: best for improving soil over larger areas, topdressing beds, and adding volume of organic matter.
- Worm castings: best for targeted boosts, seed starting and transplants, containers, and “my soil needs help” moments.
In an ideal world, you use compost for the big-picture foundation and castings as the fine-tuning.
How to apply in beds
The biggest beginner mistake with castings is using them like mulch, dumping a thick layer and calling it done. You can absolutely topdress with them, but you will get better results when they make contact with the root zone and soil microbes.
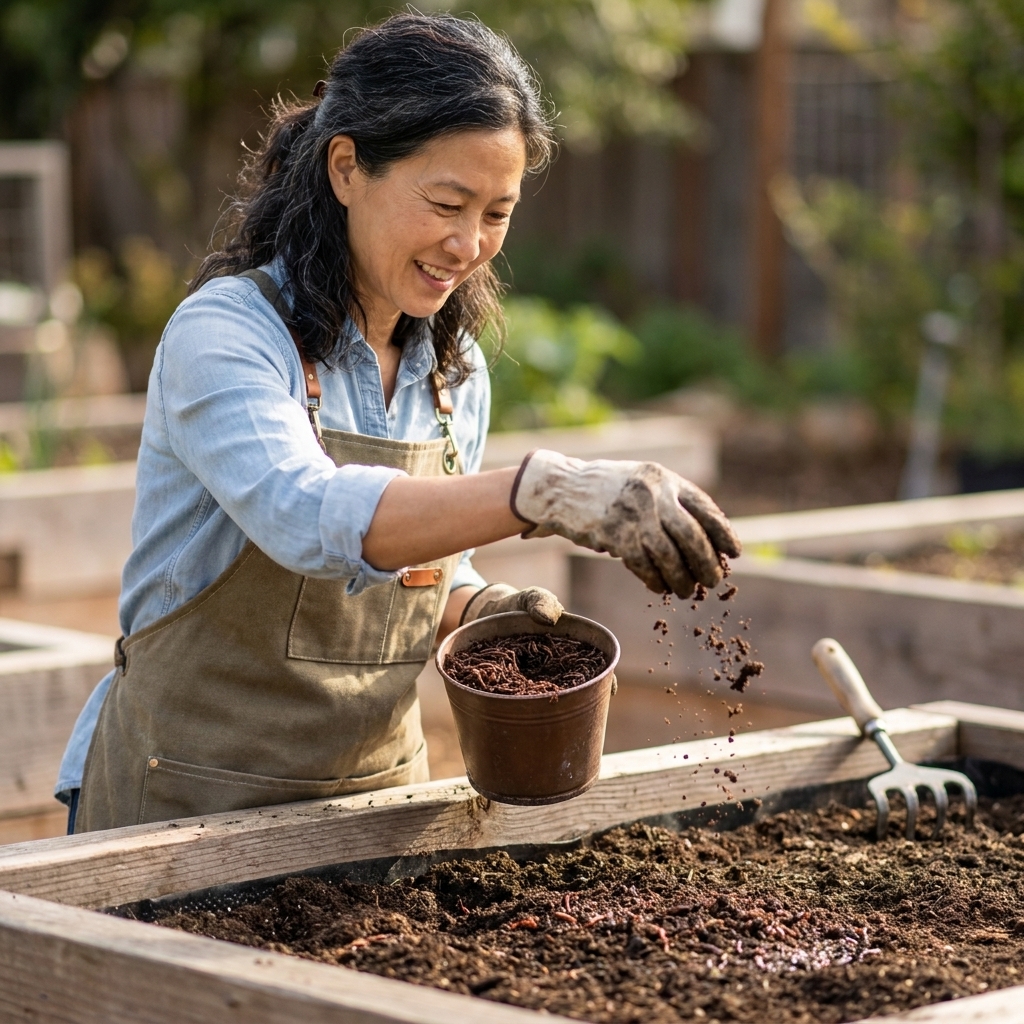
Option A: Topdress established plants
- Sprinkle a thin layer around plants, staying a couple inches away from stems.
- Gently scratch into the top 1 to 2 inches of soil if you can, then water.
How much: Aim for a light layer, roughly 1/4 to 1/2 inch, then water it in. If you like a number you can measure, a common range is about 1 to 2 cups per square foot, depending on how depleted your soil is and how concentrated your castings are.
Option B: Mix into transplant holes
This is my favorite: it is efficient and puts castings right where roots will explore.
- Add a small handful (or two for larger plants) into the planting hole.
- Mix with native soil so roots are not sitting in a single pocket of amendment.
- Plant, water deeply, and mulch as usual.
Option C: Refresh a whole bed
For tired beds at the start of the season, spread castings over the surface and incorporate them into the top few inches. This is especially helpful in beds where you do not want to disturb deeper soil layers too much.
How to use in pots
Containers are where castings really shine, because potting mixes can be lifeless after a season or two and nutrients wash out faster with frequent watering.
For new potting mix
Blend worm castings into your potting soil before planting. A common, beginner-friendly range is 10% to 20% castings by volume. If you are not measuring, that looks like roughly 1 part castings to 4 to 9 parts potting mix.
Rates can vary by crop and product, so treat those numbers as a starting point, not a rule carved in stone. More is not always better. Too much can make mixes hold more moisture than you want, especially indoors.
For existing containers
- Remove mulch or top decorative stones temporarily.
- Topdress with a thin layer of castings.
- Scratch in lightly and water thoroughly.
Timing tip: Topdress at planting time, then again mid-season for heavy feeders like tomatoes, peppers, cucumbers, and patio citrus.
For houseplants
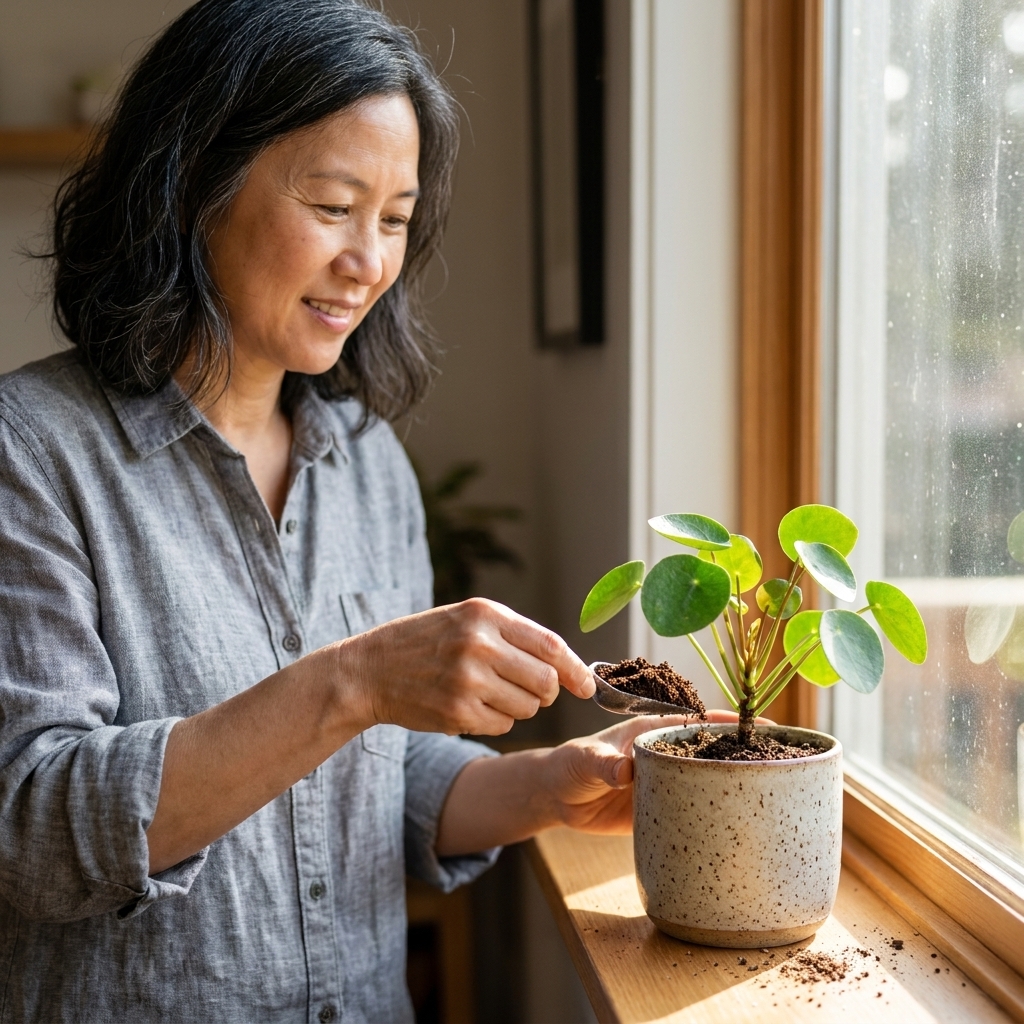
Use castings sparingly. A thin topdressing a couple times a year is usually plenty, and it is one of the gentlest ways to feed plants that hate fertilizer burn.
Seed starting
Seedlings like steady nutrition, but they also need fluffy, well-drained media to avoid damping off and other moisture-related problems.
- For seed-starting mixes, keep castings modest, often around 5% to 10% by volume.
- Use fine, screened castings if you can, so the mix stays light and even.
If your seedlings look pale after they develop true leaves, a very light topdress or a mild soak made with castings can help, but do not turn the tray into a swamp.
Casting tea
Yes, you can make a simple worm casting soak, and it is one of the easiest ways to stretch a small bag across more plants.
- Casting soak: Castings steeped in water for a short time, then used to water plants. Simple and beginner-friendly.
- Aerated compost tea: Uses active aeration and more specific methods. Done carelessly (questionable inputs, dirty equipment, brewing too long, or storing it), it can encourage unwanted microbes. If you go this route, follow a reputable, food-safe method and use it promptly.
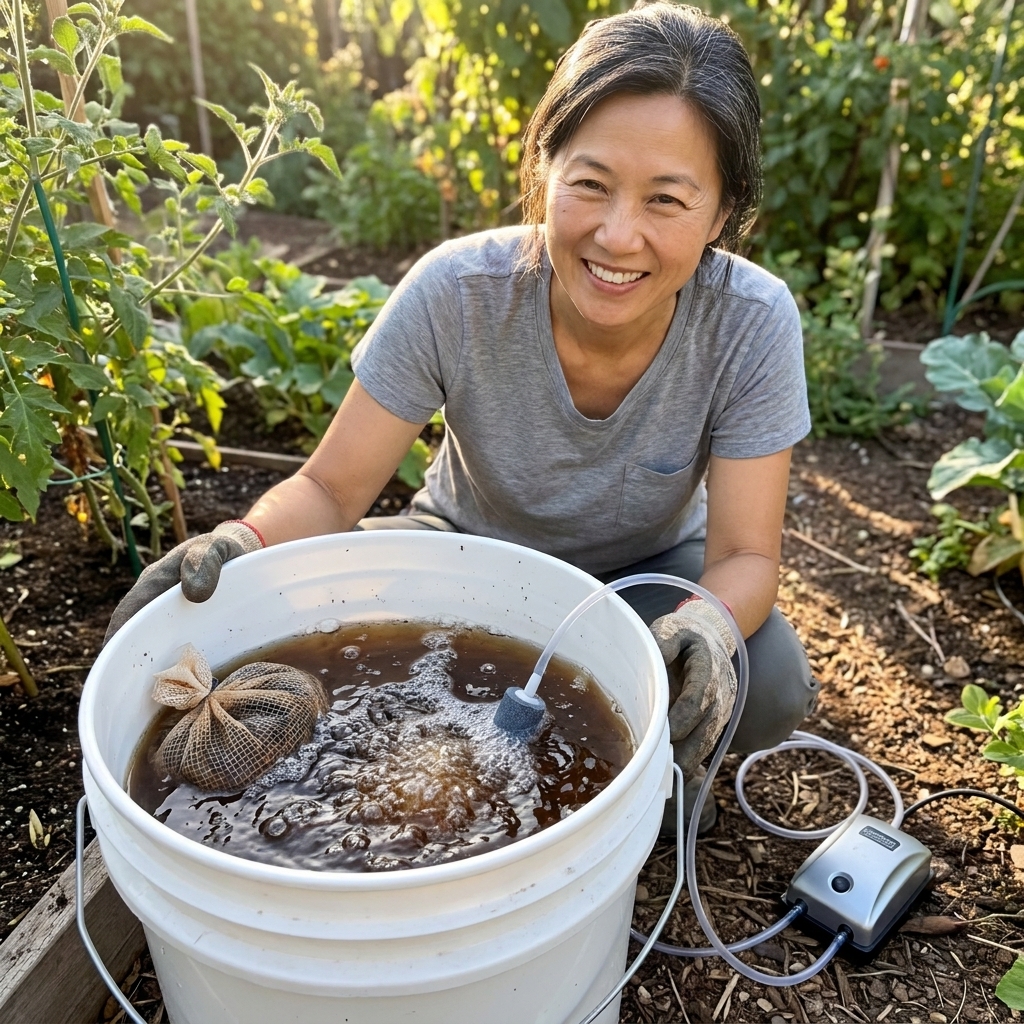
If you want the easy route, steep a small amount of castings in a bucket of water, stir occasionally, and use it the same day. Strain if needed so you do not clog a watering can. Consider it a gentle booster, not a miracle cure.
When to apply
- At planting time: Mix into planting holes or potting mix.
- Early season: Topdress perennials and beds as growth begins.
- Mid-season: Reapply to heavy feeders and long-season crops.
- After stress: Following heat waves, pest pressure, or recovery from pruning, a light topdress can help plants rebound.
For most gardens, 1 to 3 applications per growing season is plenty.
Choosing good castings
Good castings are worth it. Bad castings are mostly expensive dirt.
- Smell: Earthy and pleasant, like forest soil. If it smells sour, ammonia-like, or rotting, skip it.
- Texture: Fine, crumbly, and moist but not wet. Large, chunky bits may mean it is not finished or not screened.
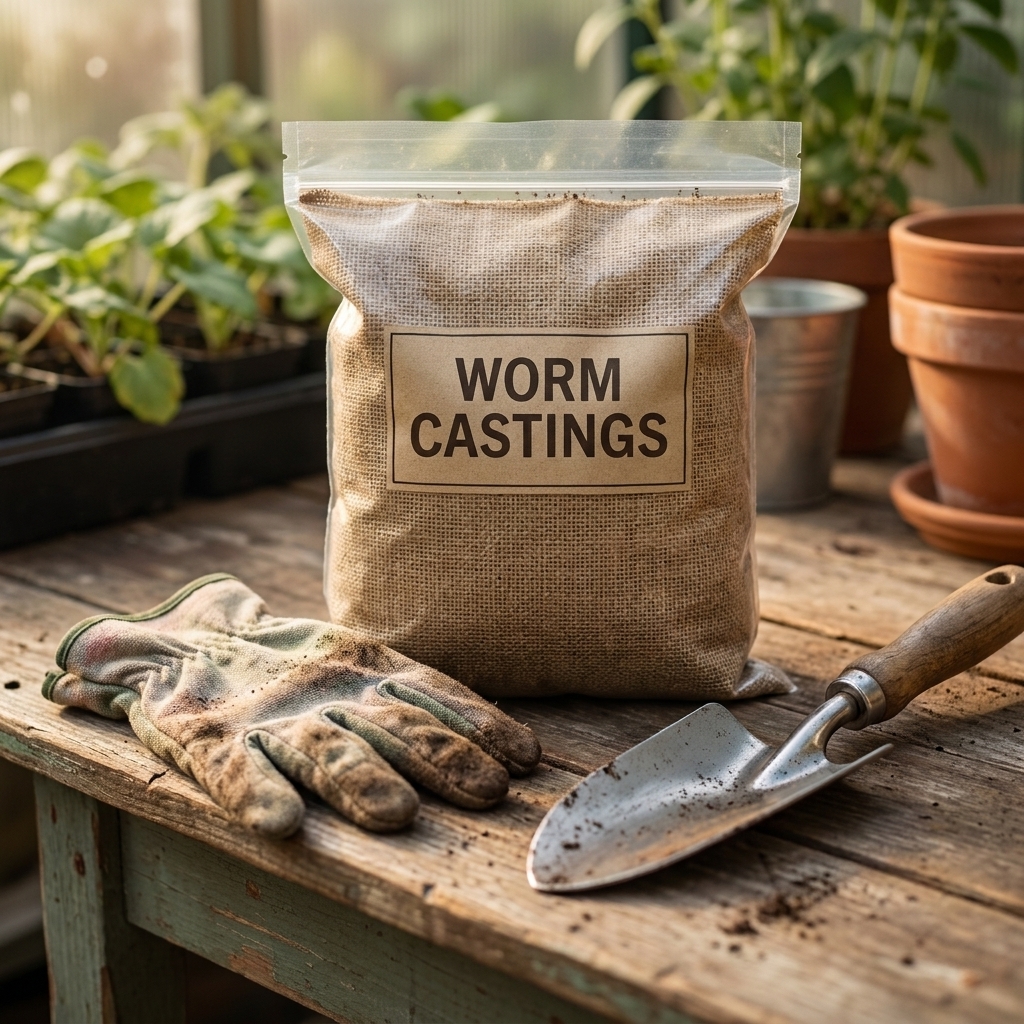
- Freshness and storage: Castings are biologically active. Avoid bags that have baked in the sun for months. Store at home in a cool spot, out of direct sun, and do not let them dry to dust.
- Source: Reputable producers can usually tell you what the worms are fed. Cleaner inputs generally mean cleaner castings.
Shelf life
Castings do not “go bad” the way milk does, but they are at their best when they are still moist and biologically active. As a general rule, try to use bagged castings within 6 to 12 months for the most benefit, sooner if they have been stored warm.
If your castings are a little dry, lightly re-moistening them can make them easier to work with, but it will not magically restore everything that may have been lost to heat and time. When in doubt, buy smaller bags more often, or store a larger supply somewhere cool and shaded.
Common mistakes
Using castings as the only soil ingredient
Castings are an amendment, not a full potting mix. Plants still need structure, drainage, and aeration from quality potting media or well-built garden soil.
Overapplying in containers
Too much can tip moisture retention in the wrong direction. If your pots stay soggy, scale back and add more aeration, like perlite or pine fines, in future mixes.
Expecting instant, spiky growth
Castings tend to support steady, balanced growth rather than overnight leafy fireworks. That is a feature, not a flaw.
Letting bags dry out completely
Bone-dry castings are still organic matter, but they can lose some of that lively soil biology you are paying for. Keep them lightly moist and stored cool.
Safety for kids and edibles
In general, worm castings are considered a safe, low-odor amendment and are widely used in vegetable gardens. Still, they come from decomposed organic matter, so treat them like any soil product:
- Wash hands after use, especially before eating.
- Keep bags out of reach of pets that like to snack on everything.
- Rinse produce well at harvest, especially leafy greens and root crops.
One more practical note for edible gardens: use castings from reputable sources with clean inputs, and avoid anything made from questionable materials. If you are topdressing leafy greens close to harvest, keep applications light and water in well, then stick with good harvest hygiene.
If you are gardening with young kids, castings are one of the more pleasant soil amendments to work with, far nicer than fish emulsion on a hot day.
Quick cheat sheet
- Best uses: Transplants, containers, seedling mixes (lightly), tired beds, houseplants.
- Bed application: Thin topdress or mix into planting holes and water in.
- Potting mix blend: About 10% to 20% castings by volume for most containers.
- Frequency: 1 to 3 times per season for most gardens.
- What to expect: Healthier soil, steadier growth, better resilience over time.
FAQ
Do worm castings replace fertilizer?
Sometimes, for light feeders or short seasons, they can cover a lot of your needs. For heavy feeders (tomatoes, corn, squash, citrus in pots), castings work best as part of a broader fertility plan, paired with compost and an organic fertilizer when needed.
Can worm castings burn plants?
It is uncommon with quality castings used at reasonable rates, but anything can be overapplied. In containers, the bigger risk is a mix that stays too wet. Stick to light topdressings and sensible blend rates and you will be in the safe zone.
Will worm castings attract worms to my garden?
They can support conditions worms like (moisture and organic matter), but sprinkling castings does not automatically bring composting worms into your beds. Garden earthworms and composting worms live differently. Either way, improving soil habitat is usually a win.
Do worm castings help with gnats in houseplants?
Castings themselves do not solve fungus gnats. Gnats are mostly a moisture management issue. If you topdress heavily and keep soil wet, you can make gnat problems worse. Use thin layers and let the top inch of soil dry between waterings if gnats are around.
A gentle next step
If you are brand new to soil amendments, start small: mix a handful of worm castings into each transplant hole this season, and topdress your most-used containers once. Watch how your plants respond. Gardening is a long conversation with the soil, and worm castings are one of the kindest ways to say, “I am listening.”