A wildflower meadow looks carefree, but the soil prep is where the magic happens. Think of it like making the bed before you tuck in the seeds. Do it well, and your meadow becomes the low-maintenance, pollinator-humming patch you pictured. Skip it, and you may end up growing an impressive collection of weeds instead.
Below is my practical, beginner-friendly process for preparing soil for a wildflower meadow, whether you are converting a slice of lawn or reclaiming a scruffy corner of your yard. A quick note before we start: methods and plant choices vary by region, and “native meadow” projects have different goals than a generic ornamental wildflower mix. When in doubt, match the seed mix to your local conditions first.
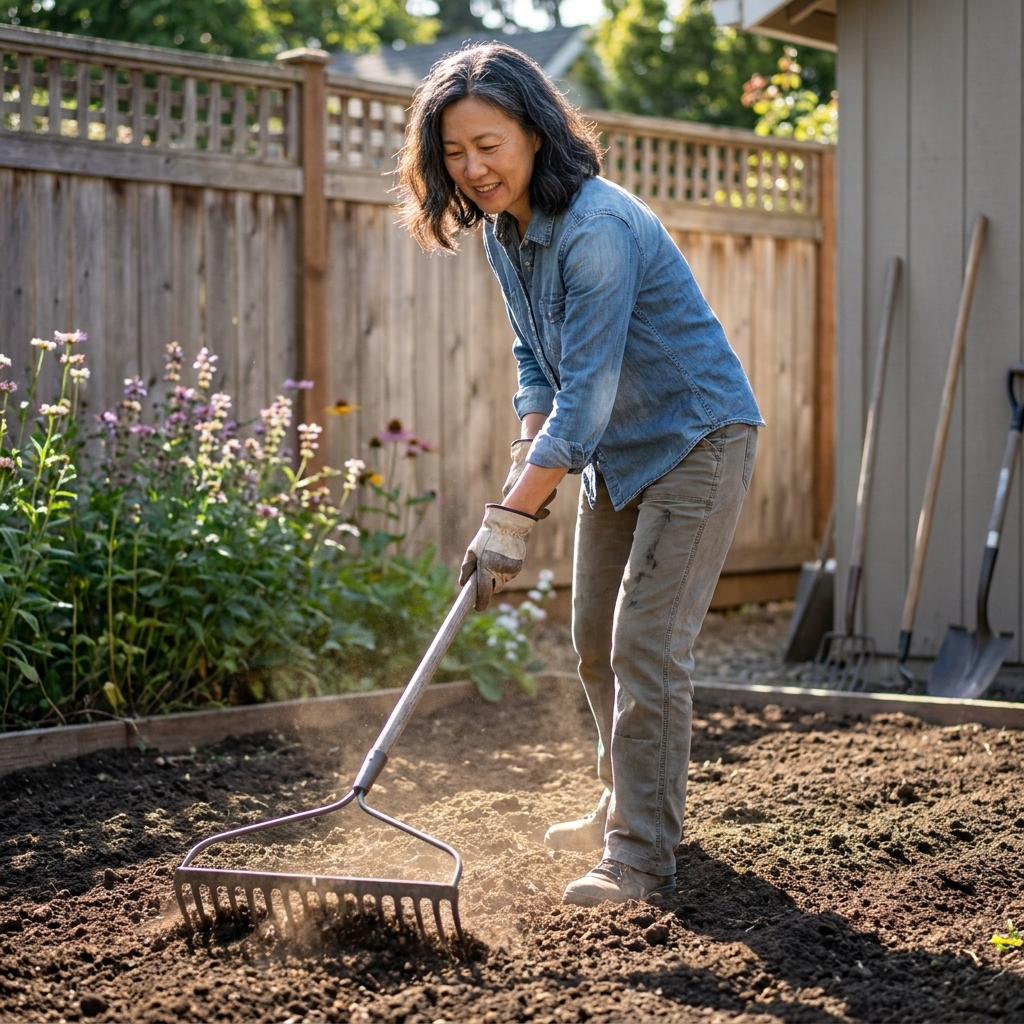
Start with two quick decisions
1) Annuals, perennials, or a mix?
Annual wildflowers (like cosmos or poppies) give quick color the first season, but you may reseed or manage them to keep them going.
Perennial wildflowers take longer to mature, but they build a more stable, long-term meadow. Many perennials focus on roots in year one and bloom more in year two.
Mixed blends are popular because annuals cover the “awkward teenage phase” while perennials get established.
2) Sun or shade?
Most classic meadow species want 6+ hours of sun. If your site is part shade, pick a shade-tolerant mix rather than trying to force sun-lovers to cope. The right seed mix can forgive a lot. The wrong mix will not.
Assess the site like a detective
You do not need laboratory-grade precision. You just want to avoid the big pitfalls.
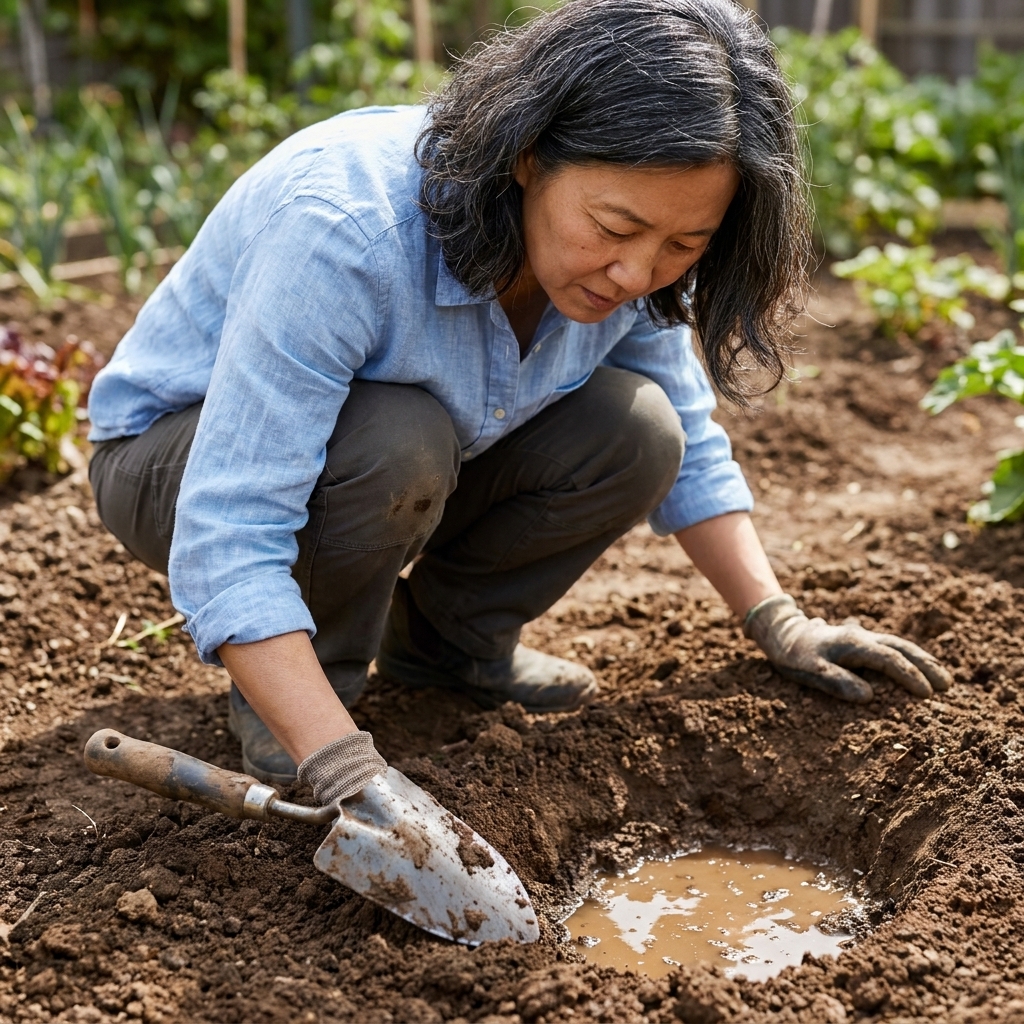
- Drainage: After a good rain, does water puddle for more than a day? If yes, you may need to loosen compaction or address grading before sowing.
- Weed pressure: Look for aggressive perennials like bermudagrass (warm-season), quackgrass (cool-season), bindweed, creeping thistle, or Canada thistle. These change your removal strategy.
- Soil richness: This surprises people, but most meadow wildflowers do best in moderately lean soil. Super fertile soil tends to favor fast, leafy growth and weeds.
Remove what is already growing
If I could stand at the fence and say just one thing while you work, it would be this: most meadow seedings fail when they are sown into living lawn. Wildflower seedlings need bare soil and low competition.
There are exceptions. Some people overseed into turf after it has been scalped, heavily dethatched, and weakened, or after the grass has been killed first. It can work in small areas with the right species, but it is not my go-to recommendation if you want reliable results.
Option A: Smothering (easy, takes time)
This is my favorite low-stress method for turning lawn into planting space without herbicides.
- Mow the area as short as possible.
- Water lightly if the soil is bone dry.
- Cover with plain cardboard (remove tape) and overlap seams so light cannot sneak in.
- Top with just enough weed-free compost or clean topsoil to hold it down, often 1 to 2 inches. Use more only where wind or edges keep lifting it.
- Wait. In warm weather, turf may collapse in 2 to 3 months, but tougher grasses and perennial weeds often take a full season. Cooler seasons take longer.
Smothering works beautifully on turf and many annual weeds. For stubborn perennial weeds, you may still need to spot-dig survivors.
One important caution: that top layer over cardboard can be richer than ideal for a meadow. If you plan to sow a wildflower mix into that layer, keep it lean and firm, and do not keep piling on compost. Many people smother first, then later rake back any extra, firm the surface, and sow into a mostly mineral, not overly fluffy seedbed.
Option B: Sod removal (fast, more labor)
For immediate planting, strip off sod with a flat spade or sod cutter. This removes the bulk of grass roots that compete with seedlings. It is sweaty work, but it is satisfying in a “look what I did” kind of way.
Option C: Shallow cultivation (effective, but be careful)
Lightly tilling or power-raking can work, especially if you follow up with repeat weed flushes (more on that below). Avoid deep tilling, which can bring dormant weed seeds to the surface like you are restocking them.
My rule of thumb: I aim for near-bare soil. If you still see more than about 10 to 20 percent live green growth, keep going.
Do a stale seedbed
This step is optional, but it is one of the smartest ways to lower maintenance later.
- After clearing, rake the soil smooth and water lightly.
- Wait 7 to 14 days for weed seeds to sprout.
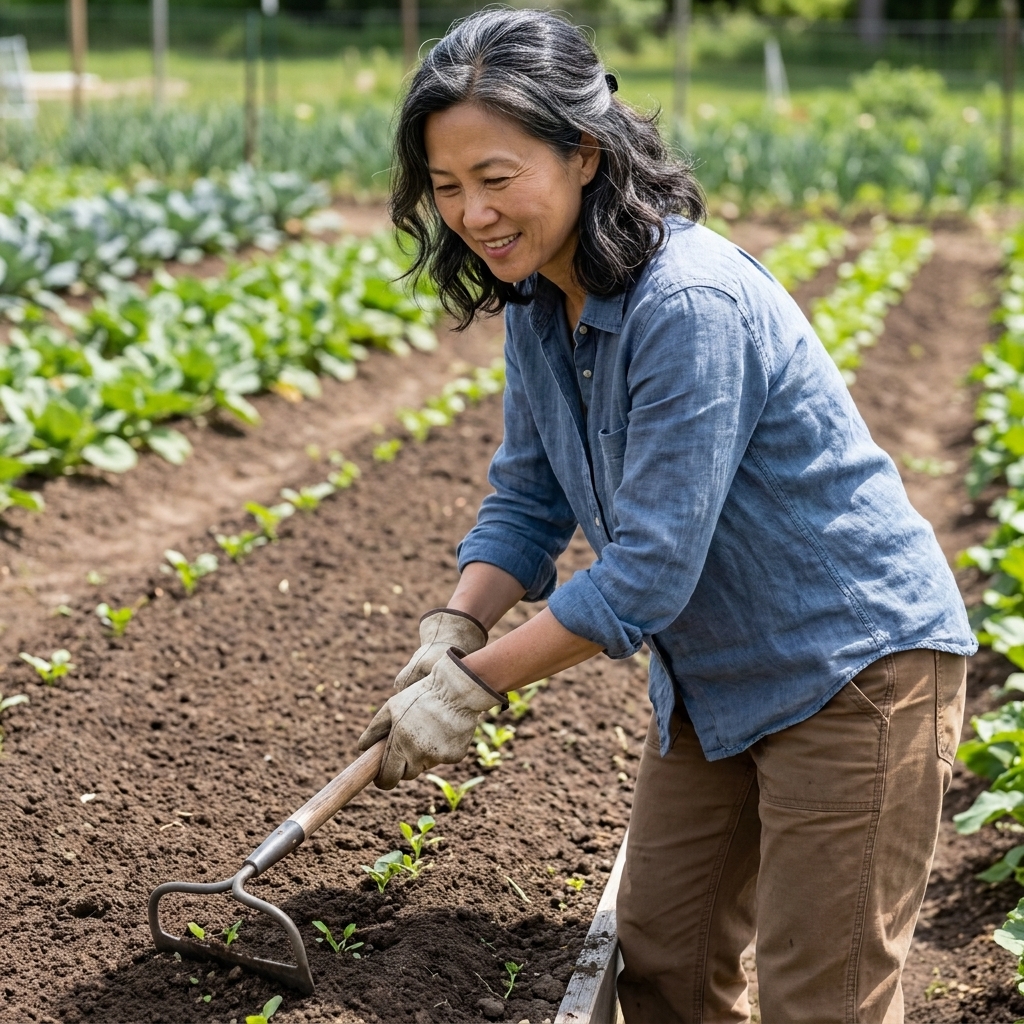
- Remove those tiny weeds with a stirrup hoe, very shallow raking, or a flame weeder.
- Repeat once more if you have time.
You are basically tricking weeds into revealing themselves before your wildflowers are in the ground.
If you use a flame weeder, follow local rules, avoid dry windy days, and keep a hose or extinguisher close. The goal is to wilt seedlings, not start a backyard headline.
Test your soil (keep it simple)
A basic soil test tells you what you need to know without guessing. Many county extension offices offer affordable tests, and those results are the most dependable for nutrients. At-home kits can still be useful for a quick pH check, but I would not build a whole amendment plan around a bargain nutrient reading.
Target ranges for most meadows
- pH: Many wildflowers are happy around 6.0 to 7.0, but your seed mix matters. Some mixes lean more acidic (around 5.5 to 6.5) while others tolerate or prefer 7+.
- Drainage and texture: Loamy is ideal, but wildflowers can handle a lot if you match species to conditions.
- Nutrients: More is not better. High nitrogen often boosts grasses and leafy weeds over flowers.
When to amend
Add compost only if you truly need it, like when soil is extremely sandy and droughty, badly compacted, or stripped and lifeless. Even then, keep it modest: a light top-dressing (about 1 inch) is usually plenty.
Avoid high-nitrogen fertilizers for meadow establishment. If your soil test flags a specific deficiency, follow the recommendation precisely instead of “feeding” broadly.
What about topsoil?
Topsoil can help you regrade a bumpy site or cover cardboard during smothering, but it is not automatically a “better” growing medium. Weed-free and not overly rich is the goal.
Fix compaction without over-tilling
Compacted soil can prevent roots from diving deep, which matters a lot for drought resilience.
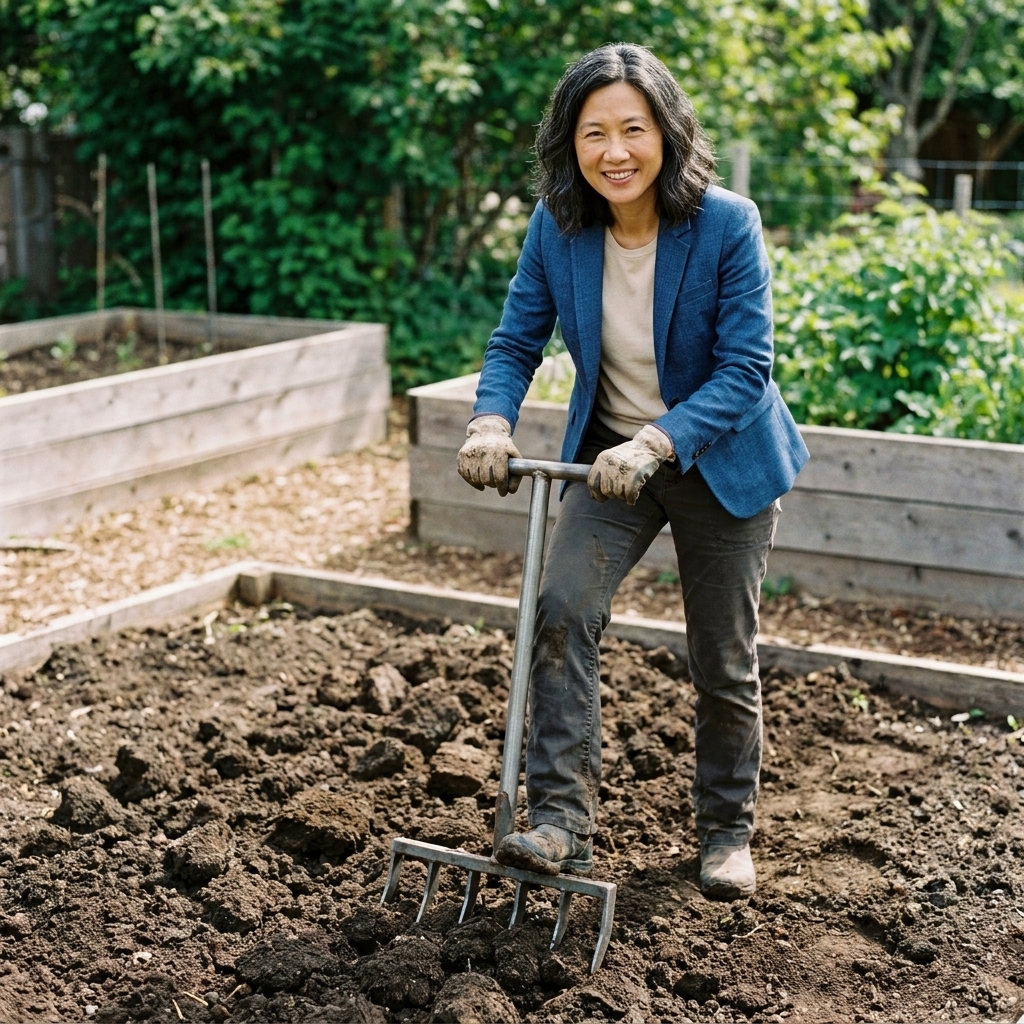
- Small areas: Use a garden fork or broadfork to loosen the soil 4 to 8 inches deep. Rock it back gently to lift and crack the soil, then leave the layers mostly intact.
- Clay sites: Prioritize drainage and avoid working when the soil is wet. Clay that is worked wet sets up like brick.
- High traffic edges: Consider a simple path or stepping stones so you are not compacting your meadow every time you admire it.
Create the right seedbed texture
Wildflower seeds generally want a fine, firm seedbed. Fine helps seeds nestle in. Firm keeps them from sinking too deep after watering.
How to prep the surface
- Rake away sticks, clumps, and leftover roots.
- Break up large clods so the top 1 inch is crumbly.
- Lightly firm the surface by walking over it heel-to-toe or using a lawn roller. You want it firm like a well-packed sandbox, not hard like a driveway.
If you step on the soil and sink in deeply, it is too fluffy. If you cannot leave a footprint at all, it may be too hard.
If your site is sloped
Bare soil on a slope can wash in one thunderstorm. If you are working on a grade, time your prep close to seeding, avoid over-loosening the surface, and consider using erosion control like jute netting or a light straw cover (clean, weed-free, and used sparingly so seeds still get light and contact).
Timing: prep and sow
Timing depends on your climate and your seed mix, but these are the two classic windows:
- Late fall to early winter: Great for mixes intended for dormant seeding, especially those with species that benefit from cold, moist conditions. Seeds settle in naturally and germinate when ready in spring.
- Early spring: Works well for many annuals and some perennial mixes, especially where winters are harsh or very wet.
If you prepare soil weeks ahead, keep it weed-free with shallow hoeing or raking so you do not lose your clean slate.
Seeding basics tied to soil prep
Even though this article is about soil, a few sowing habits are directly tied to prep success.
Seed-to-soil contact is everything
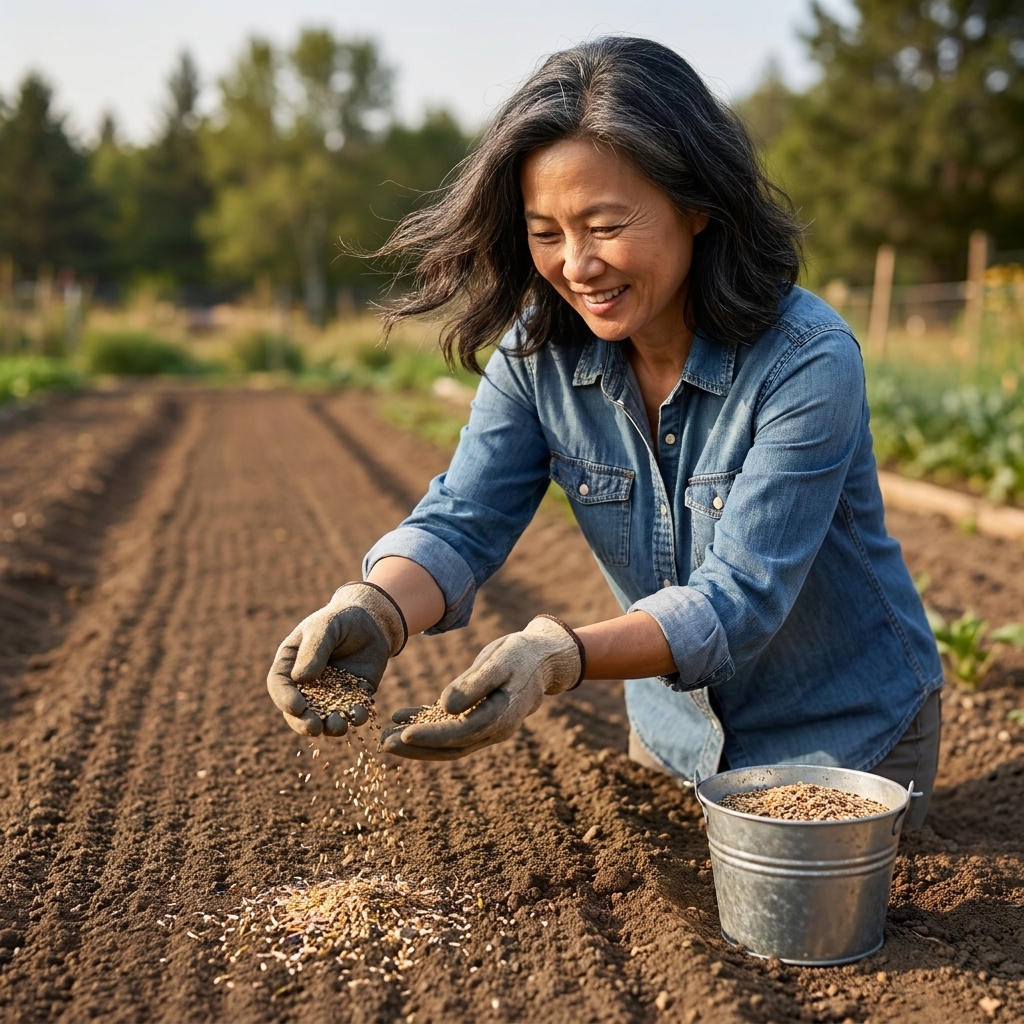
- Broadcast seed evenly. Mixing seed with dry sand can help distribution.
- Press seed into the soil with a roller or by walking over boards.
- Most wildflower seed should be planted very shallow. Many need light to germinate, so do not bury them under thick soil.
Do not overseed
More seed does not always mean a fuller meadow. It can mean overcrowding and weak plants. Follow the seeding rate on your mix, and if you are between two rates, I usually lean slightly lighter rather than heavier.
Watering during establishment
If you sow in spring, plan to keep the top layer of soil lightly moist until germination, then gradually water less often but more deeply. For fall sowing, nature often handles moisture, but keep an eye on unusually dry spells.
First-year maintenance (the part nobody puts on the seed packet)
A new meadow is not “no maintenance” right away. The first year is mostly about helping seedlings get established while keeping weeds from shading them out.
- Mow high: If weeds surge, mow to about 4 to 6 inches. This keeps sunlight on young wildflowers while knocking back tall annual weeds.
- Mow as needed: In many yards, that is every 3 to 6 weeks during the first growing season, depending on rainfall and weed pressure.
- Do not scalp: Avoid mowing so low that you shave off your wildflowers along with the weeds.
By year two, management usually shifts from frequent mowing to occasional spot weeding and a seasonal cutback, depending on your goals and mix.
Common soil prep mistakes
- Leaving living grass: Turf wins almost every time unless it is removed or fully killed first.
- Over-fertilizing: You get tall green growth and fewer blooms.
- Skipping weed control up front: The first year of a meadow is slow, and weeds take advantage of that.
- Planting too deep: Tiny seeds do not have the energy to push up through a thick layer of soil.
- Working wet soil: Especially with clay, this can create long-term compaction and clods.
FAQ
Do I need to remove rocks and old roots?
Remove anything that prevents good seed-to-soil contact. Small stones are fine. Thick mats of roots, runners, or thatch should go.
Can I plant a meadow on top of compost?
A thin layer can help on poor soils, but thick compost layers can be too rich and can dry out on the surface. If you use compost, keep it modest and firm, and avoid creating a deep, fluffy layer that encourages weeds and buries small seed.
What if my soil is very weedy no matter what I do?
Use the stale seedbed method, consider smothering longer, and be picky about perennial weed removal before sowing. A clean start saves you months of frustration later.
How long until it looks good?
Annuals can look cheerful in the first summer. Perennial meadows typically hit their stride in year two or three. The best meadows are a slow relationship, not a speed date.
A simple weekend checklist
- Mow or cut existing growth short.
- Choose your clearing method (smother, strip sod, or shallow cultivate).
- Rake out debris and level obvious bumps.
- Loosen compaction with a fork or broadfork if needed.
- Rake to a fine surface, then firm the seedbed.
- If time allows, do one stale seedbed flush before sowing.
- Sow at the recommended rate, then press seed into the surface.
If you do those steps, you are not just planting wildflowers. You are giving them a fighting chance. And in gardening, that is most of the battle.