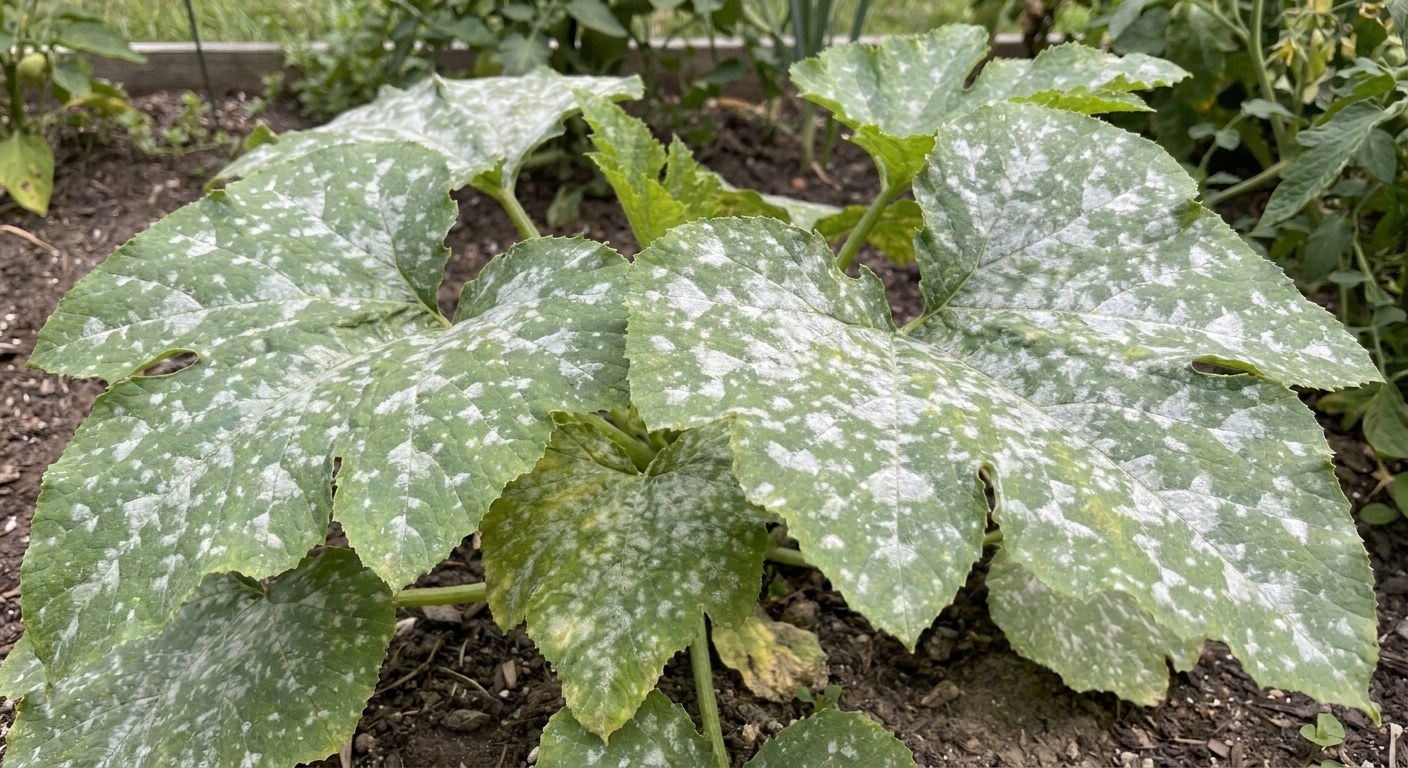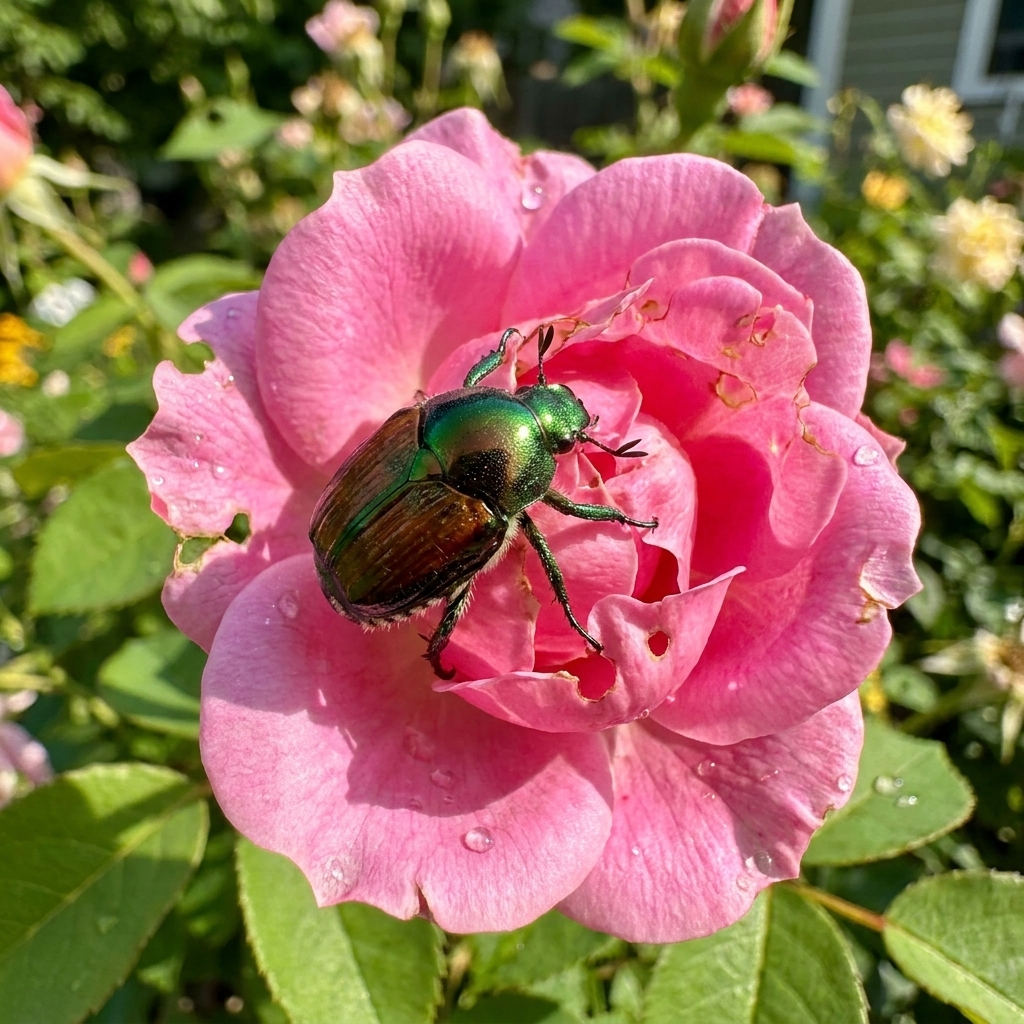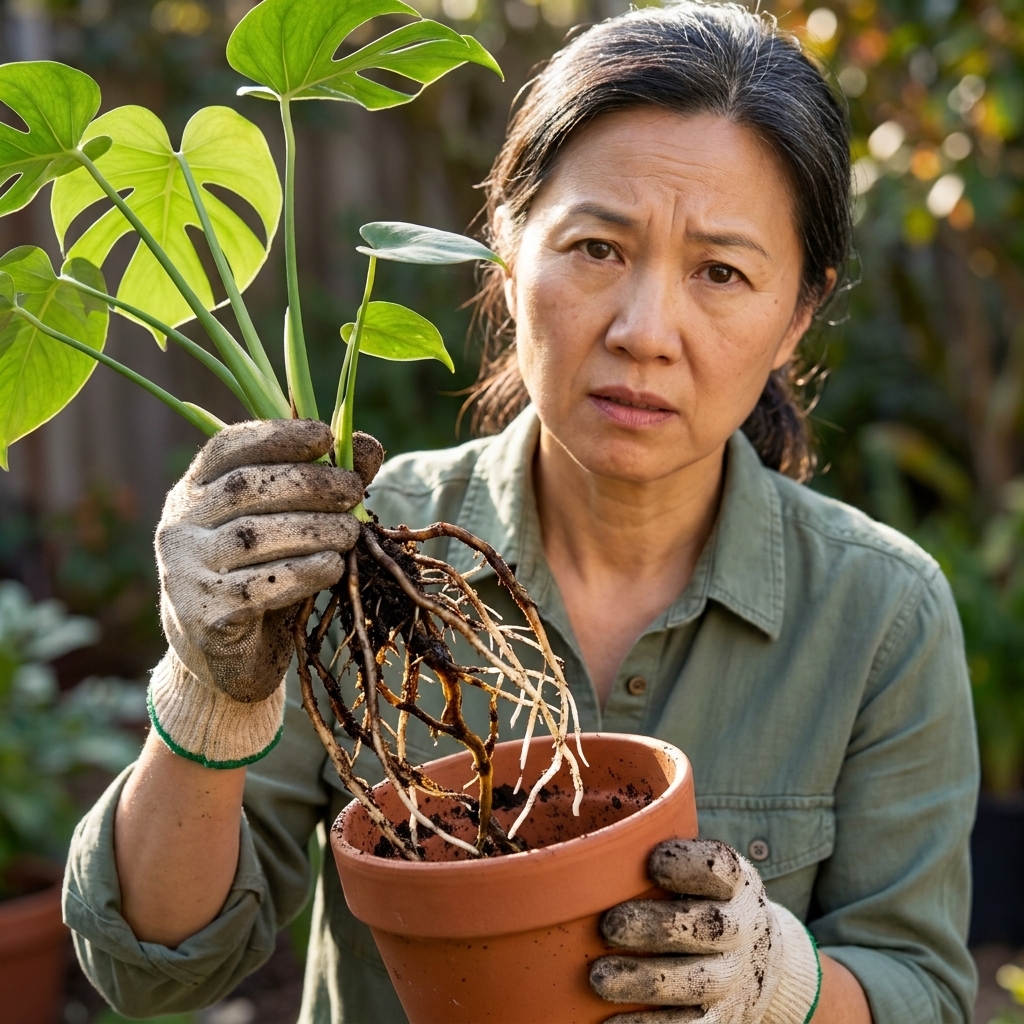
Fungal diseases have a special talent for showing up right when your garden is finally looking proud. A little powdery fuzz on zucchini. Spotty tomato leaves. That gray mold (botrytis) fuzz that seems to bloom overnight on peonies. Before you panic buy a mystery spray, know this: a handful of household ingredients can make genuinely useful, garden-safe fungicide mixes, especially when you catch problems early.
Homemade fungicides are best at prevention and early intervention. They usually do not “cure” heavily infected plants, but they can slow spread and protect new growth so your plant can keep going. I like to think of them as raincoats, not emergency surgery.
Before you spray
Most DIY fungicides work by changing the leaf surface environment so fungal spores struggle to germinate, or by providing mild antimicrobial action. They are effective when used correctly, and frustrating when used randomly.
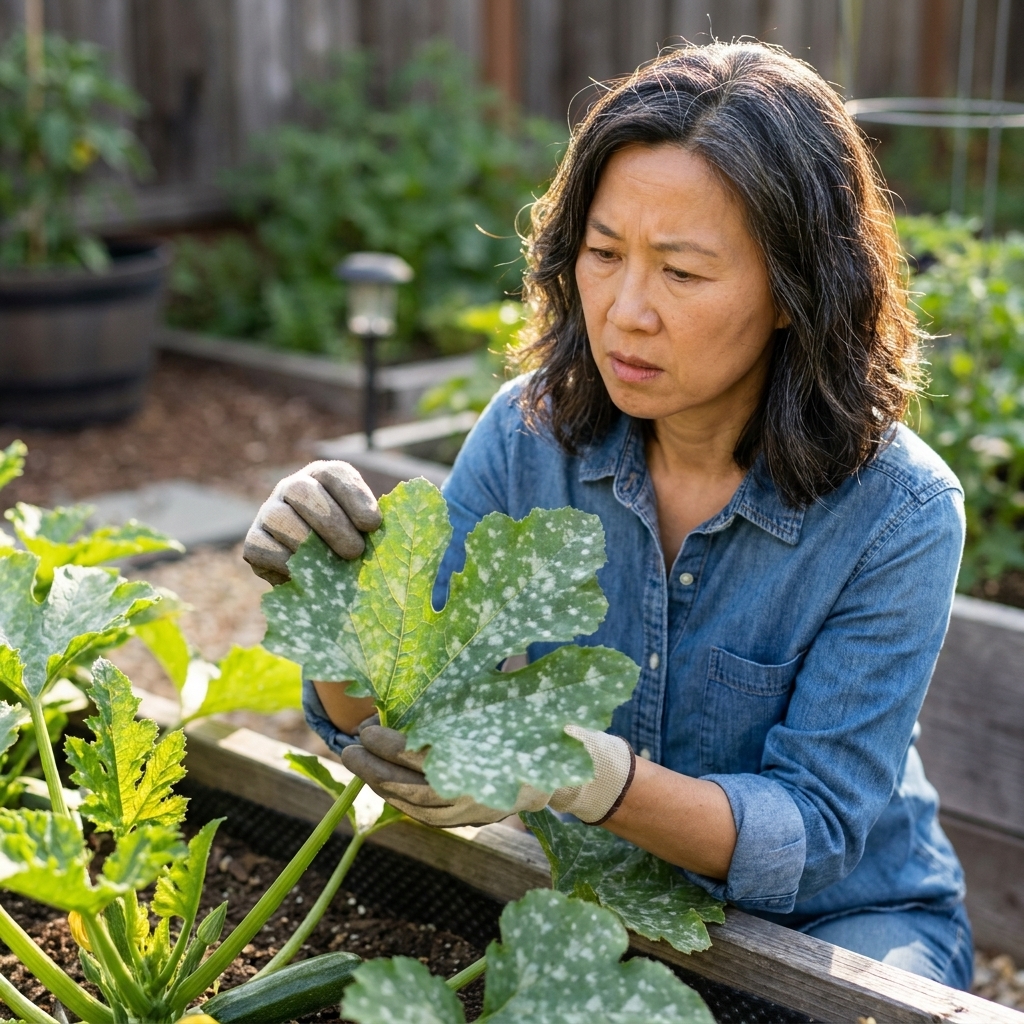
- Confirm it is a fungus. Nutrient deficiencies and sunscald can mimic disease. Powdery mildew wipes off like flour. Many leaf spots have distinct dark circles or halos. If you are unsure, start with pruning and airflow improvements first.
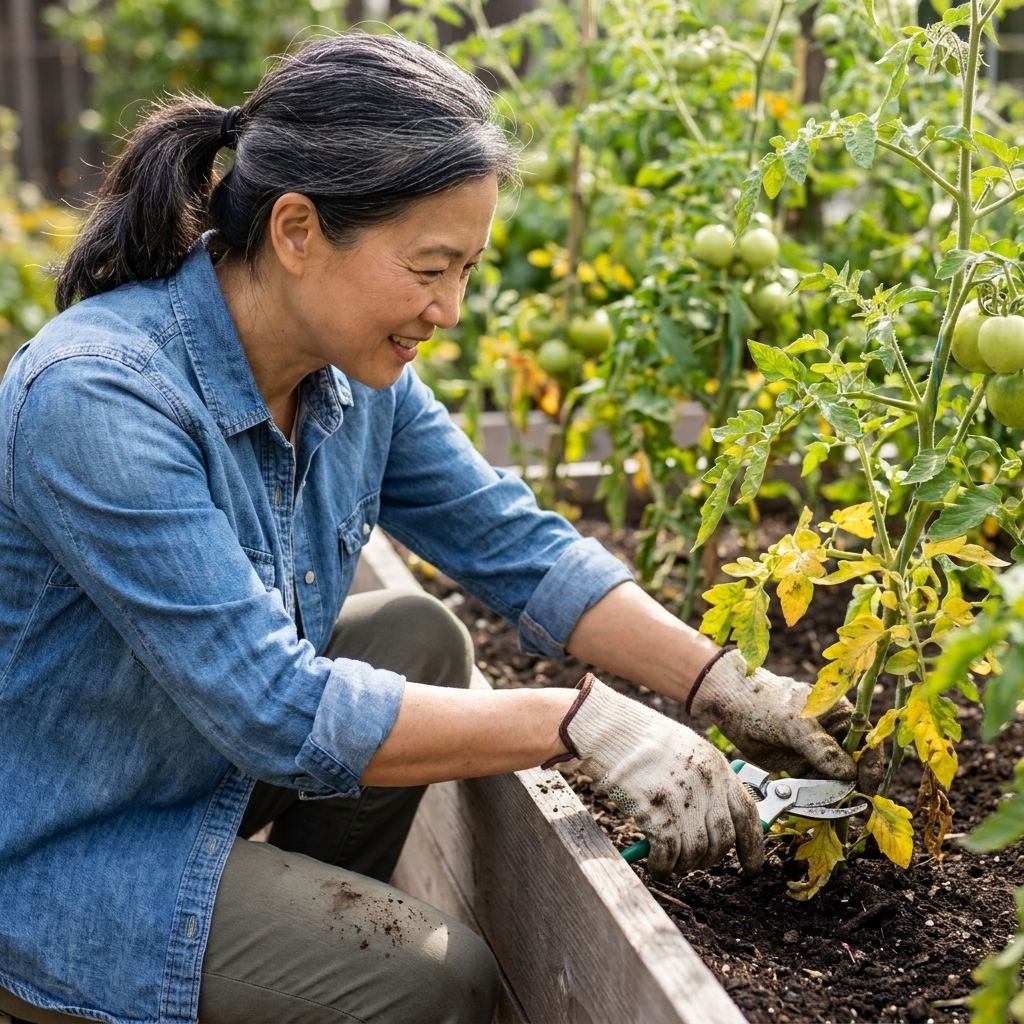
- Remove the worst leaves. If a leaf is more than about one-third covered in spots or mildew, snip it off and trash it. Do not compost diseased foliage unless your pile reliably gets hot.
- Spray timing matters. Apply in early morning or late afternoon. Avoid full sun and high heat to reduce leaf burn.
- Coverage beats strength. You want a light, even coat on tops and undersides of leaves.
- Always test first. Spray one small section, wait 24 hours, then treat the rest if the plant looks fine.
Safety note: Even “natural” ingredients can irritate skin and eyes. Wear gloves, avoid breathing mist, and keep mixes away from kids and pets. Never mix household cleaners like bleach with anything in this article.
When to stop and switch tactics
DIY sprays are for slow-and-steady problems. If you see any of the following, skip experimenting and move to plant removal, tool sanitation, and a labeled product recommended for that disease.
- Fast collapse or widespread blackening (especially on tomatoes and potatoes)
- Greasy dark lesions that spread quickly (late blight warning sign)
- Rotting fruit everywhere, not just a few spots
- No improvement after two weeks of weekly spraying plus leaf removal
Also, mix only what you will use that day. Do not dump leftovers into storm drains. Use up the mix on labeled, appropriate plants, or dispose of it in a way that does not run into waterways.
What these recipes can help
Here is where DIY mixes tend to shine, and where you may need stronger measures.
Sometimes responsive to DIY sprays (especially early)
- Powdery mildew (squash, cucumbers, roses, phlox, bee balm)
- General leaf spot pressure as a light protective spray on new growth (results vary, cultural controls matter most)
- Rust (hollyhocks, beans) when combined with leaf removal and spacing
Usually needs more than DIY
- Downy mildew (often underside gray-purple growth, fast collapse)
- Late blight (tomatoes and potatoes, greasy dark lesions, rapid spread)
- Wilt diseases (fusarium, verticillium) that start inside the plant
If plants are collapsing quickly, stems are blackening, or fruit is rotting en masse, skip the “gentle” phase. Remove infected plants, sanitize tools, and consider a labeled organic fungicide (like copper or biofungicides) to protect nearby plants.
Recipe 1: Baking soda spray
Baking soda can make leaf surfaces less friendly for powdery mildew spores. It works best as a preventative or at the first dusty signs.
One caution: sodium bicarbonate can build up and cause leaf burn or plant stress if you hammer plants with it all season. Use it as a short run, not a forever habit. If you need ongoing protection, rotate to a different method (like milk) and focus on airflow and watering habits.
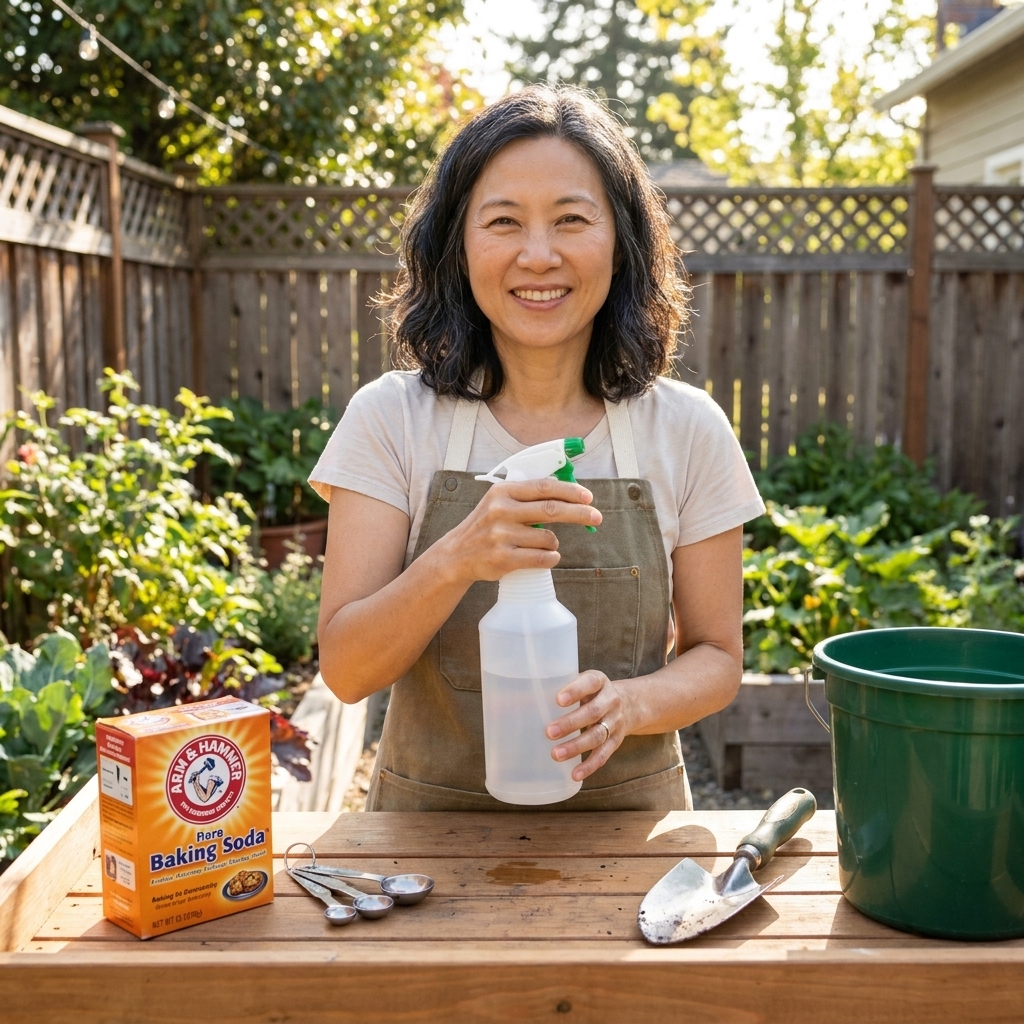
What you need
- 1 quart (4 cups) water
- 1 teaspoon baking soda (sodium bicarbonate)
- 1/2 teaspoon true mild liquid soap or 1 teaspoon castile soap (helps it spread and stick)
- Spray bottle
How to mix
- Add water to your spray bottle.
- Stir in baking soda until fully dissolved.
- Add soap last and swirl gently. Shaking makes foam, which is not helpful.
How to use
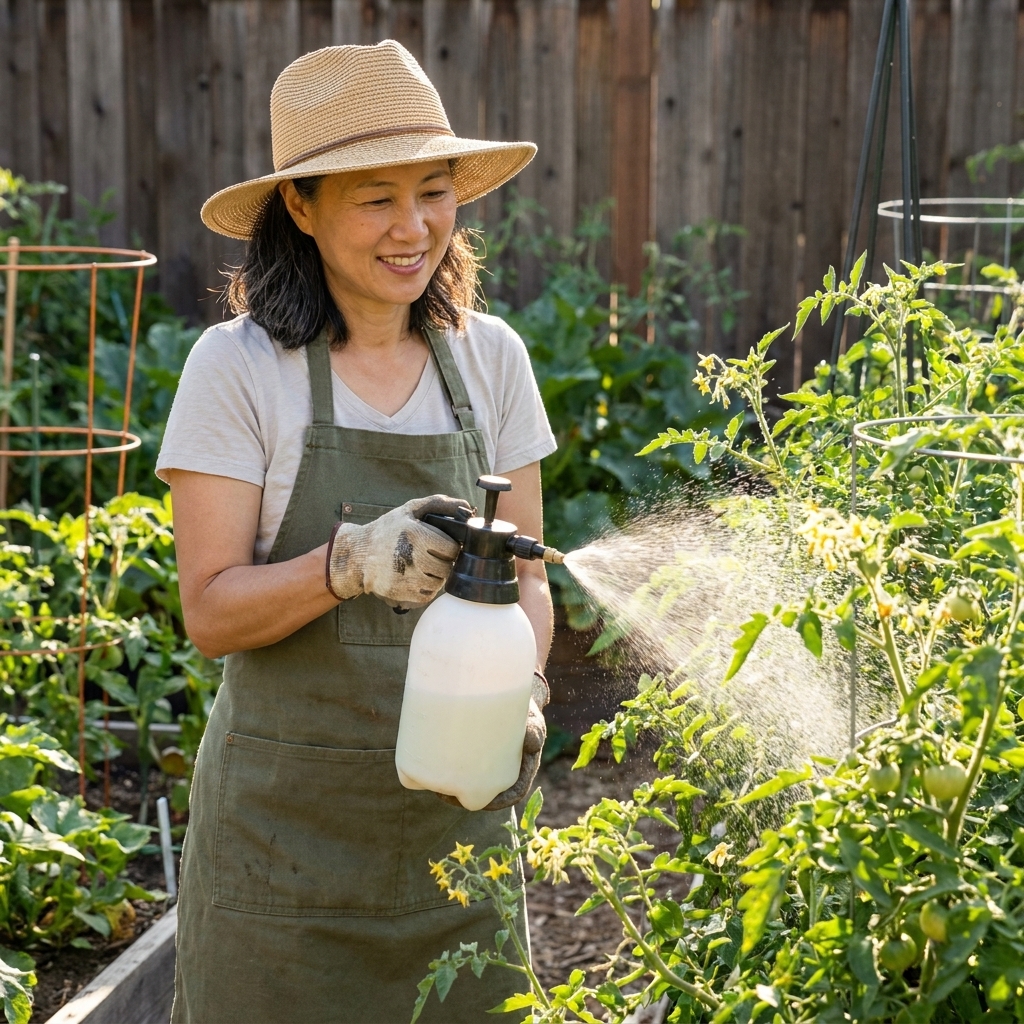
- Spray until leaves are evenly coated, including undersides.
- Repeat every 7 days for up to 2 to 3 weeks, then reassess or rotate methods.
- Reapply after heavy rain.
Skip this for: downy mildew, late blight, and plants that are already heat-stressed.
Soap note: Many people grab dish detergent. Do not. Use a gentle, non-antibacterial, non-fragranced soap. Detergents and heavy degreasers can scorch leaves.
Recipe 2: Milk spray
Milk sprays are popular for powdery mildew and some leaf surface issues. The thinking is that milk proteins and helpful microbes can suppress mildew development, especially when applied regularly.
What you need
- 1 part milk (any dairy milk works, many gardeners use skim)
- 2 parts water
- Spray bottle
How to mix
- Combine milk and water (for example, 1 cup milk + 2 cups water).
- Pour into a clean sprayer.
How to use
- Spray a light coat on leaf surfaces.
- Apply every 7 to 10 days.
- Use earlier in the day so leaves dry before nightfall.
Practical tip: Milk can sour in hot weather. Mix only what you will use that day, rinse your sprayer well, and avoid soaking flowers or fruit.
Skip this for: late blight, downy mildew, and fruit rot outbreaks. It is not a rescue spray for fast-moving diseases.
Recipe 3: Hydrogen peroxide spray
Hydrogen peroxide (the common 3% pharmacy kind) can help reduce surface spores in the moment. Evidence for disease control in garden settings is mixed, and plant sensitivity varies a lot. I consider this a short-term, spot-tested tool, not a weekly preventative fungicide.
What you need
- 3% hydrogen peroxide
- Water
- Spray bottle
Mixing ratio
Combine 1 part 3% hydrogen peroxide with 3 parts water (about 0.75% peroxide).
How to use
- Test spray first. Some tender plants can be sensitive.
- Apply lightly to affected leaves, focusing on early spots or mildew patches.
- Use once, then reassess in 2 to 3 days. If you see damage or no benefit, stop.
Do not overdo it: frequent peroxide sprays can stress leaf tissue. I treat it like a one-time reset, then switch to prevention (airflow, pruning, baking soda or milk).
Recipe 4: Neem oil spray
Neem oil is plant-derived and commonly used in organic gardens. It can offer some protection for certain leaf diseases and also discourages some pests. Performance is variable, and products differ (cold-pressed neem oil versus clarified hydrophobic neem extract), so let the label be your boss on rates, mixing, and intervals.
What you need
- 1 quart (4 cups) warm water
- Neem product (follow the label rate)
- Soap only if your neem product and label call for it (emulsifier)
- Spray bottle
How to mix
- Add warm water to your mixing container.
- If directed, add a small amount of mild true soap and stir.
- Add neem and stir well.
- Pour into sprayer and use promptly. Neem separates as it sits.
How to use
- Spray in the evening to reduce risk to pollinators and minimize sun burn.
- Coat leaf tops and undersides.
- Repeat per the product label if needed.
Neem reality check: it is mainly a protectant. Do not expect it to “erase” an established infection.
Avoid neem on: plants that are heat-stressed, newly transplanted, or in full sun during hot weather. Also avoid spraying open blooms whenever possible.

When and how often to spray
Think like a fungus: moisture plus still air equals party time. Your goal is to protect new growth and slow spread during risky weather.
- For prevention: spray every 7 to 10 days during periods of high humidity, frequent rain, or known annual outbreaks.
- For active issues: spray every 5 to 7 days for two weeks, removing the worst leaves as you go. If there is no improvement, switch strategies.
- After rain: reapply if rain was heavy enough to wash leaves.
- Before rain: do not spray right before a downpour. You will waste product and increase runoff.
If you are spraying faithfully and the plant keeps declining, it is not a personal failure. Some diseases move faster than DIY solutions can manage.
Make sprays work better
Sprays help, but culture fixes are what keep you from spraying forever.
Airflow and spacing
- Stake tomatoes and prune lower leaves to keep foliage off soil.
- Thin crowded seedlings. I know it hurts. It also works.
- Trim surrounding plants that block breezes.
Watering habits
- Water at soil level, not overhead.
- Water in the morning so plants dry quickly.
- Mulch to reduce soil splash, a major leaf spot delivery system.
Sanitation
- Clean pruners between plants when disease is active (a quick wipe with isopropyl alcohol helps).
- Pick up fallen leaves.
- Rotate crops where possible, especially tomatoes, peppers, cucurbits, and beans.
Rotate your approach
- Do not rely on one spray for months at a time.
- Alternate methods if you need ongoing protection, and prioritize airflow, leaf removal, and watering at the base.
When not to spray
Even gentle mixes can cause problems under the wrong conditions.
- In hot sun: oils and soaps can increase leaf burn.
- On fuzzy-leaved plants: like African violets or some herbs, which can spot easily. Test first.
- On stressed plants: drought-stressed, recently transplanted, or wilted plants are more likely to react poorly.
- On open flowers: spray foliage, not blooms, whenever you can.
- When drift is likely: avoid spraying on windy days to protect beneficial insects and nearby plants.
Frequently asked questions
Can I combine baking soda and vinegar for a stronger spray?
No. They neutralize each other (acid + base), and vinegar at useful concentrations can burn foliage. Stick with one approach at a time.
Will dish soap work?
Try not to use it. Choose a true mild soap (fatty-acid soap) or castile soap, and keep it minimal. Avoid antibacterial, fragranced, and heavy degreasing detergents. If your plant looks dull, splotchy, or scorched after spraying, stop and rinse foliage with plain water.
Do these work on black spot for roses?
Sometimes they help reduce spread, but black spot is stubborn. Your best wins come from removing infected leaves, mulching to prevent soil splash, watering at the base, and choosing resistant rose varieties. If black spot returns every year, a labeled organic copper spray used preventatively may be more effective than DIY mixes alone.
Is it okay to eat produce after spraying?
Generally, if you are using food-grade ingredients and spraying crops you normally eat, yes, as long as you wash produce thoroughly. Do not spray right before harvest if you can avoid it, mainly to reduce residue and off flavors. If you use neem or any commercial product, follow the label, including any pre-harvest interval.
My leaves look worse after spraying. What happened?
Most often it is one of these: the mix was too strong, it was sprayed in heat or full sun, the plant was already stressed, or the soap or oil was too heavy. Rinse leaves with water, give the plant a few days, then switch to cultural controls and a gentler preventative.
A calm plan
If you are staring at a patch of powdery mildew and feeling betrayed by your zucchini, here is a simple path forward:
- Remove the worst infected leaves and trash them.
- Open up the plant for airflow (a little pruning goes a long way).
- Choose one spray to start: baking soda (short run) or milk.
- Spray weekly for two weeks, then reassess.
- Support the plant with consistent watering and a light feed if appropriate. Stressed plants invite more trouble.
And if you need a reminder from someone who has absolutely composted her share of gardening “learning experiences”: you are not aiming for a flawless garden. You are aiming for a living one.